An Okta User account with permissions to create and configure Okta Integration Network (OIN) Apps, e.g. ‘Application Administrator’
Supported Features
SGNL with Okta supports SP-Initiated Single Sign-On, you can initiate SSO by visiting your SGNL tenant’s sign-in page (e.g. https://{clientname}.sgnl.cloud/)
SGNL supports Just-in-Time provisioning during SSO from Okta, wherein a new user will be granted Global Reader permissions inside of SGNL – if specific permissions are required, ensure that you update permissions following first sign-in, or provision the user manually when they are assigned to the SGNL App in Okta.
Configuring Okta
From the Okta Admin dashboard, select ‘Applications’ from the left navigation menu
Choose to ‘Browse App Catalog’
Search for ‘sgnl’, and ‘Add Integration’
(Optional) Specify a friendly display name for your users and click ‘Done’
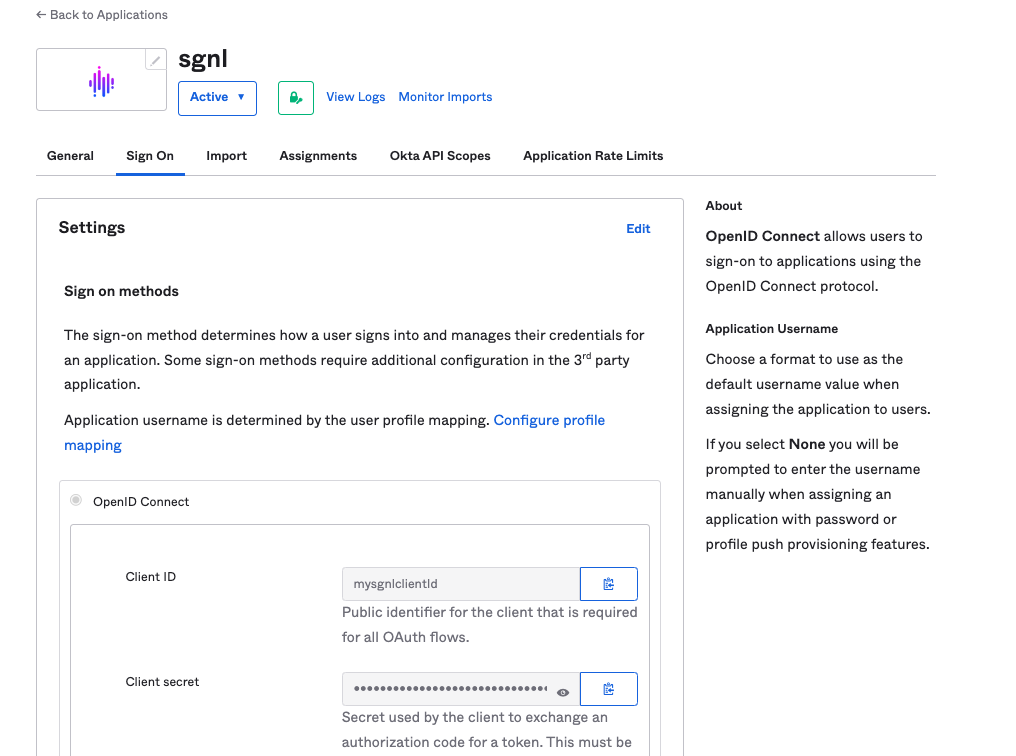
Select the ‘Sign On’ tab and copy the Client ID and Client secret somewhere safe, you’ll need these in a moment for configuring SGNL
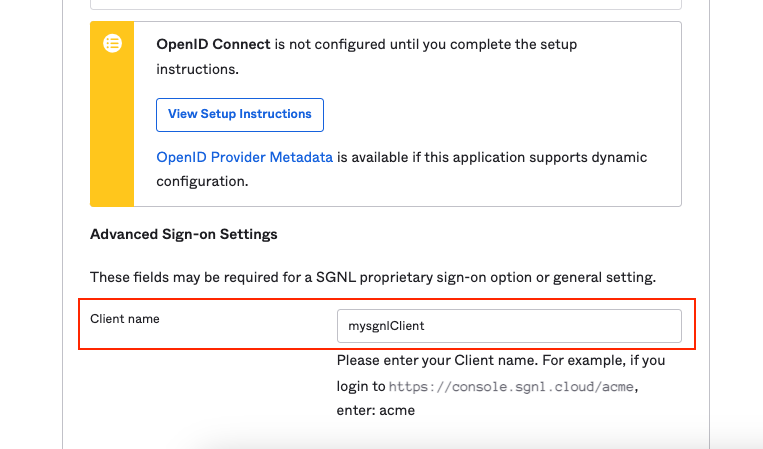
Choose ‘Edit’ from the ‘Sign On’ tab and further down this screen is the ‘Advanced Sign-on Settings’, within this section, specify your SGNL Client Name
Select ‘Save’
From the ‘Assignments’ tab, specify the people and groups you want to have access to sgnl
Configuring SGNL for SSO
Login to the SGNL Console
From the left navigation menu, select ‘Admin’
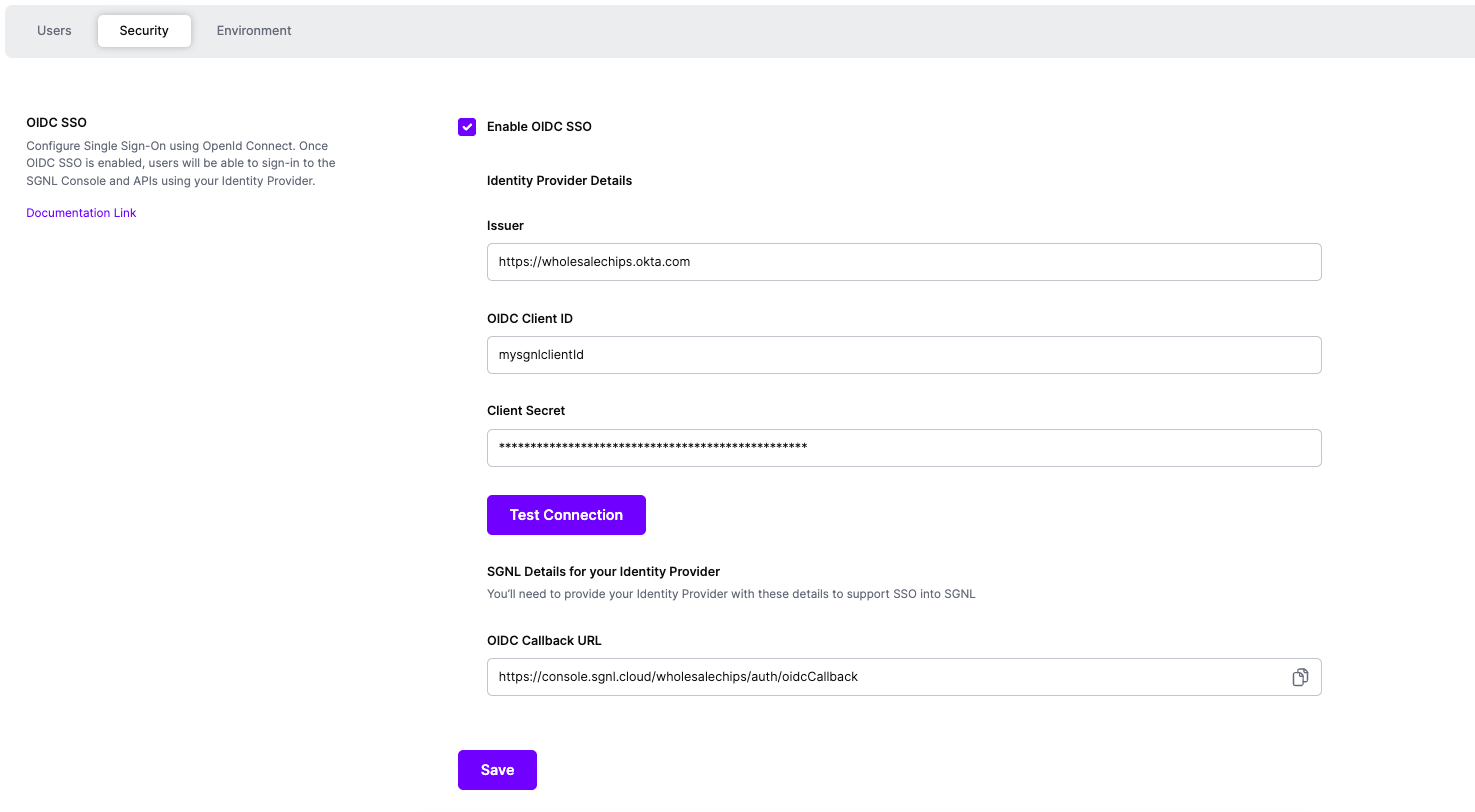
Select ‘Security’
Check the box to Enable OIDC SSO
Insert the URL you use to sign-in to Okta as the Issuer
Specify the Client ID and Client secret you copied from Okta
(Optionally) Test the Connection to Okta, prior to saving the configuration with the ‘Test Connection’ button
Once complete, click ‘Save’
SSO configuration is now complete and you can now sign-in to SGNL using Okta