Creating and Configuring an Azure Active Directory Data Source

Prerequisites

  • Azure AD Account with Administrative privileges to Register Apps and Consent to User/Group Read Access in the Microsoft Graph
  • SGNL User Account with Admin privileges

Permissions Required

  • SGNL firmly believes in the principle of least privilege, as such - only the access required to achieve your authorization use-cases should be granted.
  • SGNL requires an App to be registered in the Azure AD Tenant to be synchronized that has read permissions. Depending on the objects needing to be synchronized, these permissions will vary:
    • Users: Requires the User.Read.All Permission (see below for configuration)
    • Groups: Requires the Group.Read.All Permission (see below for configuration)

Configuring Azure AD

  1. Login to the Microsoft Azure Portal and launch the Azure AD Console

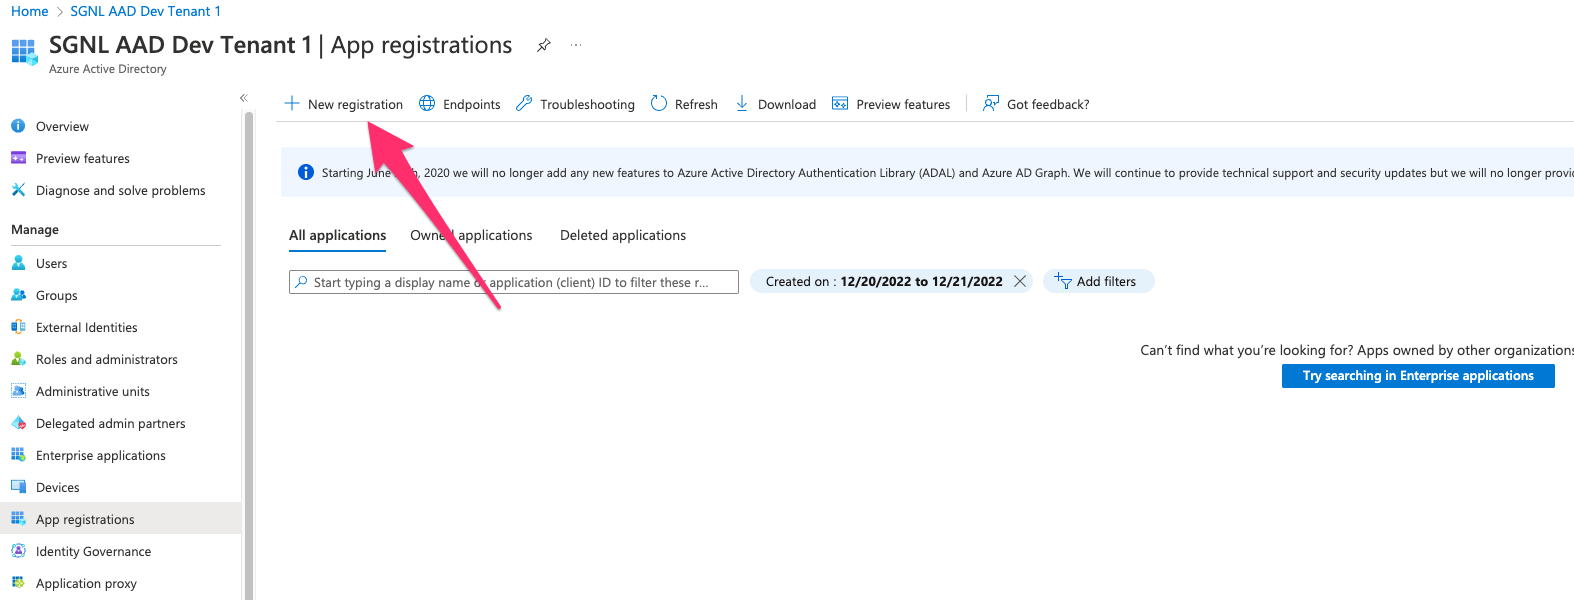
  2. From the left navigation pane, select App Registrations

  3. Create a New Registration

    Azure AD - App registration

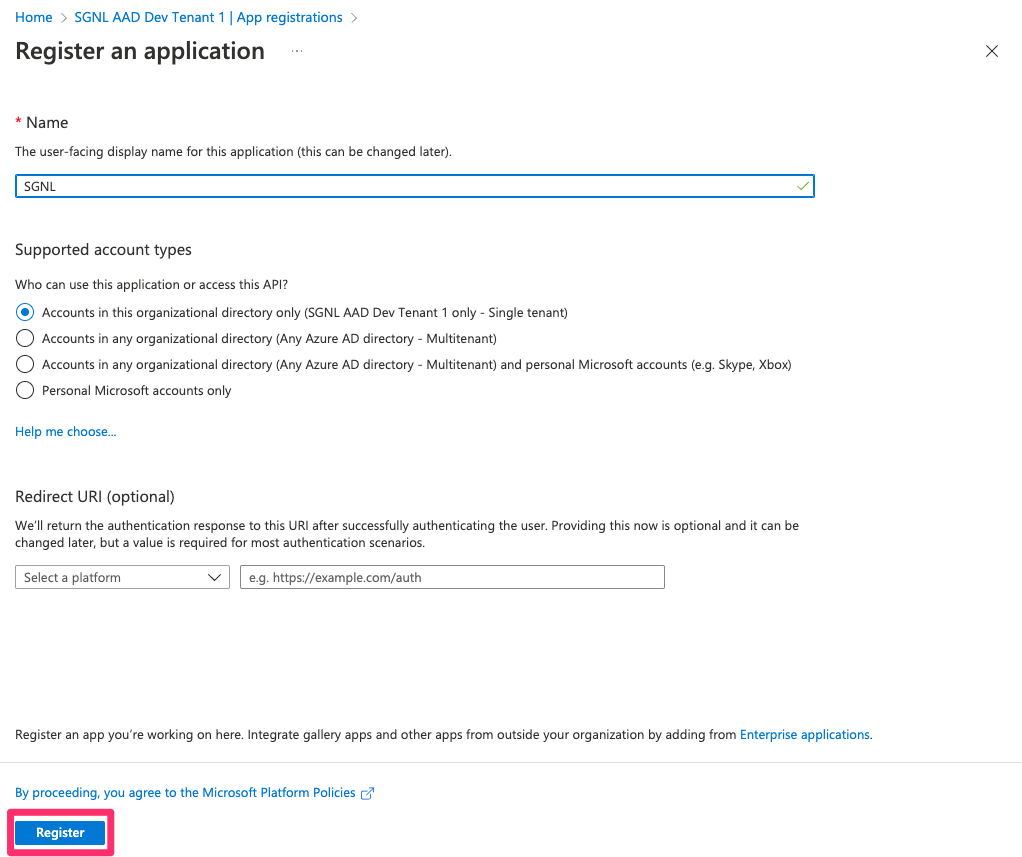
  4. Specify a Name for the App and choose Register

    Azure AD - Register an application

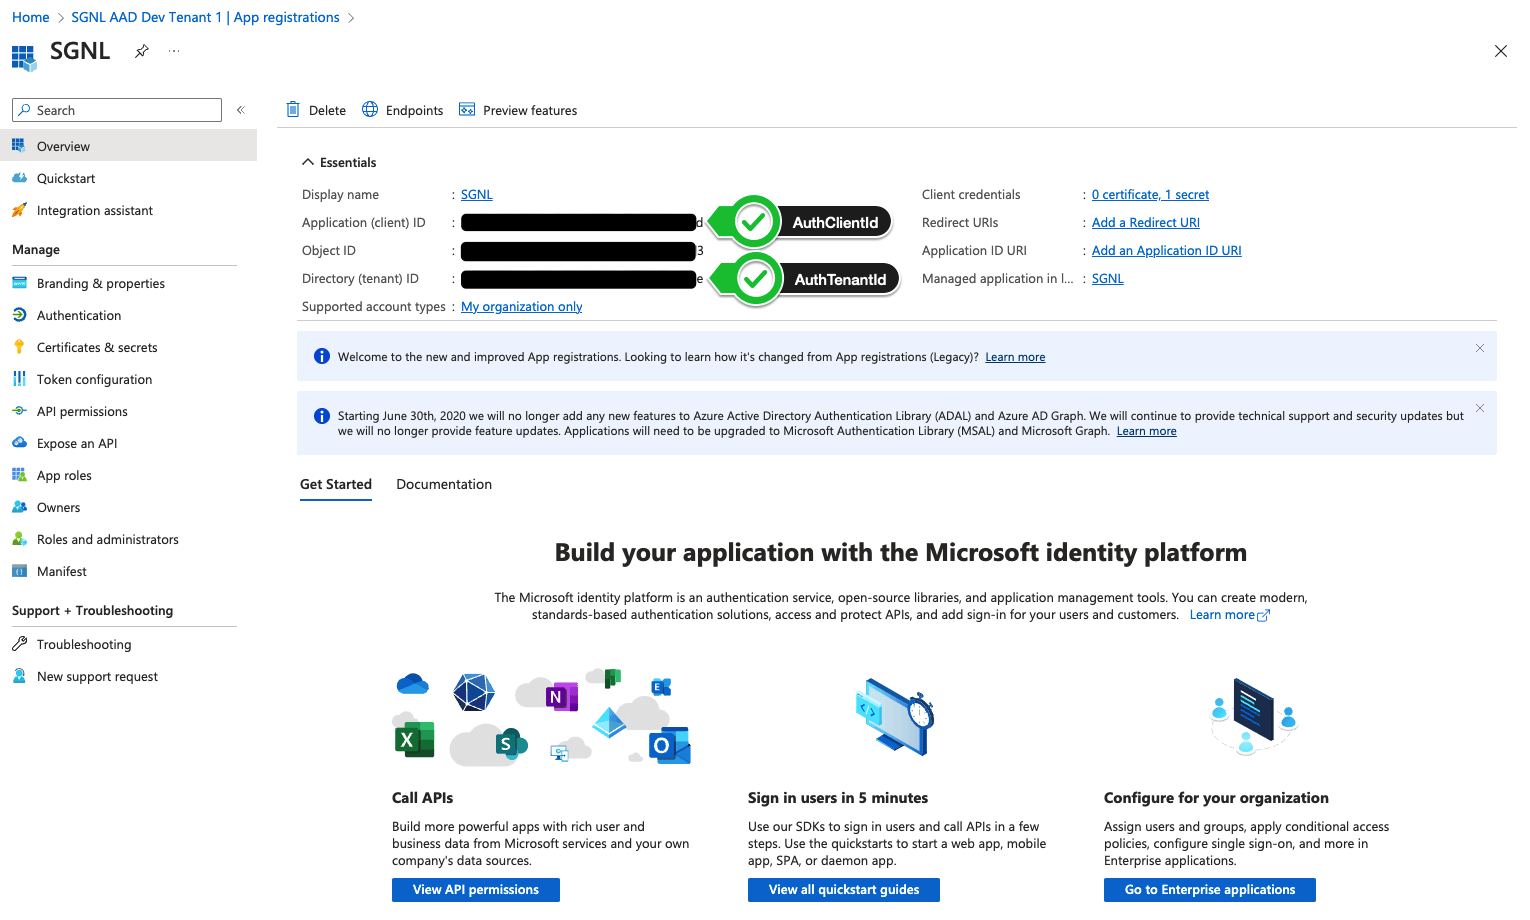
  5. Within the App Registration, note the:

    • Application (client) Id (SGNL: AuthClientId)
    • Directory (tenant) Id (SGNL: AuthTenantId)

    Azure AD - App registration overview

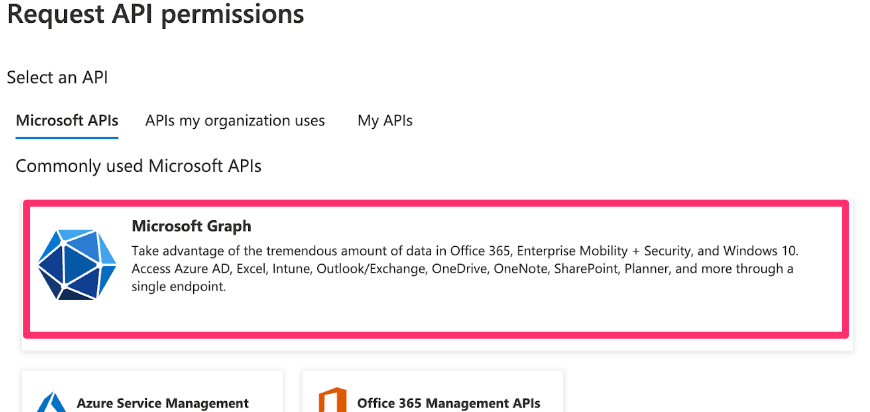
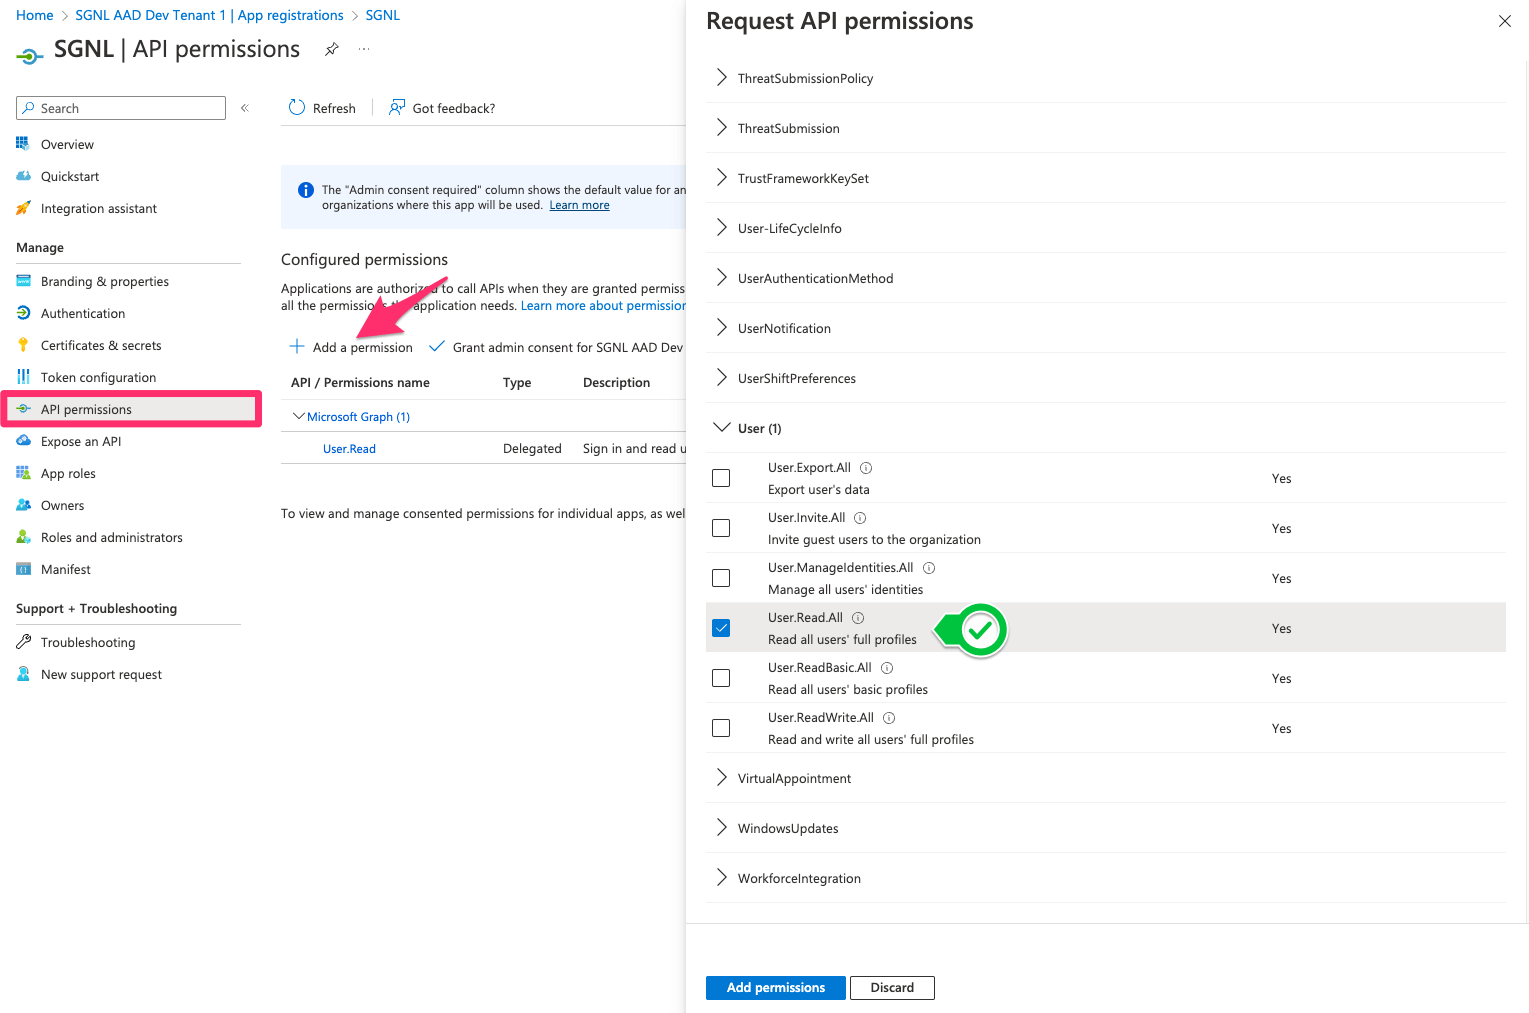
  6. From the API permissions page in the left menu, choose to Add a permission

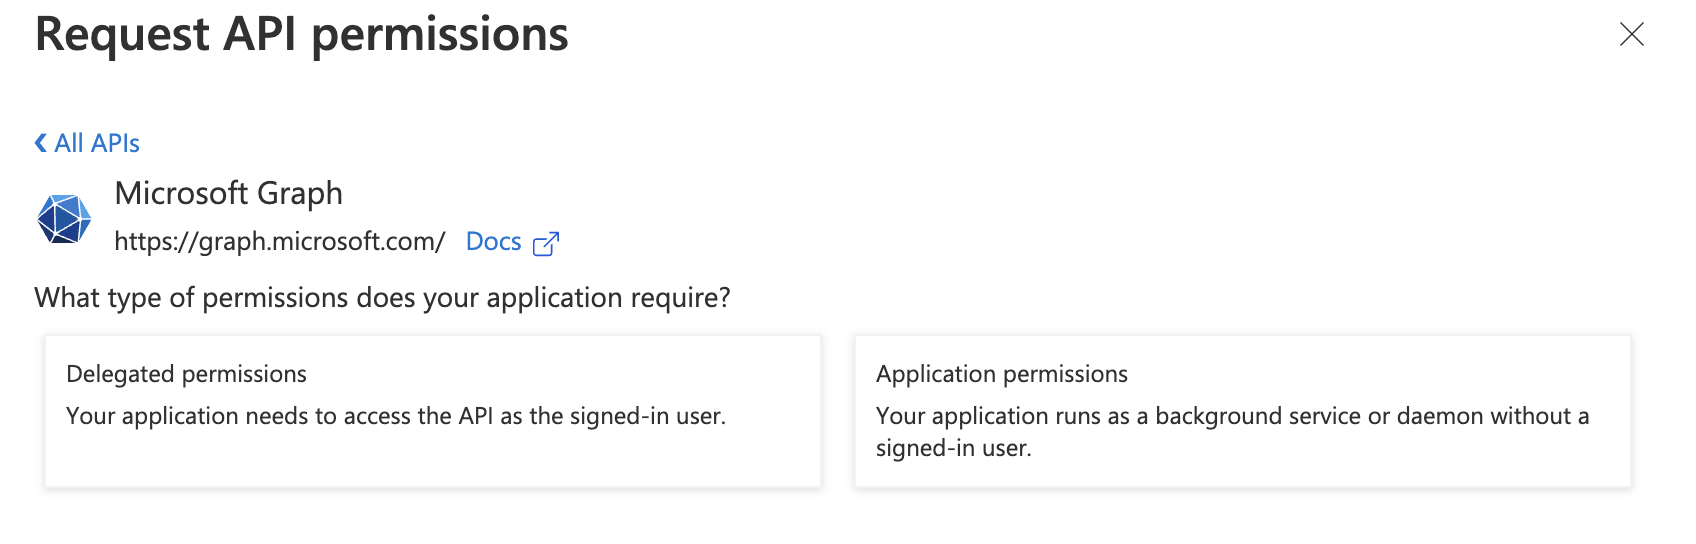
  7. Select Microsoft Graph

    Azure AD - Select an API

  8. Select “Application Permissions”

    Azure AD - Microsoft Graph

  9. Select the below and Add permissions:

    • User.Read.All
    • Group.Read.All

    Azure AD - Add API permissions

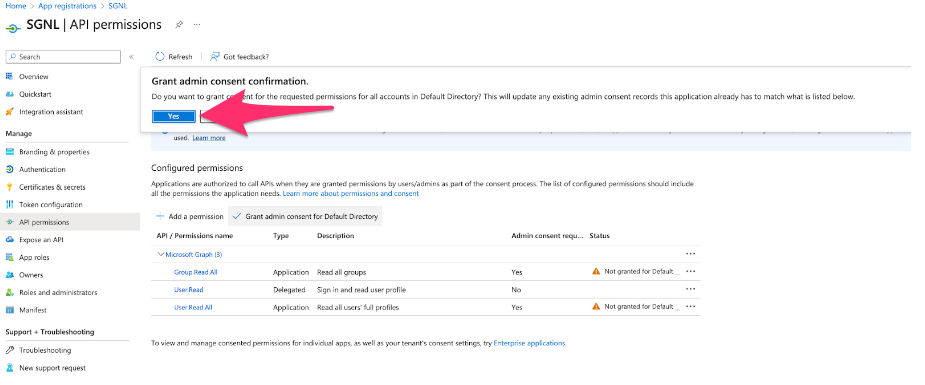
  10. If asked to do so, grant “admin consent”

    Azure AD - Grant admin consent

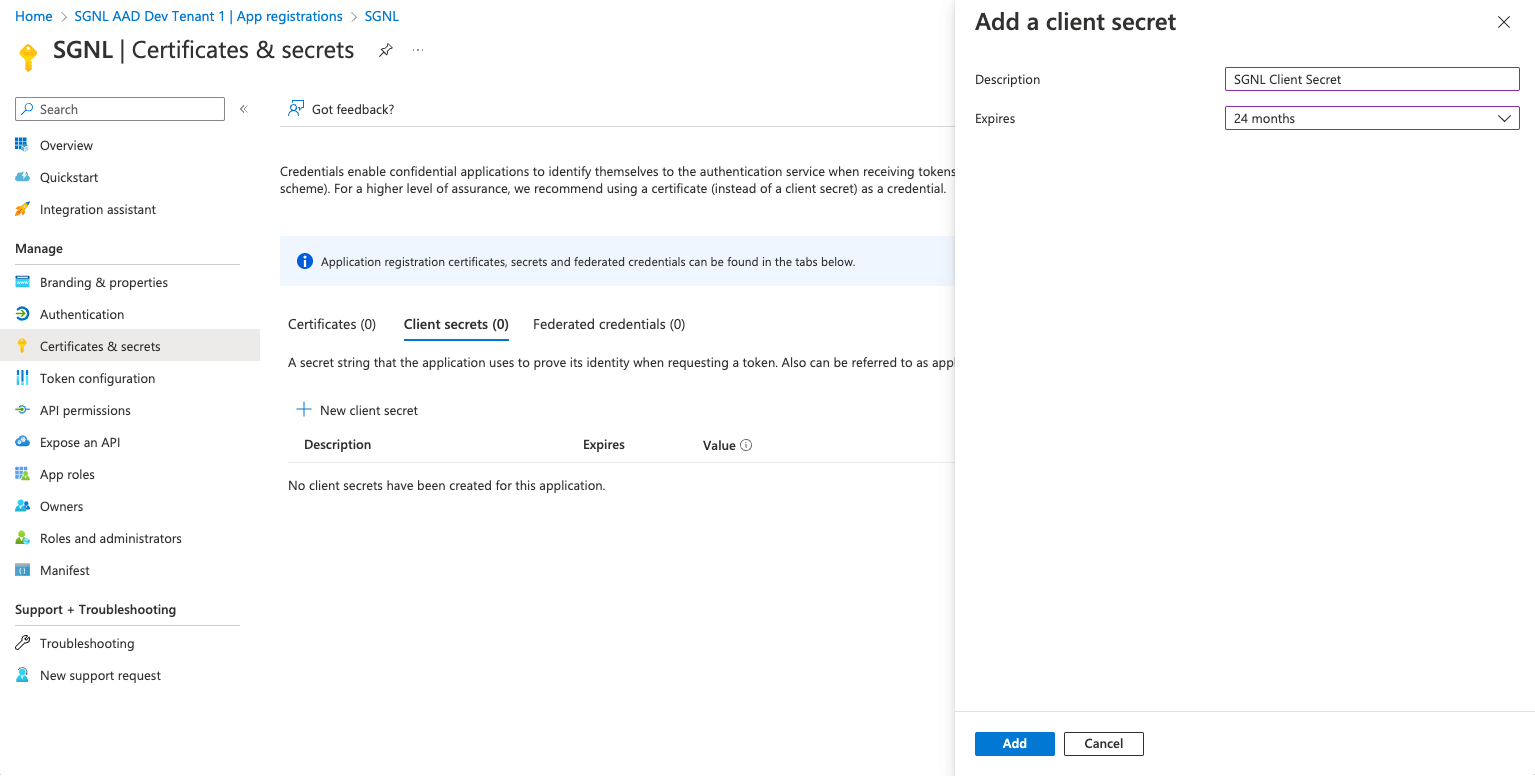
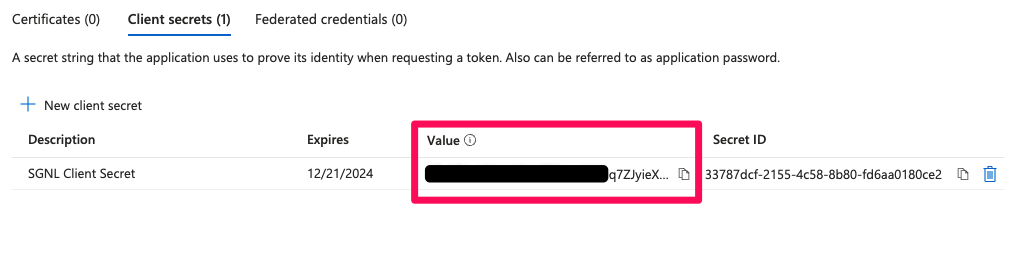
  11. Select Certificates and Secrets from the left menu, select Client secrets, and + New Client Secret

    Azure AD - Client secrets

  12. Give the secret a description and expiry (the length of time until a new secret will need to be generated for SGNL to communicate with Azure AD), and select Add

    Azure AD - Add a client secret

  13. Copy the Value of the secret, this will be required for the SGNL Console (SGNL: AuthClientSecret)

    Azure AD - Copy secret value

Configuring SGNL

  1. Login to the SGNL Console

  2. From the left menu, select Data Sources

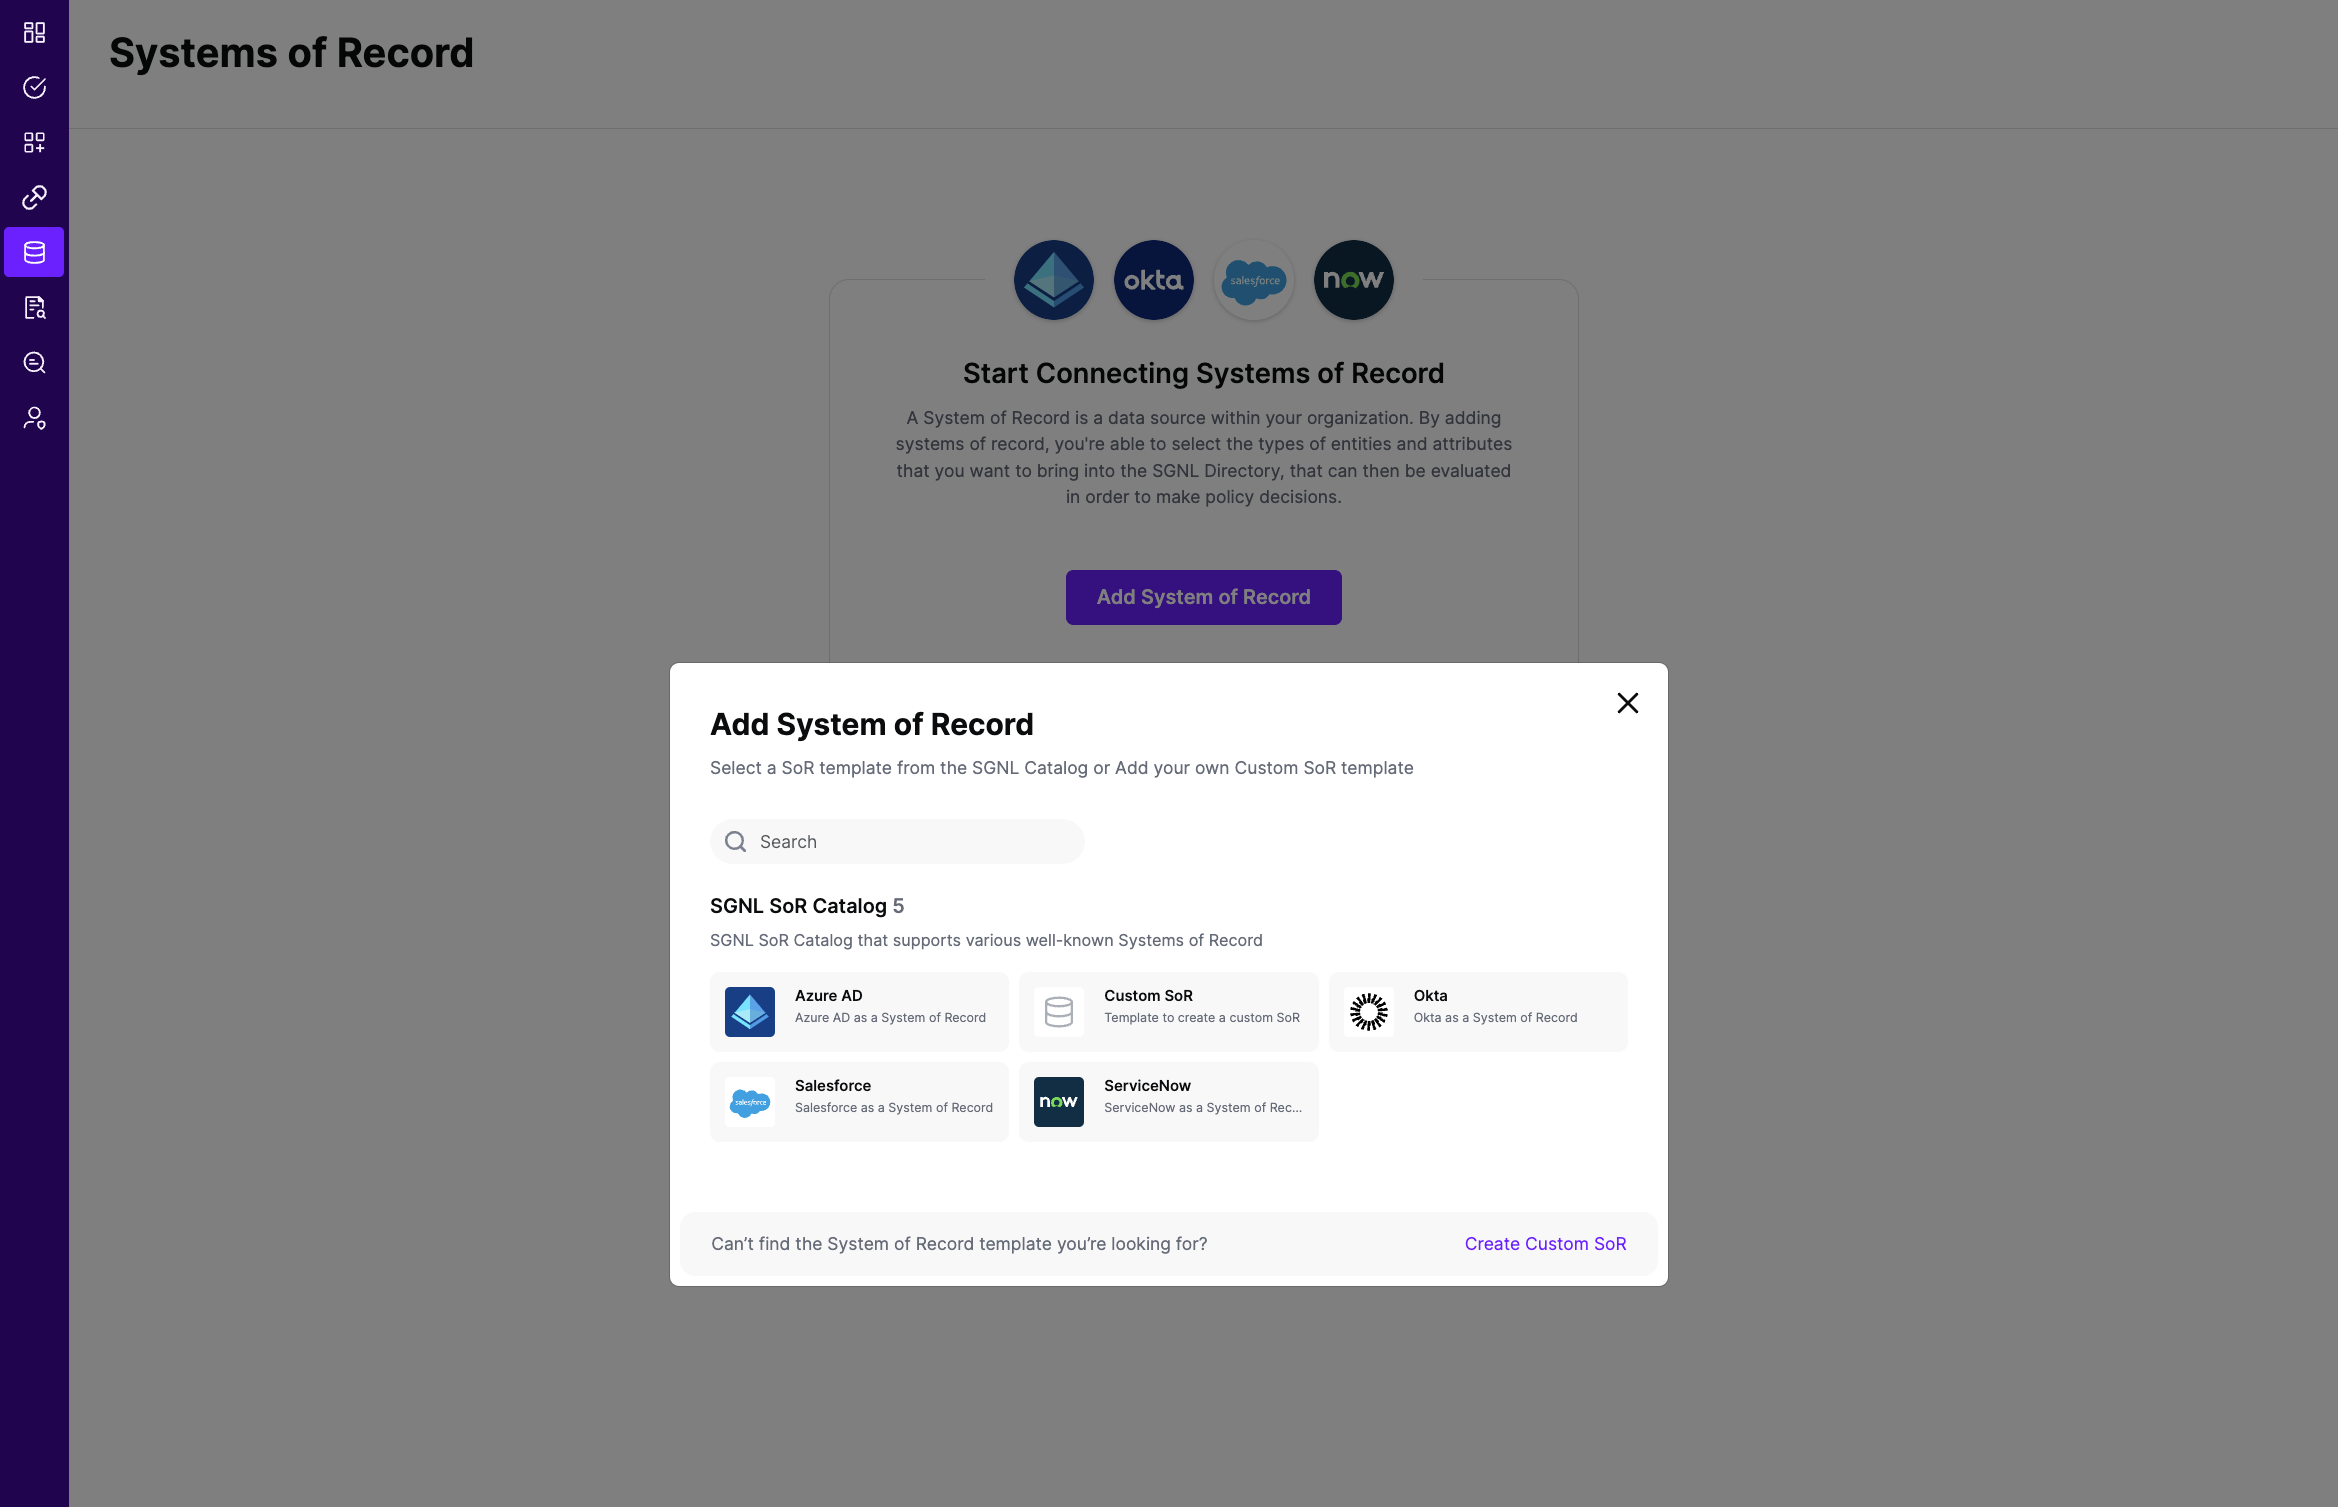
  3. Add a New Data Source and select Azure Active Directory

  4. Enter the following data into SGNL:

    • AuthBase: https://login.microsoftonline.com
    • AuthClientId: The Application (client) Id you copied from Azure AD
    • AuthClientSecret: The Client Secret Value you copied above
    • AuthRedirectUri: The URL you use to sign-in to SGNL
    • AuthTenantId: The Directory (tenant) Id you copied above

    SGNL - Enter client secret

  5. Once configured, click Continue to save your Data Source and move on to configuring Entities

  6. From the Entities tab, click on ‘Edit Attributes’ to select the entities and attributes you will need synchronized into SGNL to be used in your specified SGNL policies

    • Refer to Azure Active Directory’s documentation for descriptions of the attributes you choose to synchronize into SGNL: User, Group
    • E.g. If you want to create a policy that Azure Active Directory Users of jobTitle: Customer Support and with accountEnabled: true are allowed to access certain assets, you will need to select the following attributes from the Azure Active Directory User entity: jobTitle, accountEnabled in addition to principal identifiers such as userPrincipalName or employeeId
  7. (If applicable) If you will be synchronizing entities and attributes from 2+ different data sources into SGNL to define policies, click on Add join rule to specify the attribute(s) that will join the entities you’ve configured to synchronize from Azure Active Directory to other entities in the SGNL Graph

    • You only have to specify a join rule from one Data Source. For instance, if you specify a join rule between Azure Active Directory Users and Okta Users, you only need to configure the relationship from either the Azure Active Directory or Okta Data Source
    • E.g. If User Employee IDs are found in your Azure AD and HRIS system and are consistent, you can choose the Employee ID Attribute in this Azure AD Instance and the Employee ID Attribute in your HRIS Data Source to join these entities together
    • Join rules should only be used for entities that represent the same object across 2+ different data sources. For instance, if a User in Azure Active Directory represents the same User as one in Okta, it is a good candidate for a join rule
      • However, a User in Azure Active Directory and a Group in ServiceNow represent different objects and are therefore not good candidates for join rules, and instead should have custom relationships created via the Relationships API. Additionally, if a User in Azure Active Directory is not the same User as one in ServiceNow, it is not a good candidate for a join rule
  8. Save the Configuration