Login to the SGNL Console
From the left menu, select Data Sources
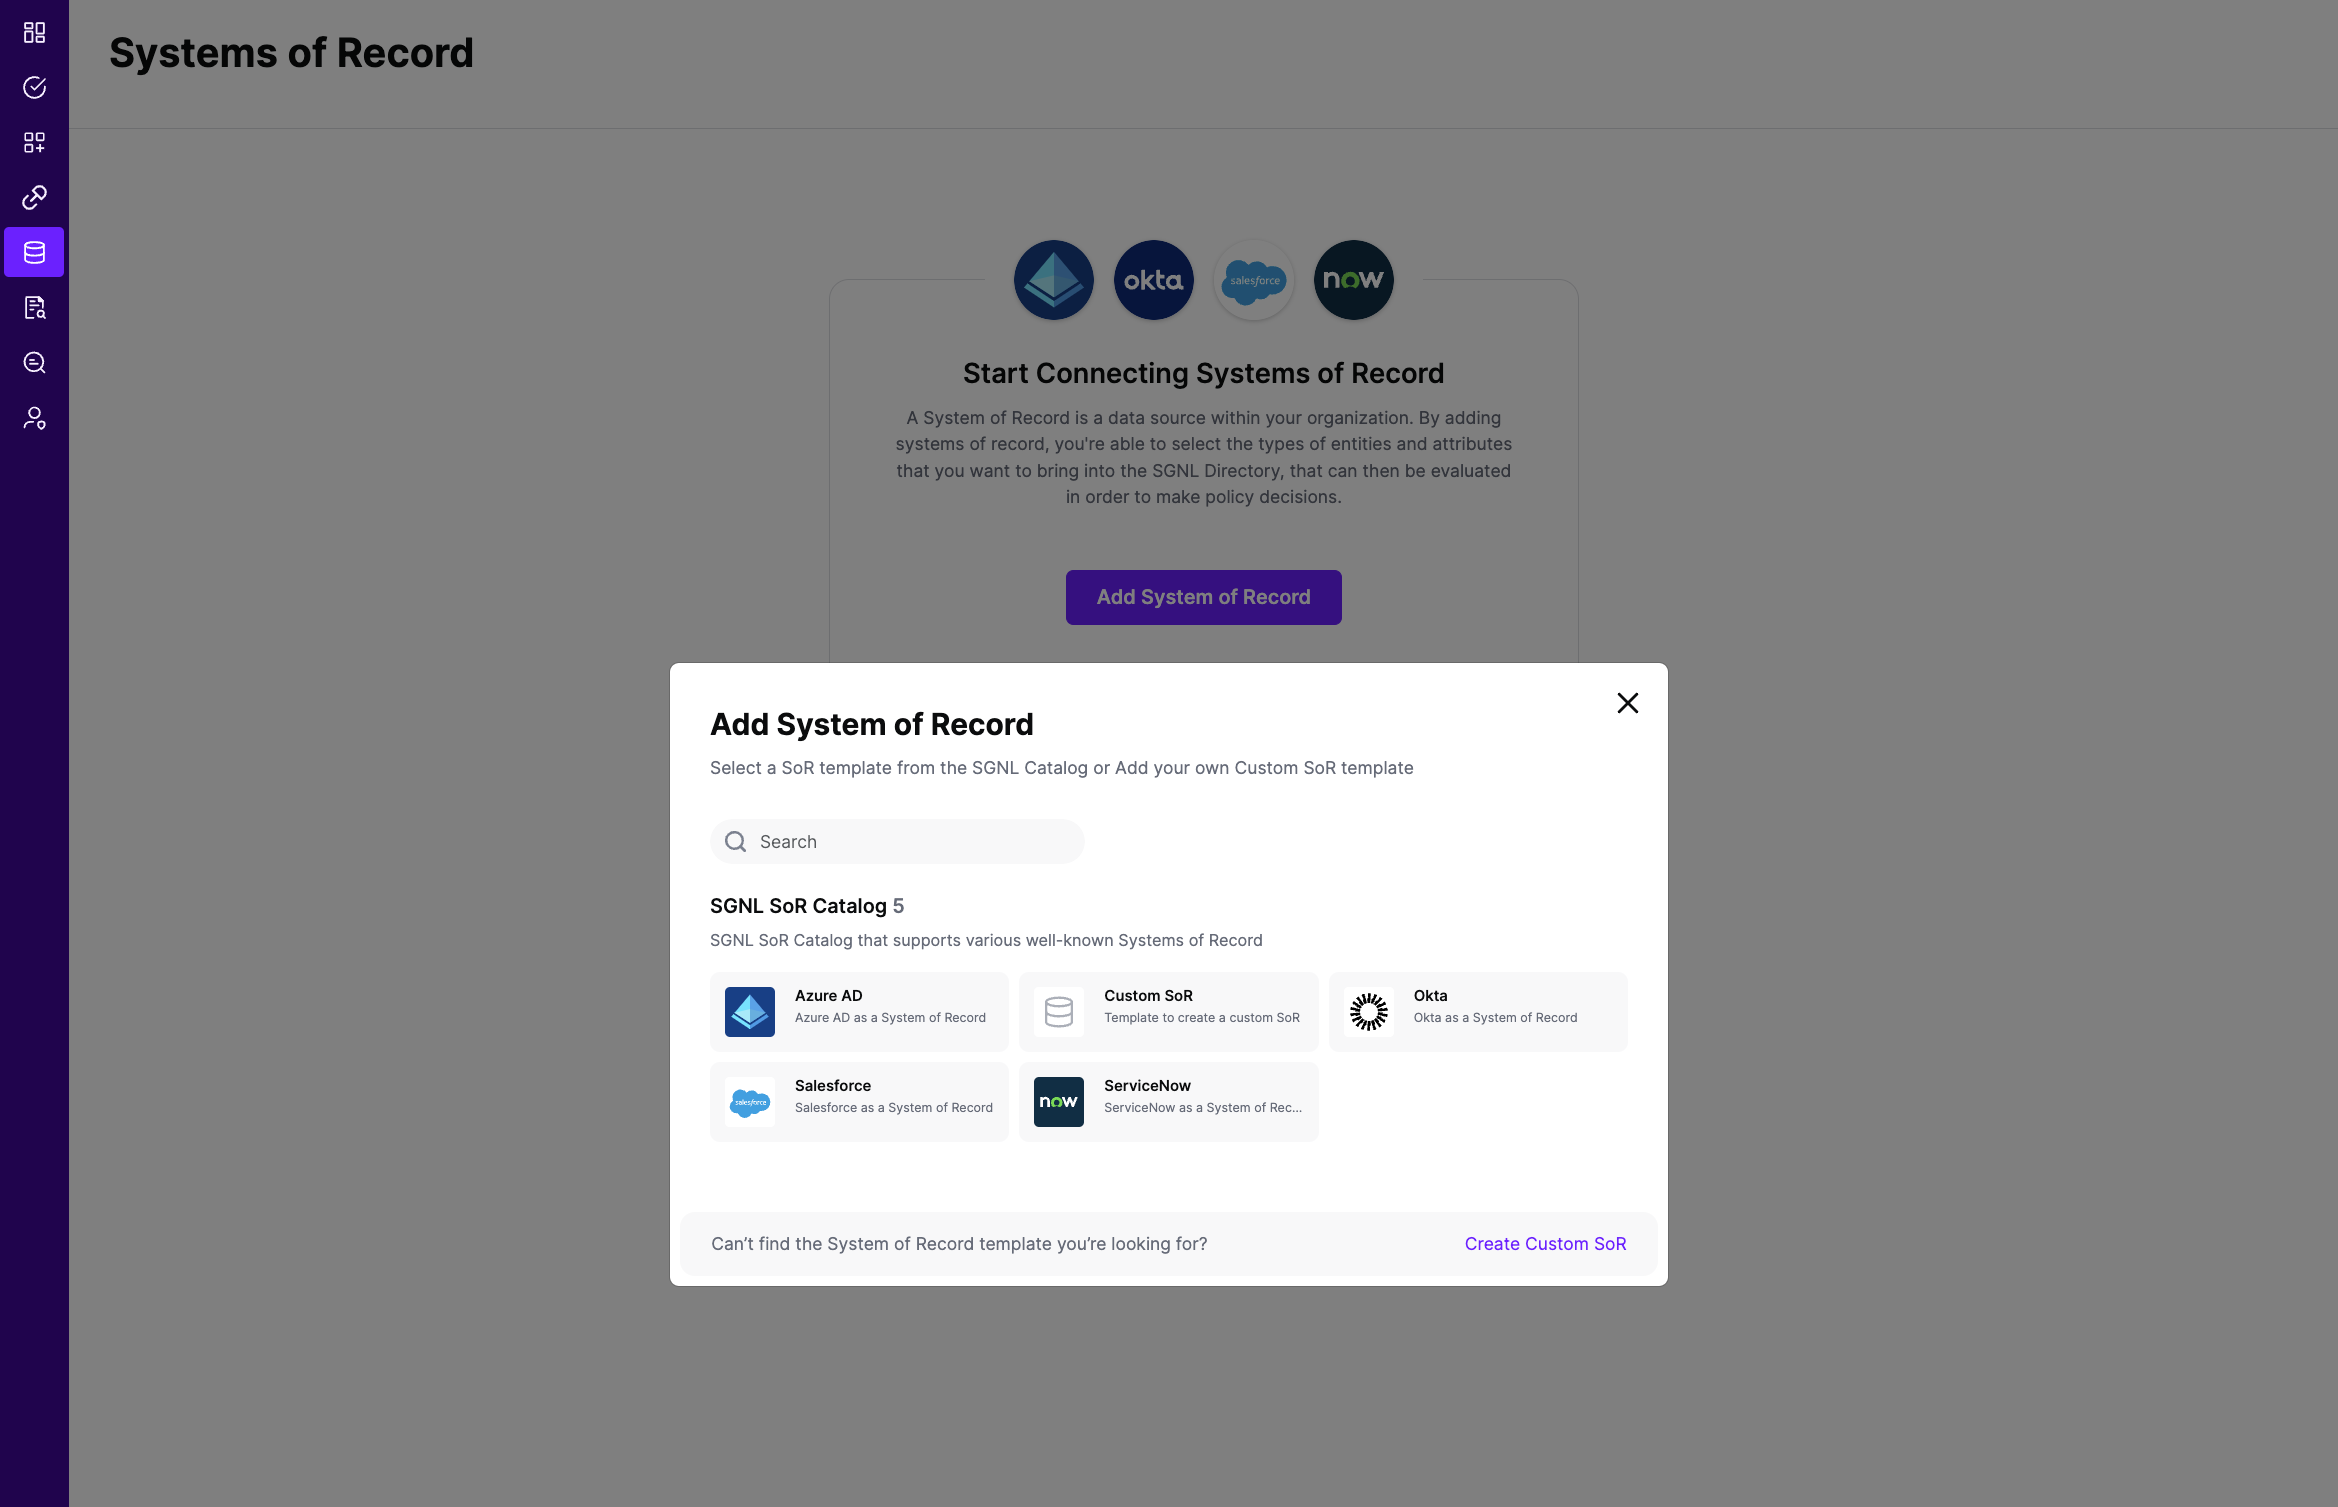
Add a New Data Source and select Okta
Give the new Data Source a friendly Display Name and helpful Description
Enter the following data into SGNL:
- Your Okta Domain: Enter the domain you use to login to Okta, generally this takes the form of https://acmecorp.okta.com
- AuthToken: Enter the API Key you generated in Okta, prefixed with the needed Okta Token type of “SSWS " - note trailing space
Once configured, click Continue to save your Data Source and move on to configuring Entities
From the Entities tab, click on ‘Edit Attributes’ to select the entities and attributes you will need synchronized into SGNL to be used in your specified SGNL policies
- Refer to Okta’s documentation for descriptions of attributes you choose to synchronize into SGNL: User, Group
- E.g. If you want to create a policy that Okta Users of profile__title: Customer Support and with status: Active are allowed to access certain assets, you will need to select the following attributes from the Okta User entity: profile__title, status in addition to principal identifiers such as profile__email or profile__employeeNumber
(If applicable) If you will be synchronizing entities and attributes from 2+ different data sources into SGNL to define policies, click on Add join rule to specify the attribute(s) that will join the entities you’ve configured to synchronize from Okta to other entities in the SGNL Graph
- You only have to specify a join rule from one Data Source. For instance, if you specify a join rule between Okta Users and Azure Active Directory Users, you only need to configure the relationship from either the Okta or Azure Active Directory Data Source
- E.g. If User Employee Numbers are found in your Okta and HRIS system and are consistent, you can choose the Employee Number Attribute in this Okta Instance and the Employee Number Attribute in your HRIS Data Source to join these entities together
- Join rules should only be used for entities that represent the same object across 2+ different data sources. For instance, if a User in Okta represents the same User as one in Azure Active Directory, it is a good candidate for a join rule
- However, a User in Azure Active Directory and a Group in ServiceNow represent different objects and are therefore not good candidates for join rules, and instead should have custom relationships created via the Relationships API. Additionally, if a User in Azure Active Directory is not the same User as one in ServiceNow, it is not a good candidate for a join rule
Save the Configuration