Creating and Configuring a ServiceNow Data Source

Prerequisites

  • ServiceNow Account with permissions to create User accounts and grant read access to entities that require synchronization to SGNL
  • Activation of the ServiceNow Read Only Role
    • Note: The ServiceNow Read Only Role should not be the only role granted to the account synchronizing data from ServiceNow - it should be used in conjunction with other roles in order to strip extraneous permissions (Create/Modify/Delete) that are unnecessary for synchronization by SGNL
  • SGNL User Account with Admin privileges to your SGNL Client

Permissions Required

  • SGNL firmly believes in the principle of least privilege, as such - only the access required to achieve your authorization use-cases should be granted.
  • SGNL requires a user account to be created in the ServiceNow instance to be synchronized that has read permissions (see above for configuration of the ServiceNow Read Only Role). Depending on the objects needing to be synchronized the necessarily roles will vary:
    • Users (object: sys_user): Requires a user account with roles:
      • snc_platform_rest_api_access
      • snc_read_only
      • snc_internal (granted by default)
    • Groups (object: sys_user_group, sys_user_grmember): Requires a user account with roles:
      • snc_platform_rest_api_access
      • snc_read_only
      • rota_manager (for group members)
      • snc_internal (granted by default)
    • Products (object: alm_asset): Requires a user account with roles:
      • snc_platform_rest_api_access
      • snc_read_only
      • snc_internal (granted by default)
    • Cases (object: sn_customerservice_case): Requires a user account with roles:
      • snc_platform_rest_api_access
      • snc_read_only
      • snc_internal (granted by default)
      • sn_customerservice.case_viewer
    • Customer Accounts (object: customer_account): Requires a user account with roles:
      • snc_platform_rest_api_access
      • snc_read_only
      • snc_internal (granted by default)
      • Sn_customerservice.customer_data_viewer
    • All Supported Entities: Requires a user account with roles:
      • snc_platform_rest_api_access
      • snc_read_only
      • rota_manager (for group members)
      • snc_internal (granted by default)
      • sn_customerservice.case_viewer
      • sn_customerservice.customer_data_viewer

Configuring ServiceNow

  1. Log-In to the ServiceNow Instance you’d like to synchronize to SGNL with an account that can create users and manage roles

  2. From the Left Navigation Pane, search or browse for Organization>Users

  3. Create a new user account in ServiceNow that will be used by SGNL to connect to your ServiceNow instance,

    • An example User Id might be sgnl-sync
    • Be sure to note the User Id, you’ll need this to create the SGNL Data Source

    Service Now - New user

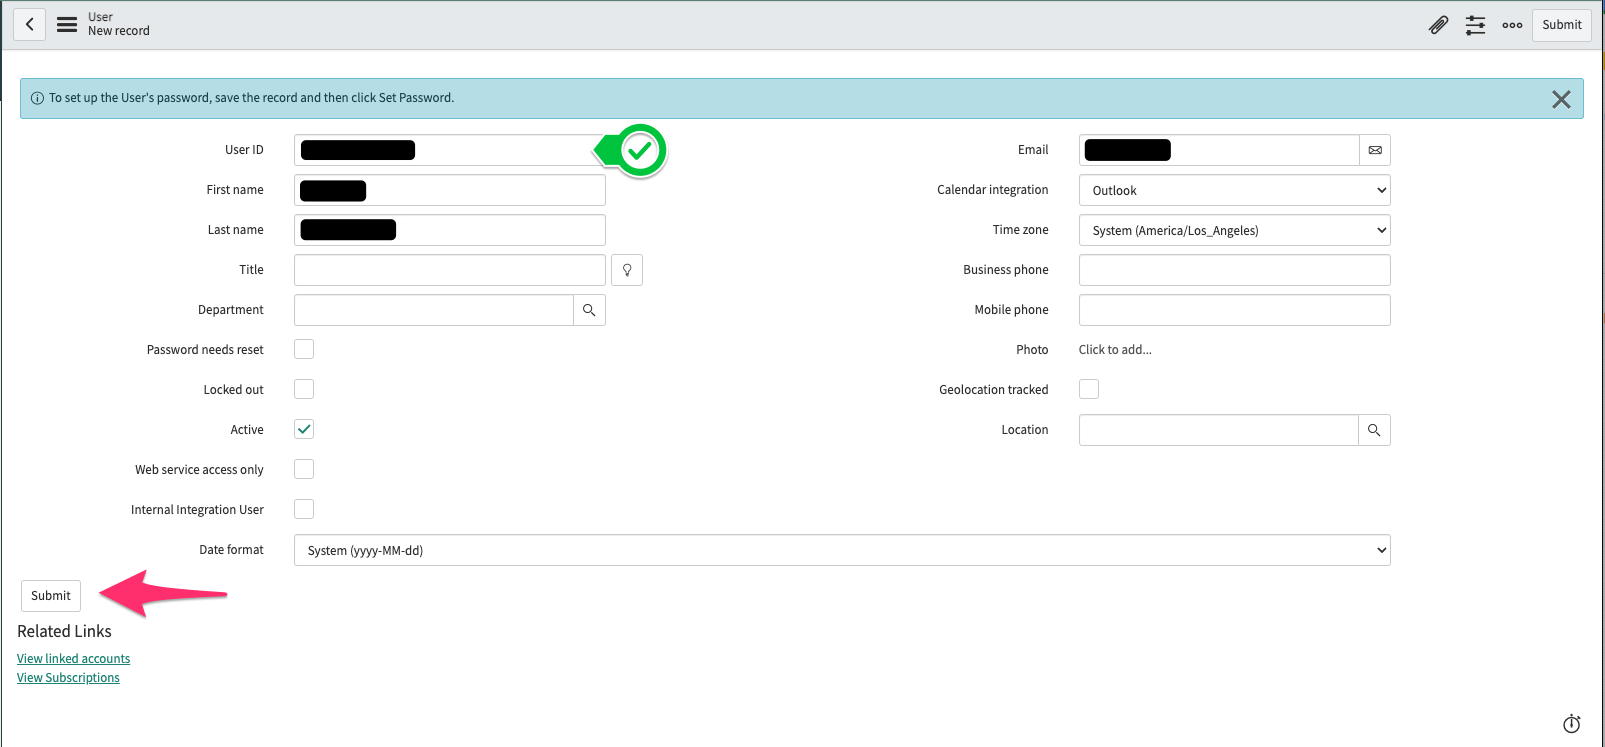
  4. Once created, click on the newly created user from the Users list

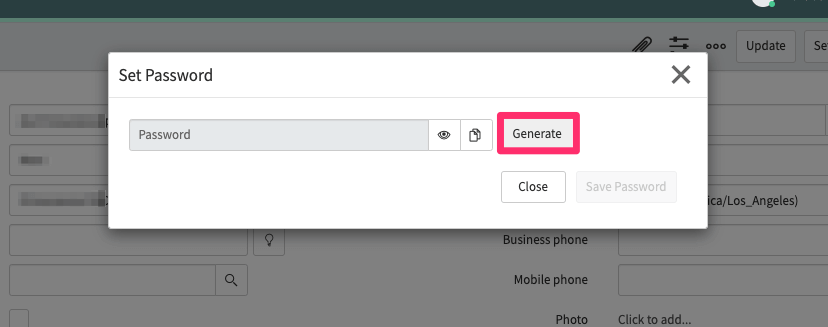
  5. Select ‘Set Password’ and Generate a strong password for the User

    • Be sure to note the User Id, you’ll need this to create the SGNL Data Source

    Service Now - Generate strong password

  6. scroll down to the Roles tab, and Edit the Users Roles

    Service Now - Edit user roles

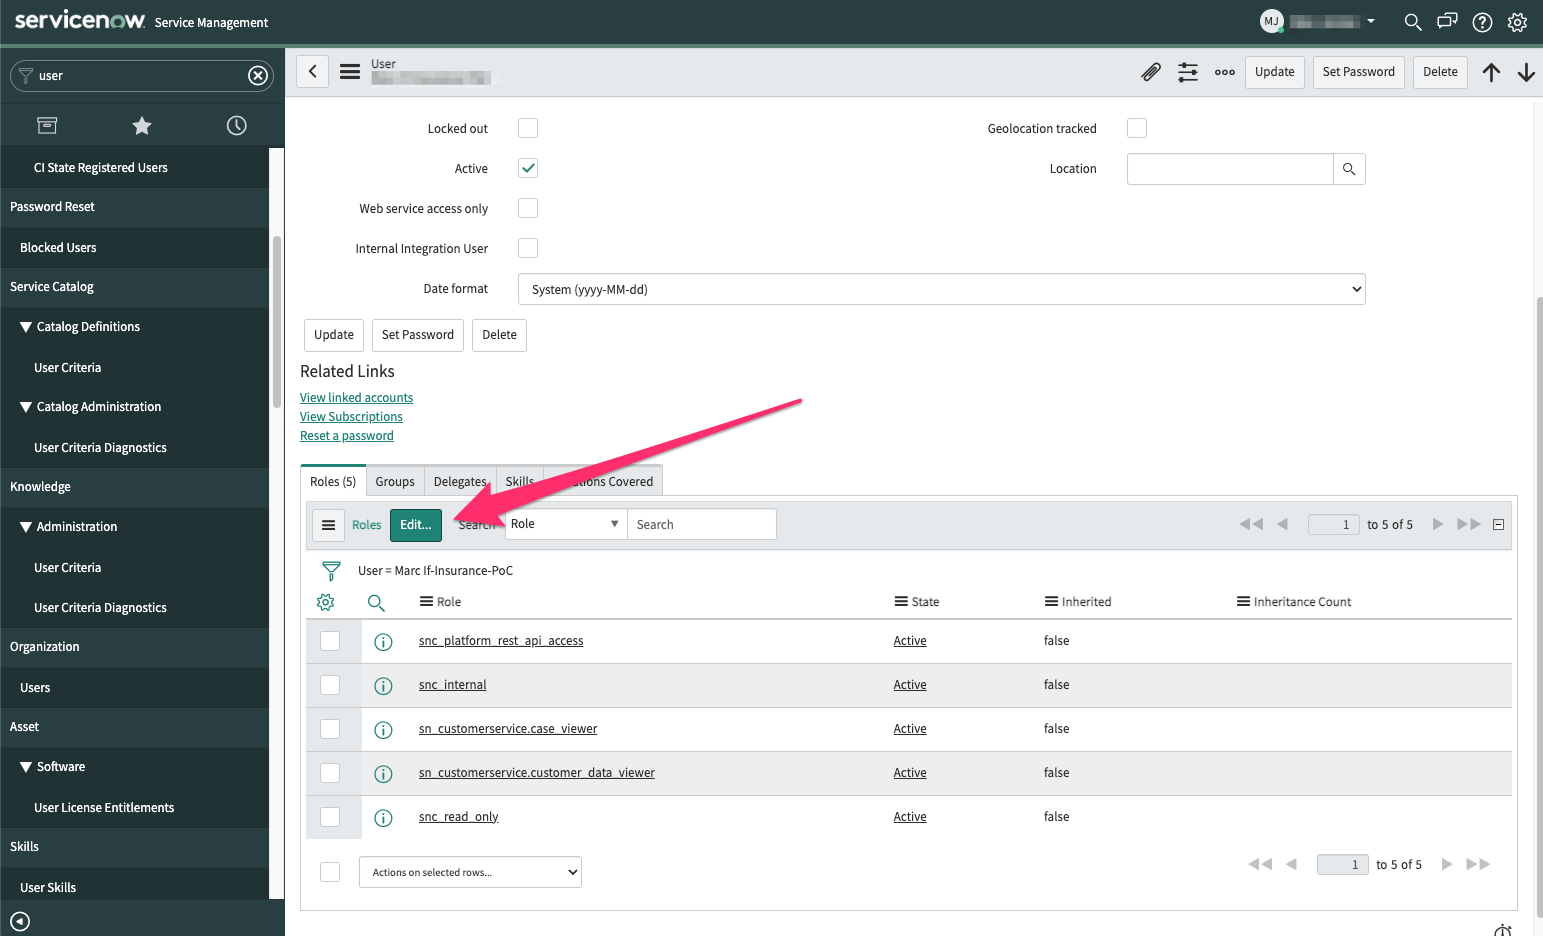
  7. Search for the roles you wanted added, select them, and click the right chevron to assign them to the user account

    Service Now - Select roles

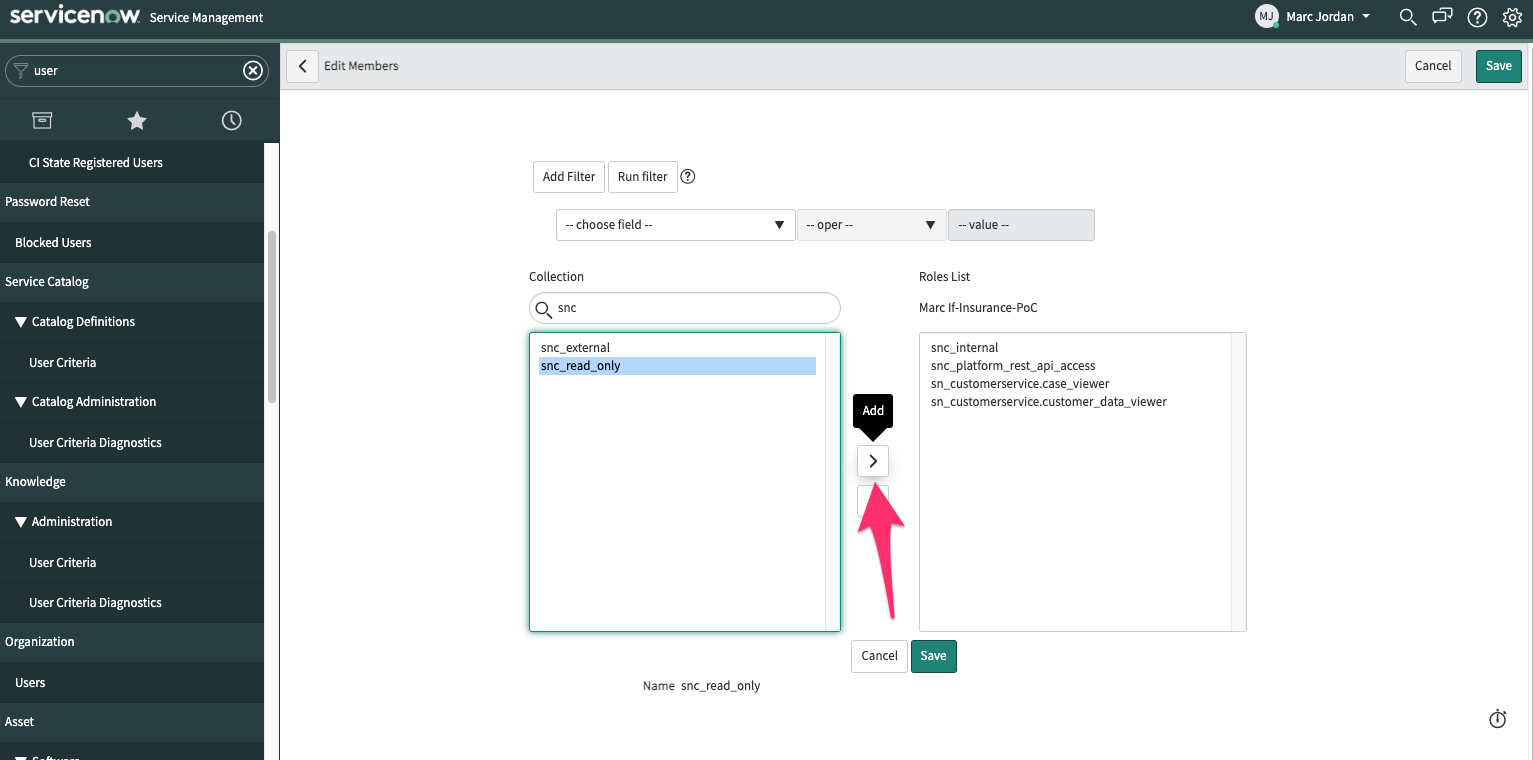
  8. Once all required roles are added, Save the changes

Configuring SGNL

  1. Login to the SGNL Console

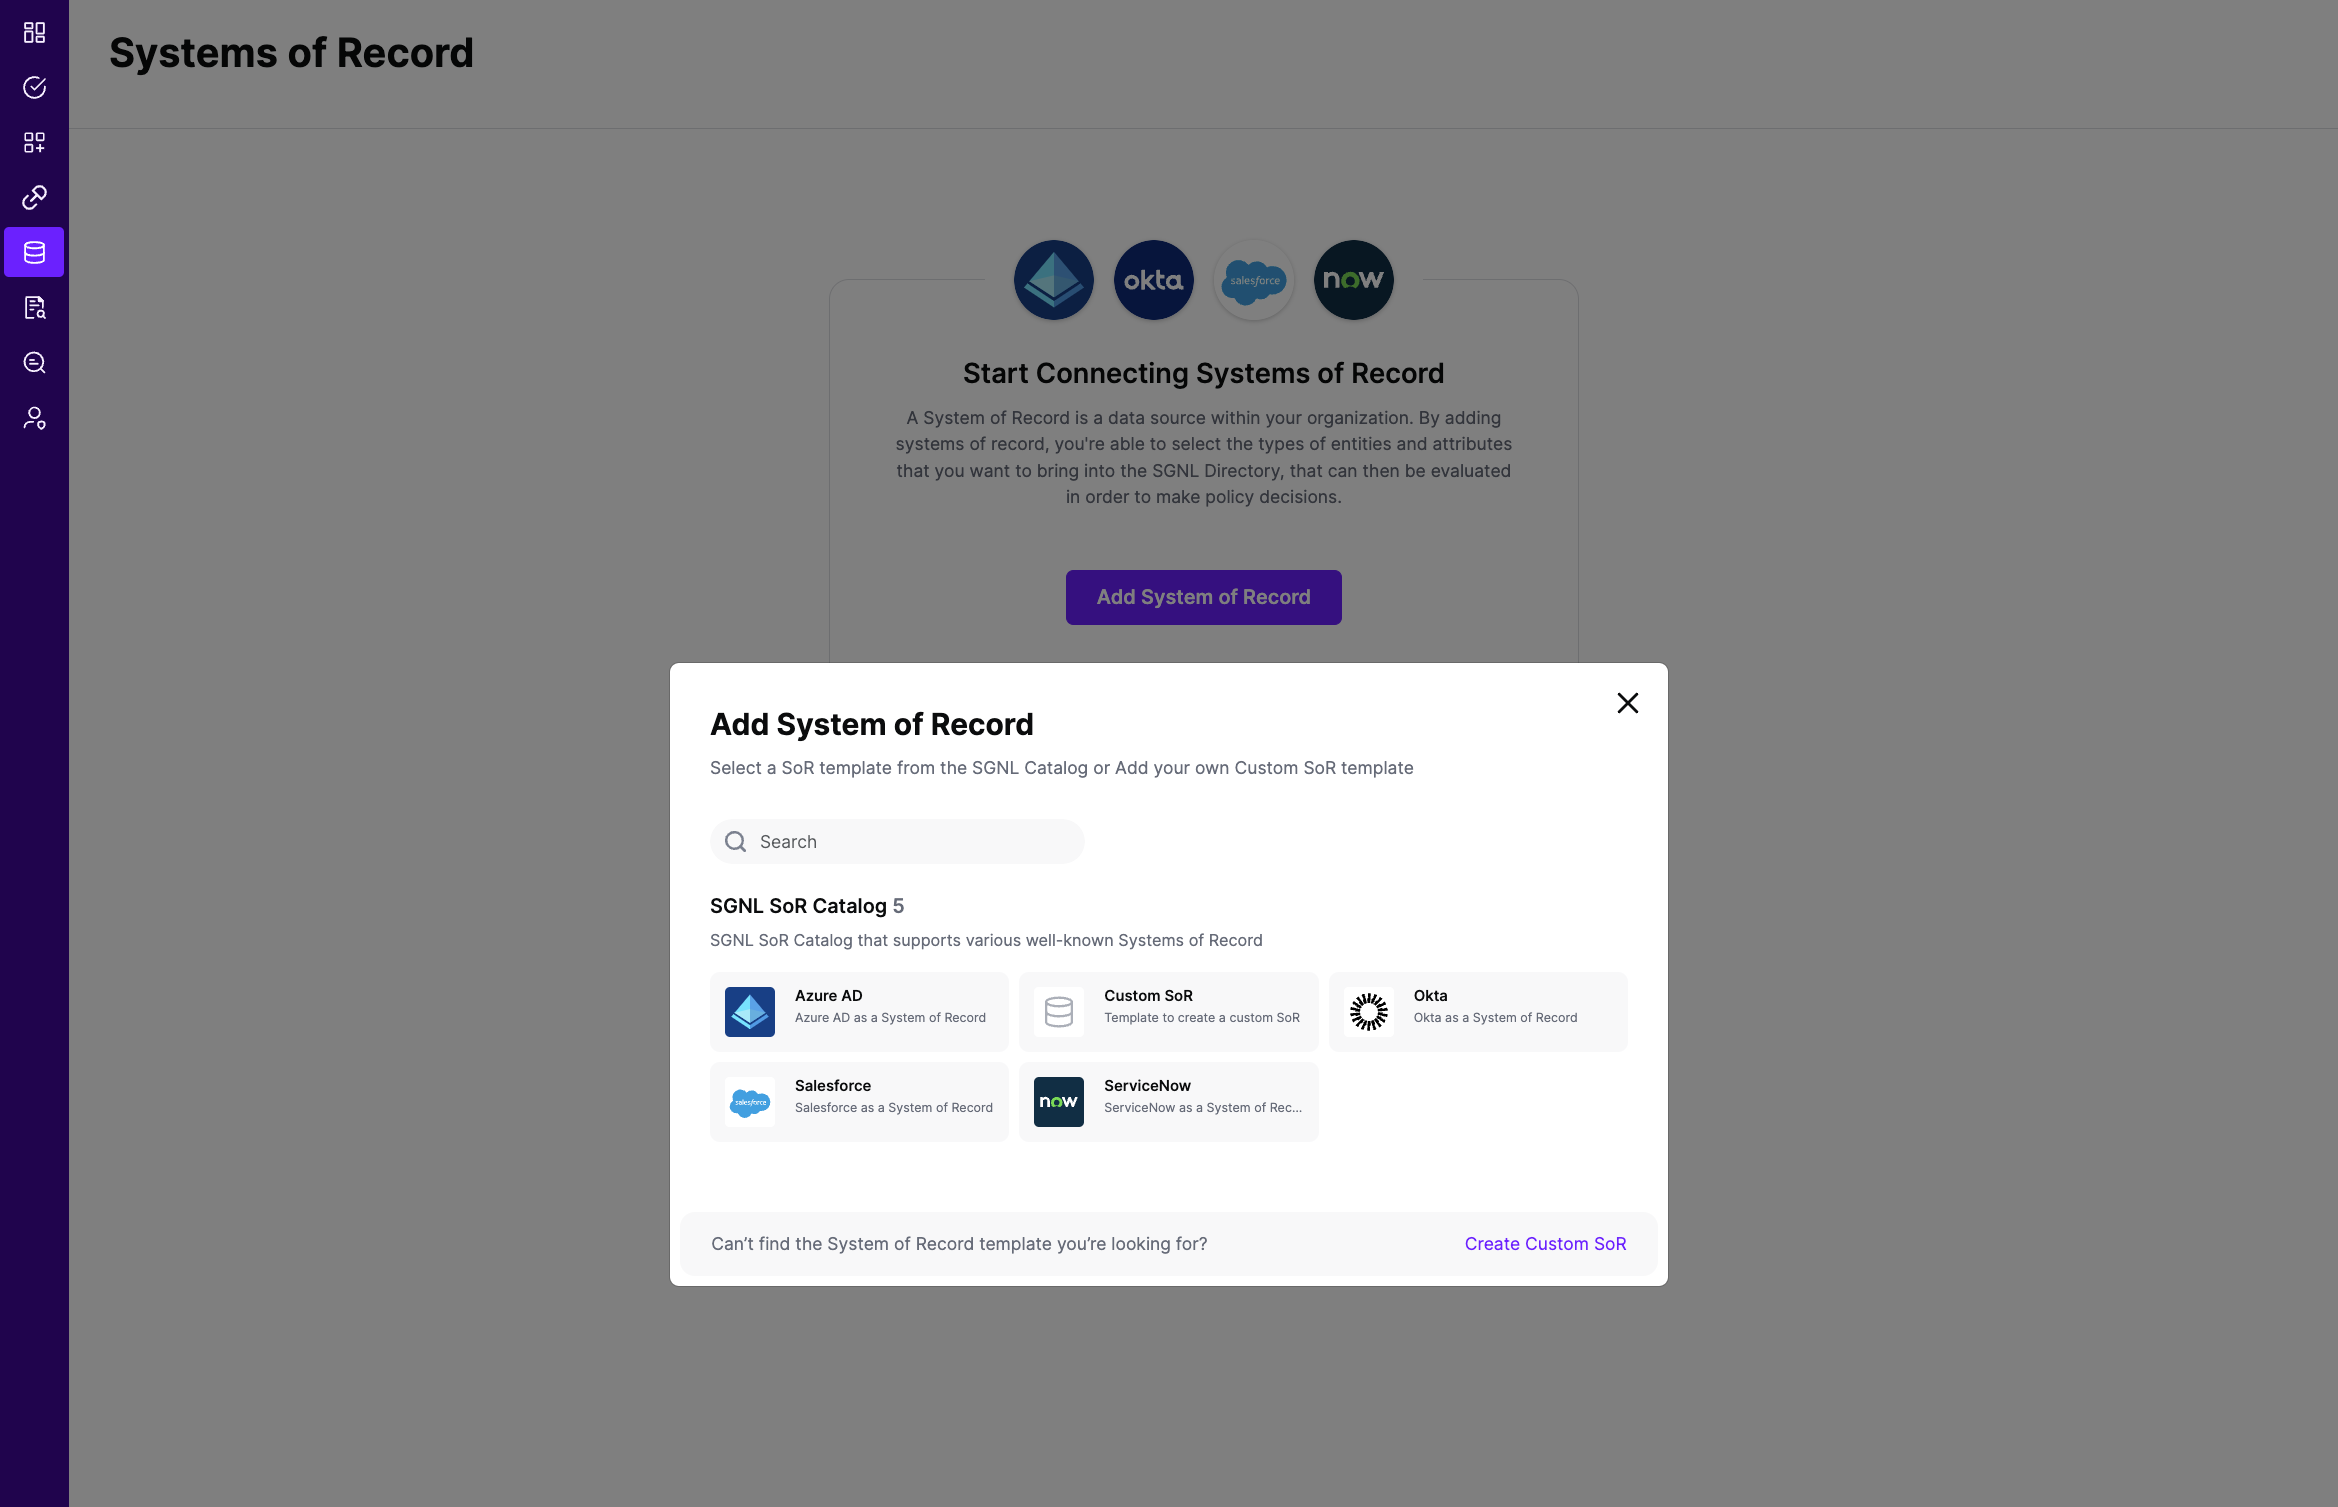
  2. From the left menu, select Data Sources

  3. Add a New Data Source and select ServiceNow

  4. Enter the following data into SGNL:

    • InstanceName: The sub-domain your instance of ServiceNow runs on, e.g. acme-corp, if you go to https://acme-corp.service-now.com to login
    • Username: The User Id of the account you created in ServiceNow
    • Password: The password you specified for the user account

    SGNL - Add data source

  5. Once configured, click Continue to save your Data Source and move on to configuring Entities

  6. From the Entities tab, click on ‘Edit Attributes’ to select the entities and attributes you will need synchronized into SGNL to be used in your specified SGNL policies

    • Refer to ServiceNow’s documentation for the Table API to retrieve records for the specified table that maps to Entities in SGNL. Below are the table names to provide as parameters to retrieve corresponding records from the Table API:
      • Account: customer_account
      • Case: sn_customerservice_case
      • User: sys_user
      • Group: sys_user_group, Group Member: sys_user_grmember
    • E.g. If you want to create a policy that ServiceNow Users of title: Customer Support and of active status are allowed to access certain assets, you will need to select the following attributes from the ServiceNow User entity: title, active in addition to principal identifiers such as email or employeeNumber
  7. (If applicable) If you will be synchronizing entities and attributes from 2+ different data sources into SGNL to define policies, click on Add join rule to specify the attribute(s) that will join the entities you’ve configured to synchronize from ServiceNow to other entities in the SGNL Graph

    • You only have to specify a join rule from one Data Source. For instance, if you specify a join rule between ServiceNow Accounts and Salesforce Accounts, you only need to configure the relationship from either the ServiceNow or Salesforce Data Source
    • E.g. If Account Numbers are found in your ServiceNow and CRM system and are consistent, you can choose the Account Number Attribute in this ServiceNow Instance and the Account Number Attribute in your CRM Data Source to join these entities together
    • Join rules should only be used for entities that represent the same object across 2+ different data sources. For instance, if an Account in ServiceNow represents the same Account as one in Salesforce, it is a good candidate for a join rule
      • However, a User in Azure Active Directory and a Group in ServiceNow represent different objects and are therefore not good candidates for join rules, and instead should have custom relationships created via the Relationships API. Additionally, if a User in Azure Active Directory is not the same User as one in ServiceNow, it is not a good candidate for a join rule
  8. Save the Configuration