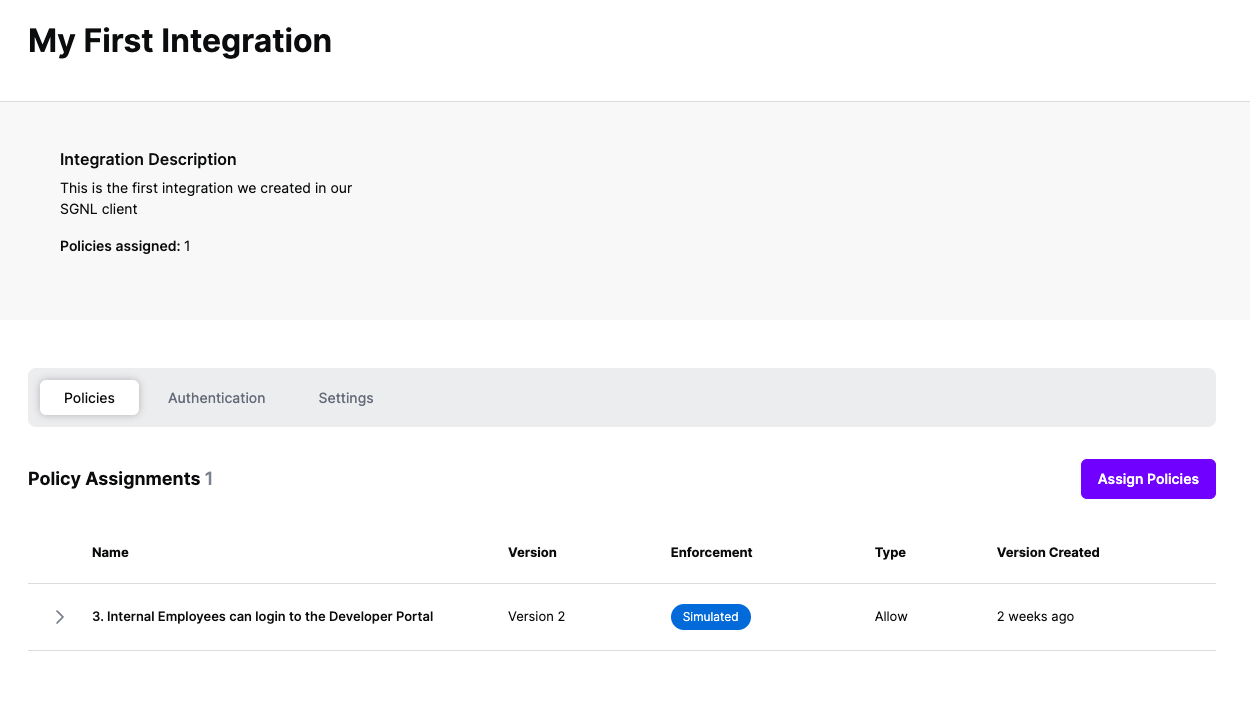
Protected Systems are applications, services, or infrastructure that you want to protect with SGNL. In this guide, we’ll describe how to achieve fine-grained access control inside of AWS Identity Center with SGNL, enabling dynamic, contextual access to infrastructure and data inside of AWS.
AWS Identity Center (formerly AWS Single Sign-On) provides a central place to manage access to multiple AWS accounts and business applications. When integrated with SGNL, you can implement attribute-based access control (ABAC) that dynamically assigns permissions based on user attributes, group memberships, and other contextual factors. Note that this guide is for AWS Identity Center integrations — if you’re using AWS IAM instead, please see this documentation.
With this integration, AWS Identity Center needs not know about the policies, systems of record, or any of the data in SGNL - it simply needs to pass to SGNL:
Authentication ensures that only authorized systems can make requests into SGNL, as well as verifying the identity of an integration in order to effectively evaluate Policies - to access Authentication settings, open your AWS protected system and select the Authentication tab
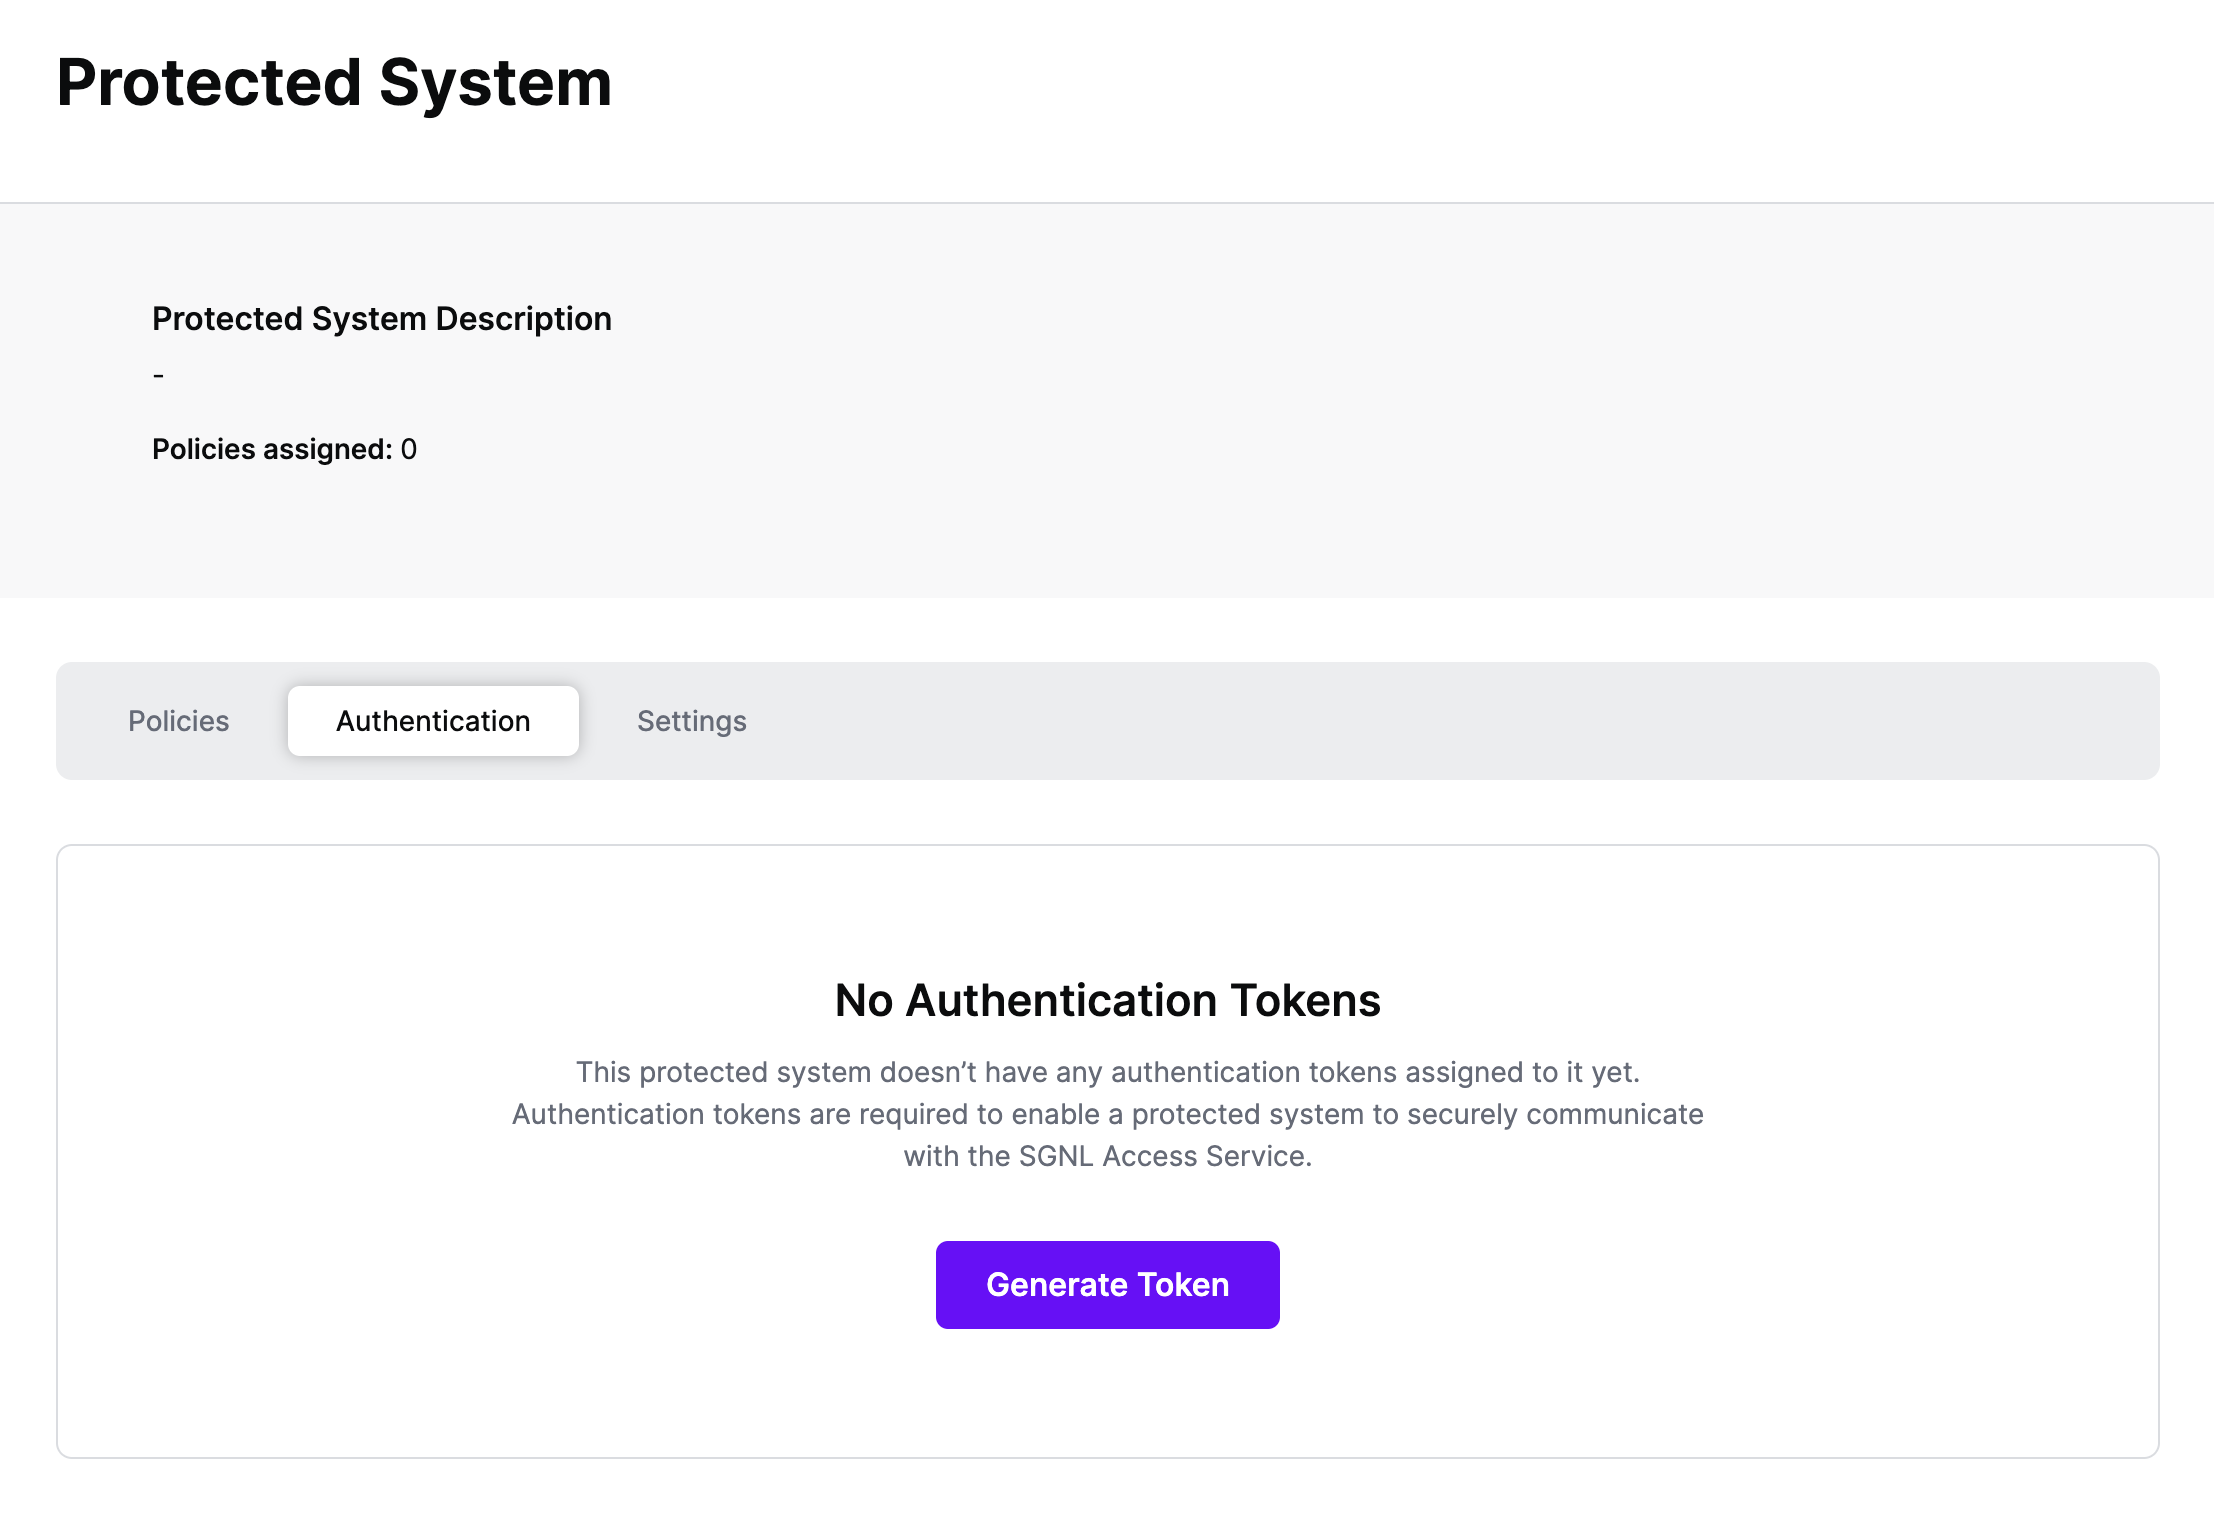
Click Generate Token
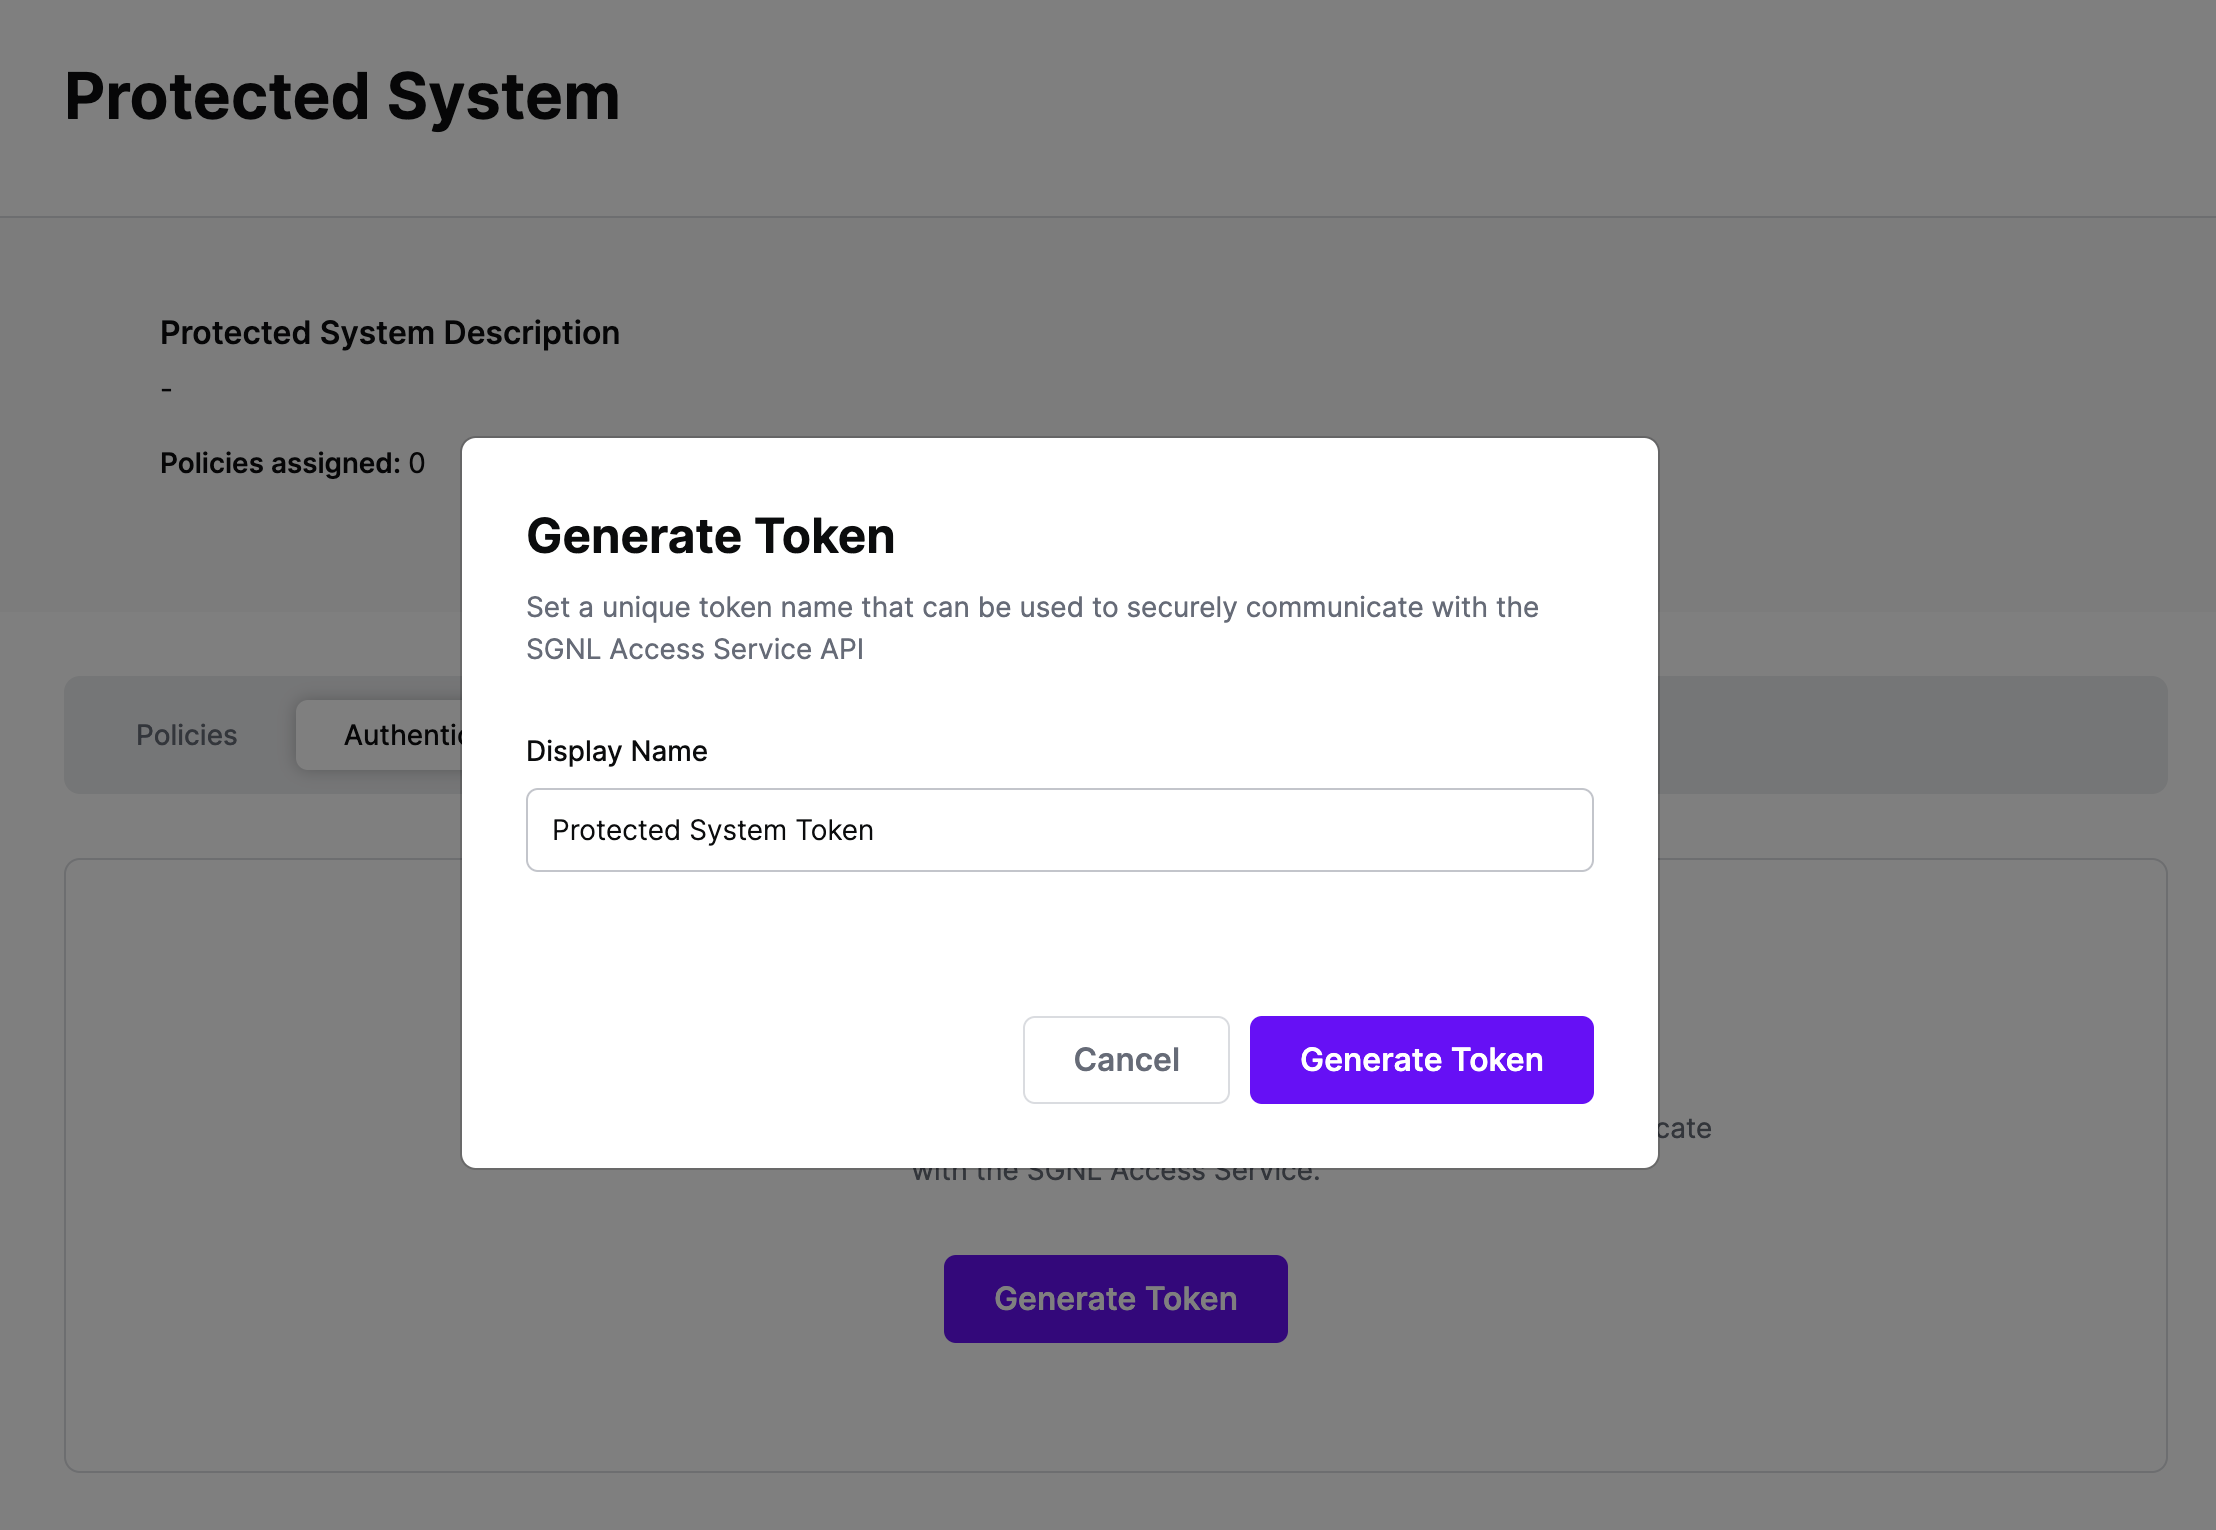
Give your token a descriptive name so that you know how it’s being used in the future and click to Generate Token
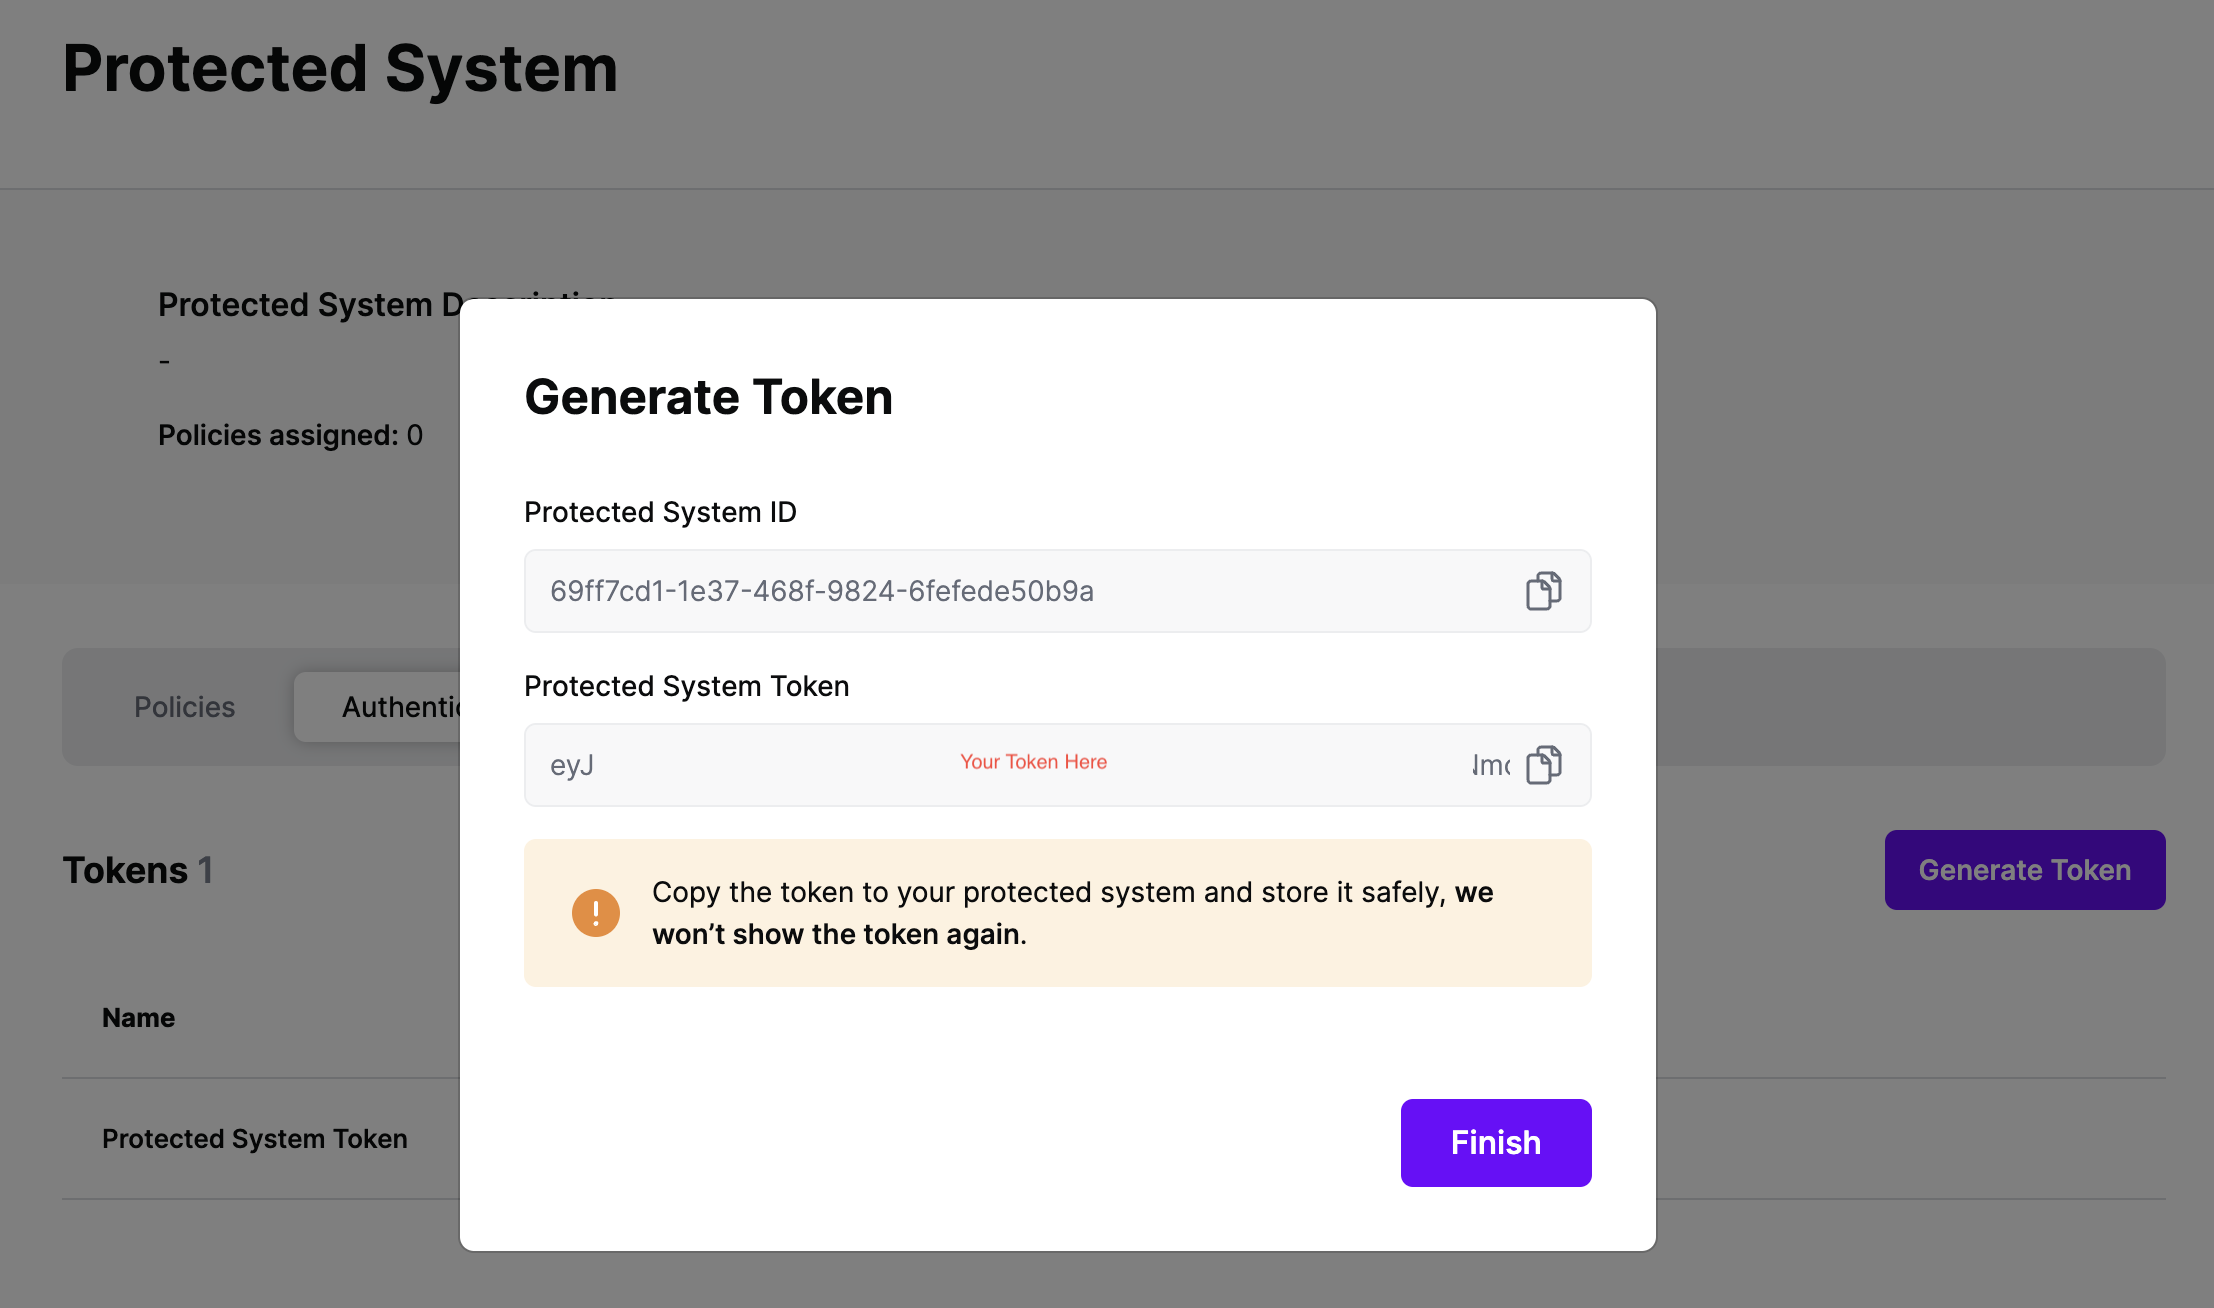
On the next screen, copy the token - this will be used by your IdP to make access requests to SGNL using the SGNL Access Service API
Note: The value of this token is not available again after this screen, so ensure you securely store it for steps later in this guide
Permission Sets.Create permission set and choose Custom permission set.Inline policy to expand it, then create a policy for the permission set using the aws:PrincipalTag condition key. Here, we will set the value of the attribute https://aws.amazon.com/SAML/Attributes/AccessControl:{AttributeName} through SGNL — dynamically applies permissions depending on the tags passed in by your IdP. Here is more information on Conditions in AWS Policies with aws:PrincipalTag. Here is an example policy that assigns Allow_All, Deny_All, or Allow_S3_Only access based on SGNL’s dynamic access control response, where sgnlRole is the tagValue that SGNL will pass in values for:{
"Version": "2012-10-17",
"Statement": [
{
"Effect": "Allow",
"Action": [
"*"
],
"Resource": "*",
"Condition": {
"StringLike": {
"aws:PrincipalTag/sgnlRole": "Allow_All"
}
}
},
{
"Effect": "Deny",
"Action": [
"*"
],
"Resource": "*",
"Condition": {
"StringLike": {
"aws:PrincipalTag/sgnlRole": "Deny_All"
}
}
},
{
"Effect": "Allow",
"Action": "s3:*",
"Resource": "*",
"Condition": {
"StringLike": {
"aws:PrincipalTag/sgnlRole": "Allow_S3_Only"
}
}
}
]
}
SGNL integrates with Identity Providers at sign-in time to dynamically assign permissions, roles, tags, or other permission granting objects for AWS Identity Center Access. We provide support across Okta, Entra ID, and Ping Identity to dynamically assign these permissions.
Before setting up your Transforms in SGNL:
Settings tab, and ensure that the Asset(s) being returned in the Request Configuration section are those that you want handed back to your IdP (e.g. Okta or Entra) during SSOThis guide assumes you already have Okta integrated with AWS Identity Center for SAML SSO. If that’s not the case, refer to AWS Documentationto get that configured.
Once configured, SGNL integrates with Okta via Inline Hooks on the Okta side, and SGNL Transforms (and optionally, Provider Hooks) on the SGNL side.
SGNL Transforms are available on the Protected System you created above, within the ‘Transforms’ Menu. To create a transform suitable for an Okta Inline Hook, you’ll want to:
{$.data.context.user.profile.login}) or email ({$.data.context.user.profile.email}) other common options are available in the + menu{$.data.context.request.ipAddress}access or assumeRole, but it could be any of the attributes in the hook payload, using a method similar to the above/claims/https:~1~1aws.amazon.com~1SAML~1Attributes~1AccessControl:{tagValue}, where tagValue matches the principal tag you specified in the permission set created in AWS Identity Center (e.g. sgnlRole in the above example for the aws:PrincipalTag condition key). This enables AWS Identity Center’s ABAC you enabled above to assign dynamic access based on the value returned by SGNL."Allow_All", "Deny_All", or "Allow_S3_Only". The specific value determines the level of access granted when a user matches the SGNL policy. Note that this field supports parameters from your asset response, so this value can be returned using a parameter like {$.SNOWCI.correlationId} where the ServiceNow correlationID contains the value dynamically as retrieved from ServiceNow.Once your SGNL Transform is configured, you can proceed to configure the Inline Hook within Okta, using the Token you copied from your Protected System above. Steps to create the Okta Inline Hook are available in Okta’s Help Documentation, ensuring that you specify HTTP Header Authentication with a Header name of ‘Authorization’ and a value that contains ‘Bearer ’ and then the token you copied from your Protected System.
This guide assumes you already have Entra ID integrated with AWS Identity Center for SAML SSO. If that’s not the case, refer to AWS Documentation to get that configured.
First, configure SGNL Transforms for Entra ID:
Name, make sure that whatever Claim Name you return, you must have a matching Claim Name configured in the Entra ID Custom Claim Provider, you’ll get to that as part of the Provider Hook Configuration. For instance, this could be sgnlClaim if you create an Entra custom Claims Provider with a matching claim name.Value field, specify the value of the claim that you want passed in this path – this is likely to be an attribute on your asset response. Based on the example permission set provided in the Setting Up AWS Identity Center section, this value will typically be one of the following: "Allow_All", "Deny_All", or "Allow_S3_Only". The specific value determines the level of access granted when a user matches the SGNL policy. Note that this field supports parameters from your asset response, so this value can be returned using a parameter like {$.SNOWCI.correlationId} where the ServiceNow correlationID contains the value dynamically as retrieved from ServiceNow.Next, configure a custom attribute in Entra ID using your Custom Claims Provider:
Name set to AccessControl:AttributeName as specified. For instance, with the example permission set provided in the Setting Up AWS Identity Center section, your attribute name would be sgnlRole as this is the principal tag you want passed in to determine access. Your configuration should look like this:Name of the attribute to AccessControl:{attribute-name} where you define {attribute-name} following your needs. E.g. AccessControl:sgnlRoleNamespace to https://aws.amazon.com/SAML/AttributesSource to AttributeSource attribute to be the custom claims provider (e.g. customclaimsprovider.sgnlClaim) you created when setting up your Provider Hook for Entra ID above.Source attribute must point to your custom claims provider to pull in information from SGNL through the Provider Hook you configured.Once the AWS integration is created, you can start assigning versions of Policies - to get started, select Policies from the tabs in your newly created integration
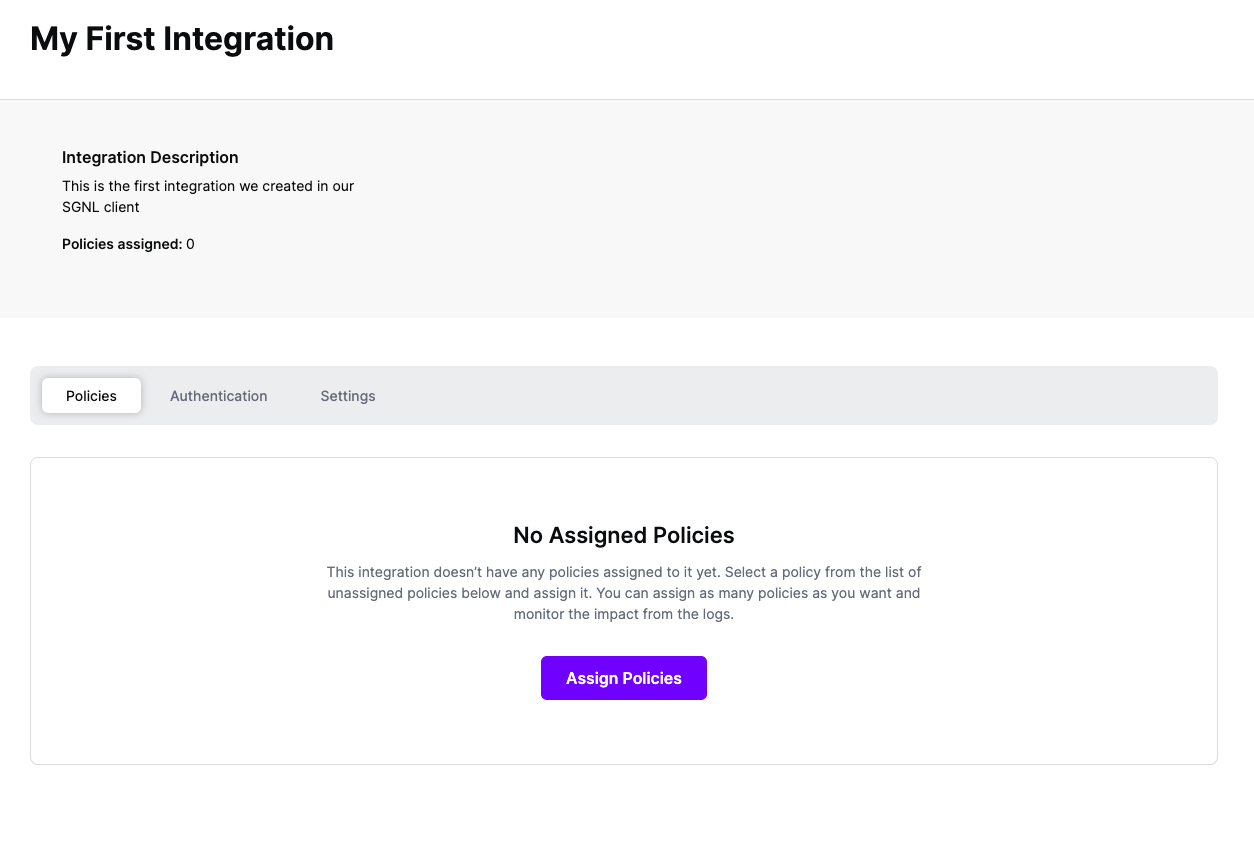
Select ‘Assign Policies’
Select:
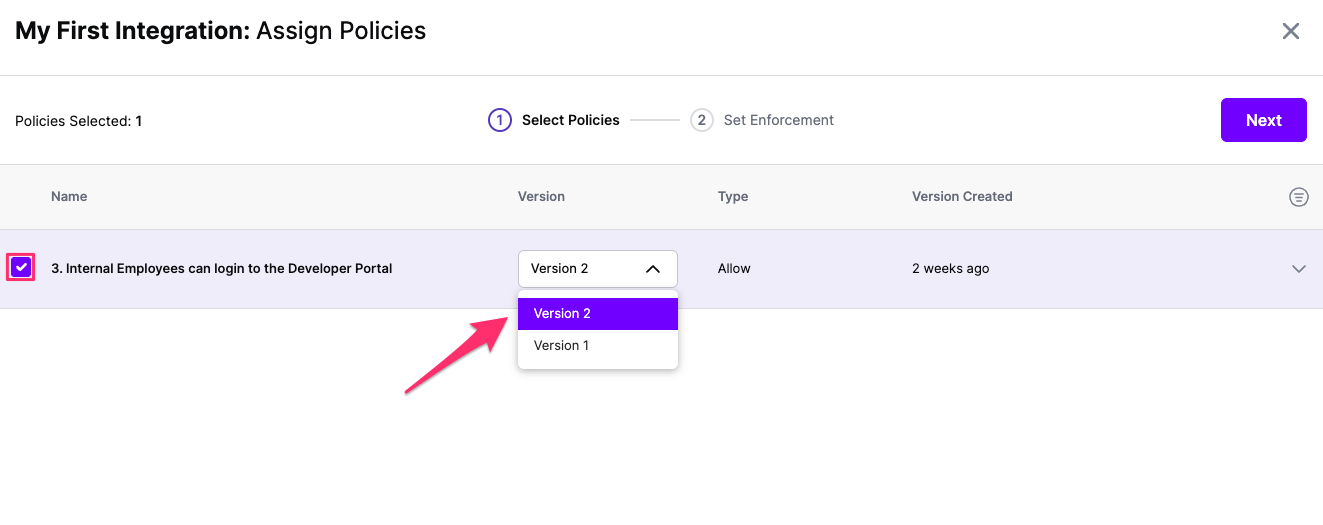
Click Next once you have the Policies and Versions configured as is appropriate
Select the Enforcement mode for the Policies you chose in the previous step
Simulated: Policy Versions that are being simulated will only log their access decision in the SGNL logs and will not impact the access decision that SGNL hands back to an integration. Simulated policies are useful for performing what-if analysis of new policy versions as well as debugging policy changes.
Note: It’s considered best practice to start with policies in Simulated mode, to verify that policies have been created an applied as expected
Enforced: Policy Versions that are being enforced will impact the access decisions that SGNL hands back to an integration. Enforced Policies will determine access for an integration
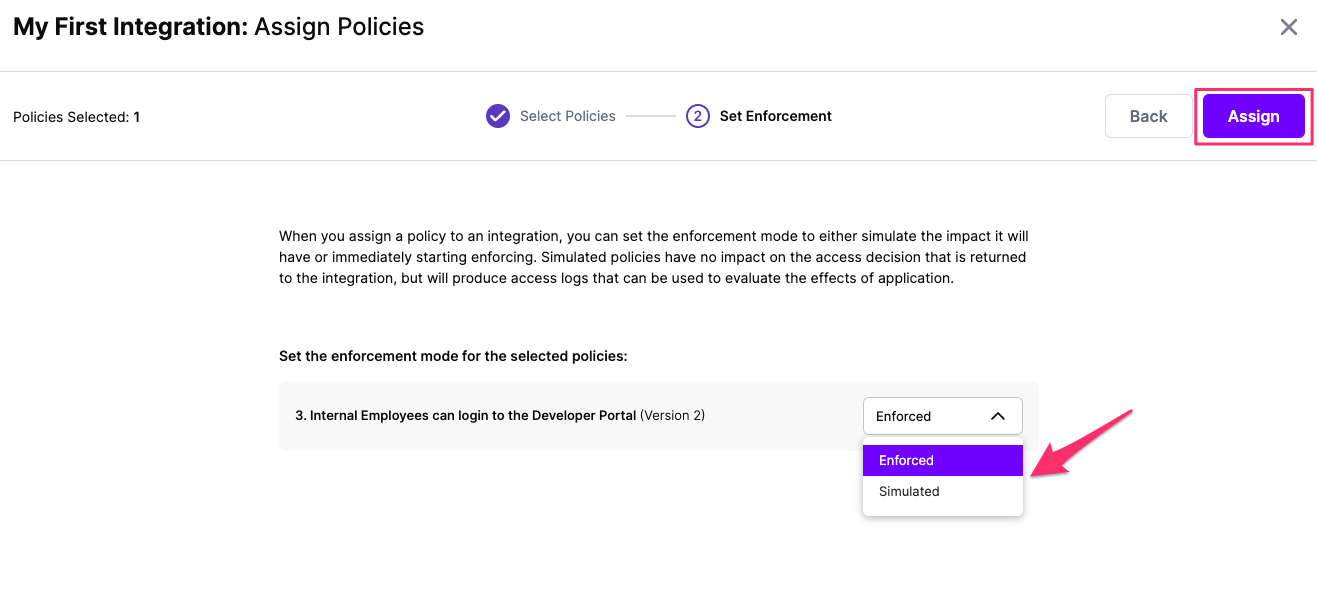
Select your desired Enforcement mode and select Assign
Versions of Policies will now be Assigned to your integration
