Protected Systems are applications, services, or infrastructure that you want to protect with SGNL. In this guide, we’ll describe how to achieve fine-grained access control inside of Google Cloud Platform with Okta and SGNL, enabling the right amount of access to infrastructure and data inside of GCP. Google Cloud recently released Workforce Identity Federation, enabling fine-grained access management for federated users, authenticating to GCP.
With this integration, GCP and Okta need not know about the policies, systems of record, or any of the data in SGNL - it simply needs to pass to SGNL:
Authentication ensures that only authorized systems can make requests into SGNL, as well as verifying the identity of an integration in order to effectively evaluate Policies - to access Authentication settings, open your GCP protected system and select the Authentication tab
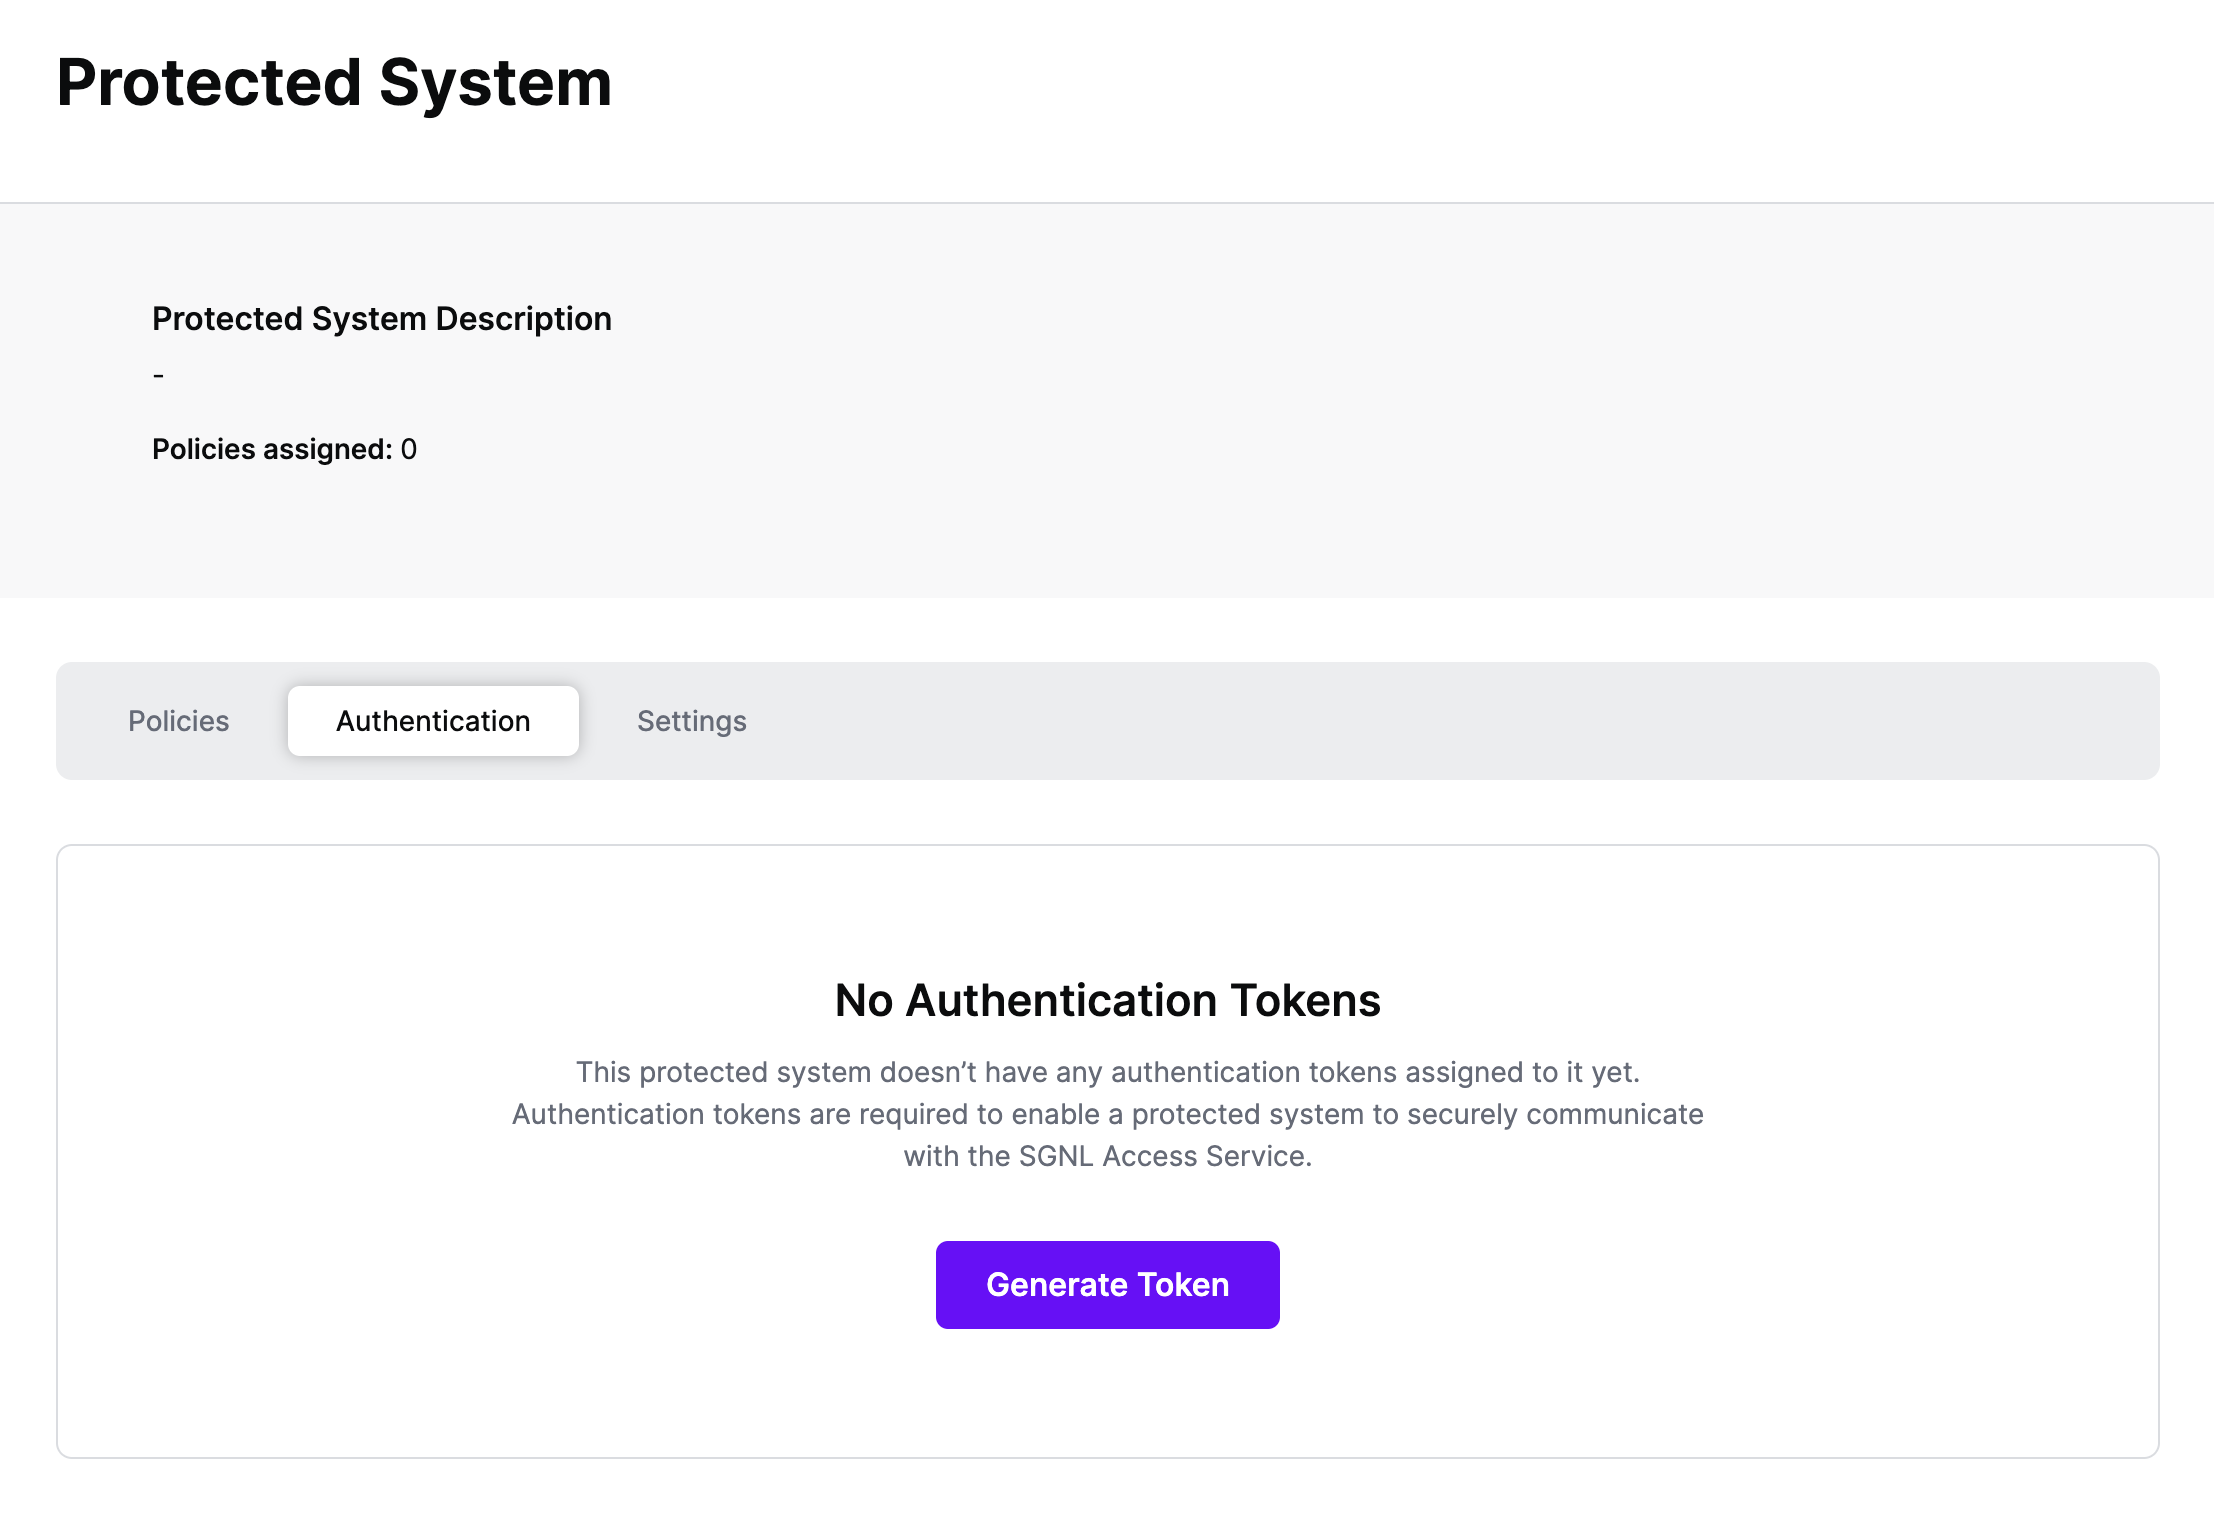
Click Generate Token
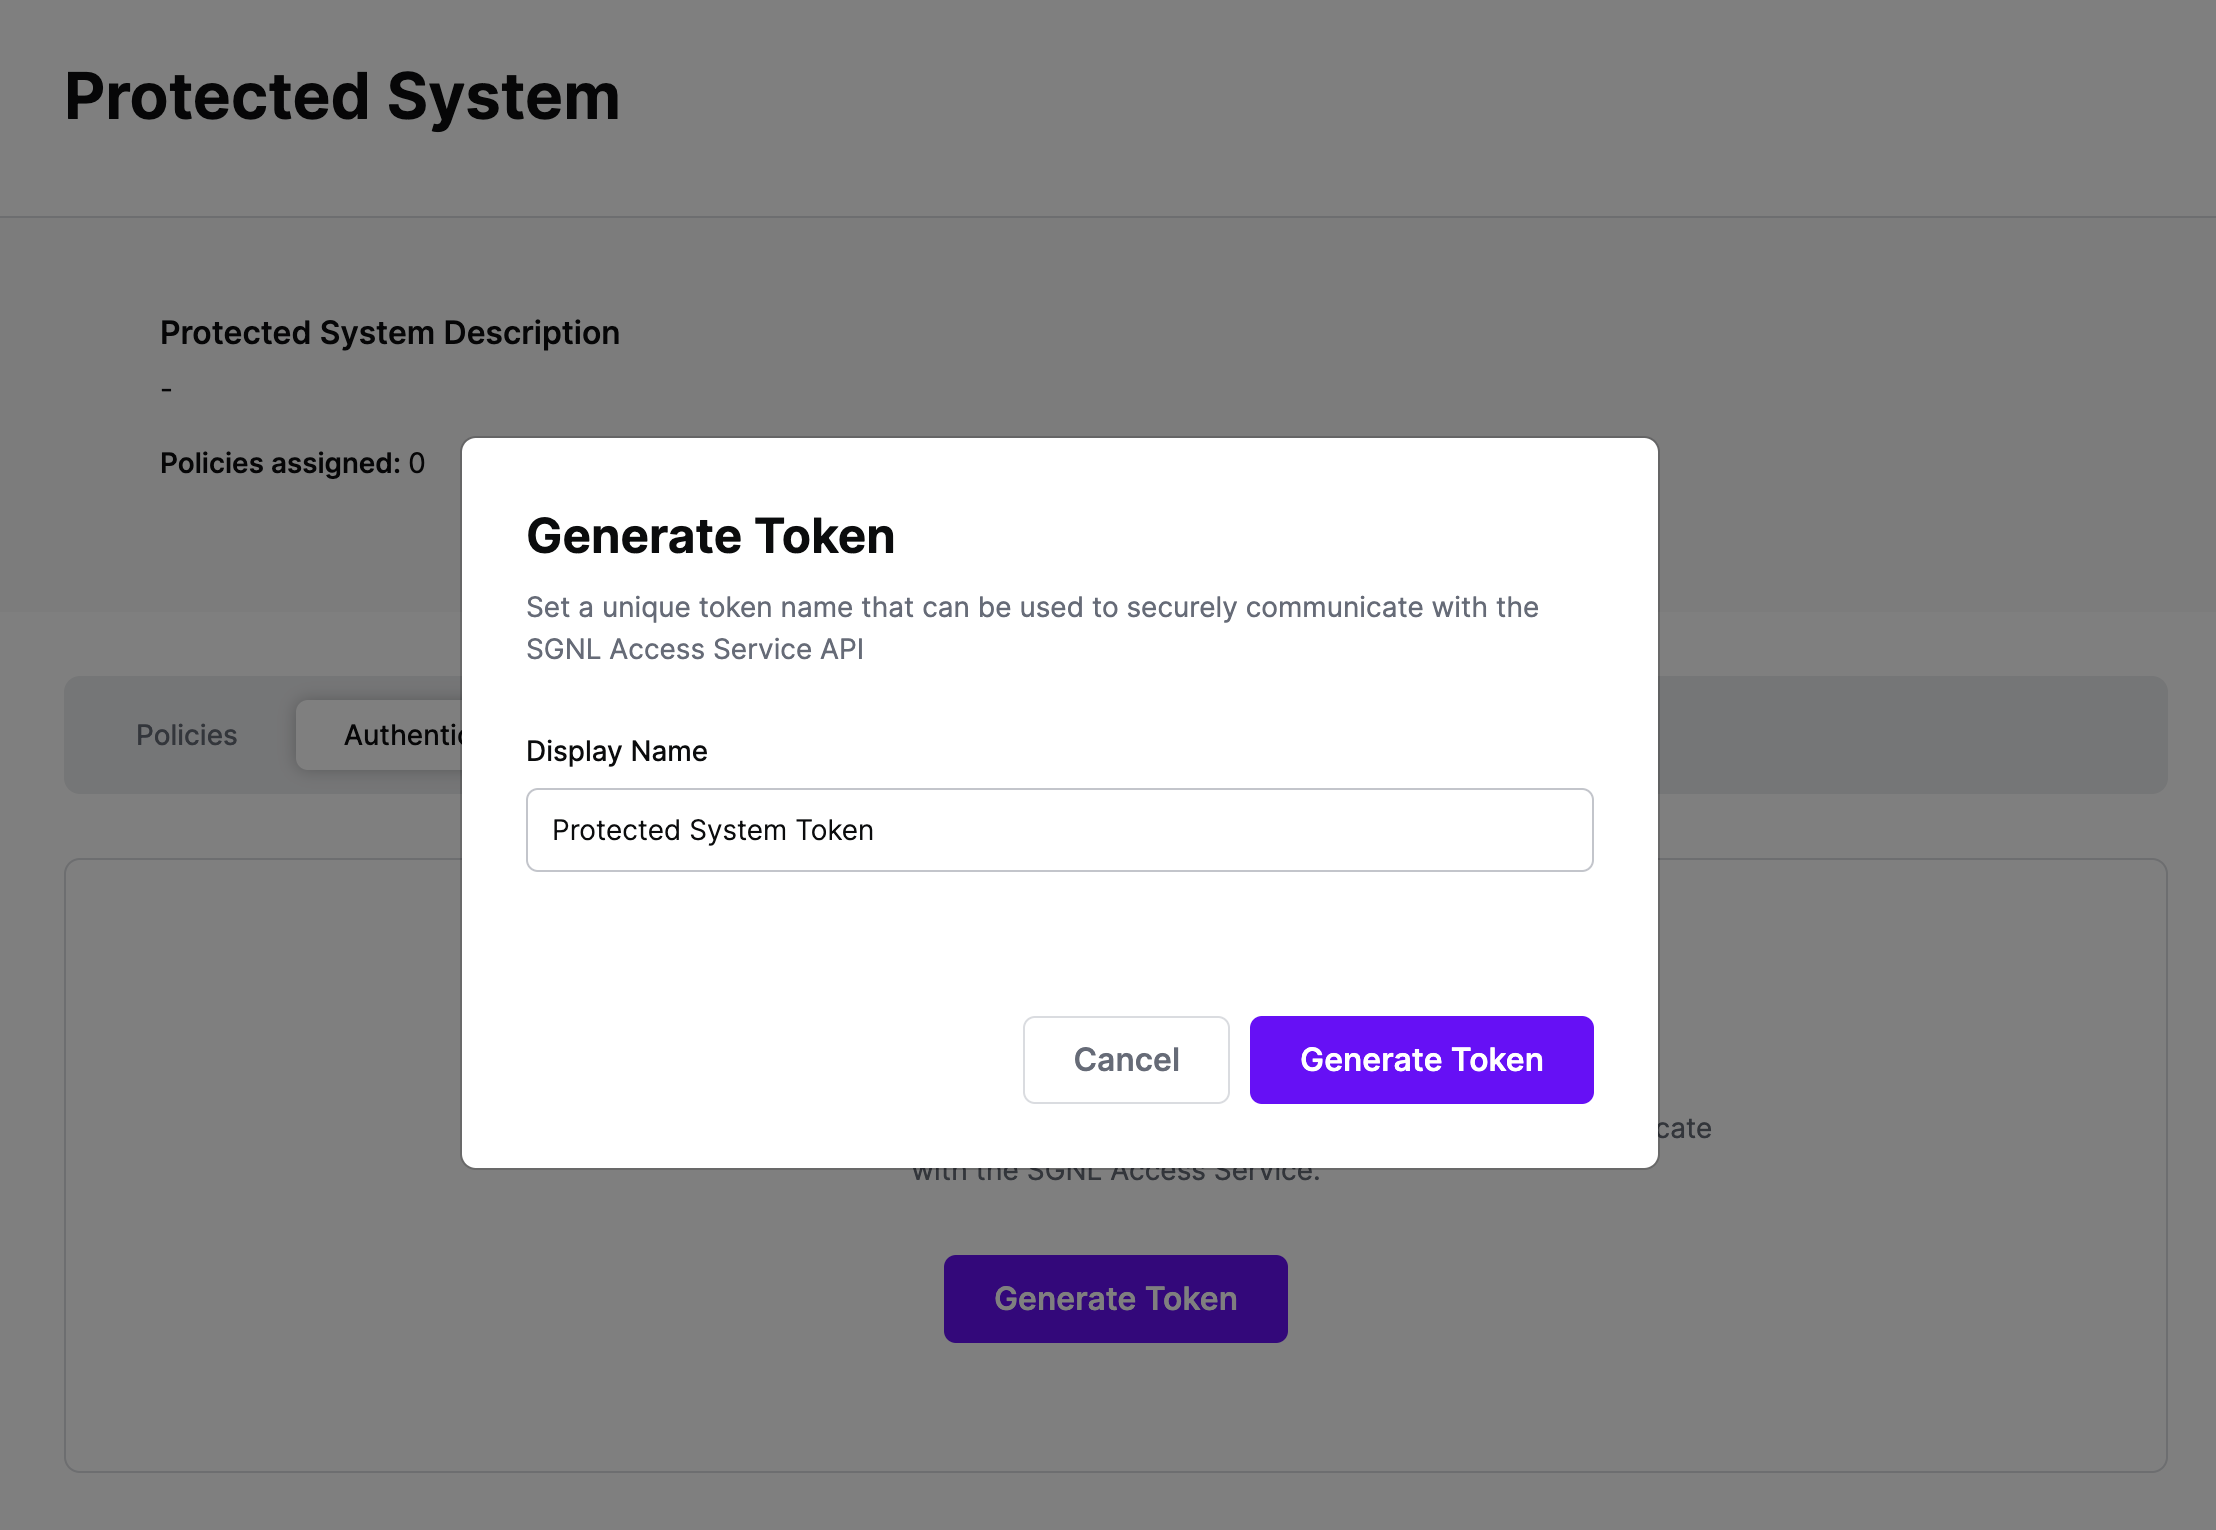
Give your token a descriptive name so that you know how it’s being used in the future and click to Generate Token
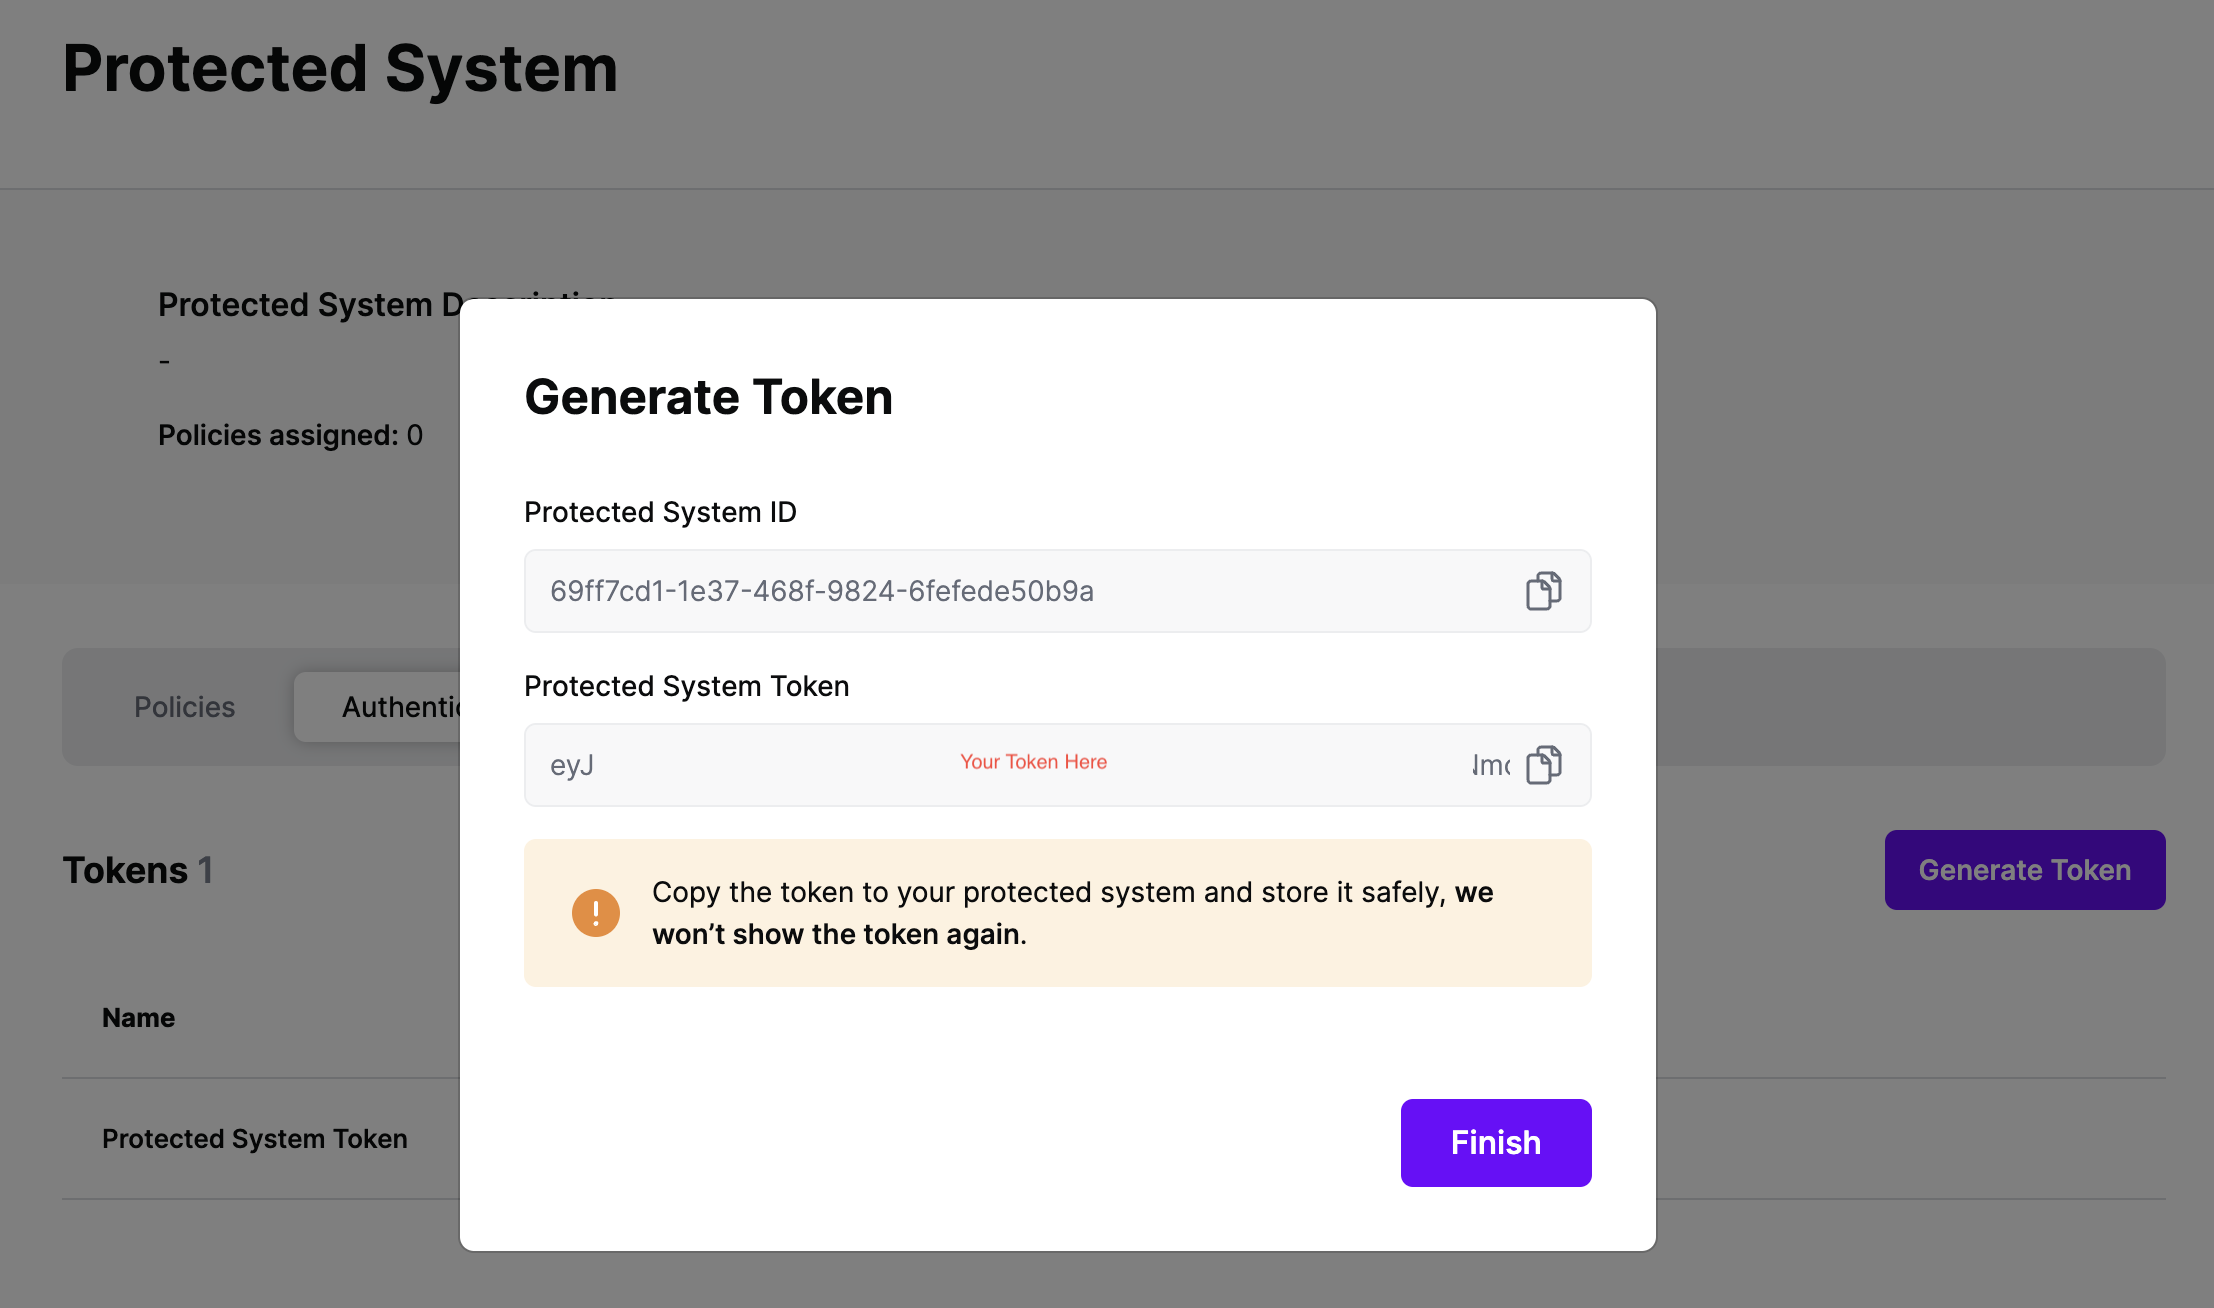
On the next screen, copy the token - this will be used by Okta to make access requests to SGNL using the SGNL Access Service API
Note: The value of this token is not available again after this screen, so ensure you securely store it for steps later in this guide
{$.data.context.session.login}{$.data.context.request.ipAddress}gcp-accessIn the Response section of the Transform, you wil want to configure at least 2 operations, one for passing in a subject identifier to GCP, and one for modifying claims in GCP IAM. For the first operation:
add operationcom.okta.identity.patch/claims/... and includes the subject claim name you have related to the subject passed in to GCP (e.g. /claims/sgnlsubject), or will specify in Okta’s Workforce Identity Federationgoogle.subject in GCP IAM{$.SNOWCR.assignedTo}-{$.SNOWCR.number}For the second operation:
add operation (unless you have complex business logic necessary to replace existing claims)com.okta.identity.patch/claims/... and includes the claim name you have, or will specify in Okta’s Workforce Identity Federation (e.g. /claims/sgnlaccess){$.SNOWCI.correlationId}Integrating SGNL with Okta, for the purposes of securing GCP, relies on Okta Inline Hooks. Okta Inline Hooks enable Okta to make an outbound request that can be routed to SGNL, in order to determine:
a. whether a principal has access to a specific GCP environment b. what assets within an GCP environment a user should be able to access during a given session c. what roles to allocate to the user for the session, based on business context
A simple example of this in action is using Okta Hooks to ask whether a user can access a specific customer’s data in GCP for a given session. In this scenario, SGNL Customers have found that assigning Customer Identifiers as Claims in the OIDC Token offer the greatest level of flexibility and dyamism, when combined with existing GCP roles and permissions, to dynamically specify an individual principal’s (user, service, robot, etc) permissions for a given session.
If GCP and Okta are not already integrated with OIDC in your environment, you’ll need to create a new OIDC Application within Okta to SSO into GCP, the complete set of steps may vary depending on your business needs, however this guide will provide many of the steps for a common deployment. Okta’s steps to configure an OIDC Integration are available on their Support Portal
App Integrationhttps://auth.cloud.google/signin-callback/*You’ll need to create a Token Inline Hook for use by SGNL. Full Details of configuring an Inline Hook are available in Okta’s Support Portal
https://access.sgnlapis.cloud/access/v2/search?transform=trueAuthorization as your Authentication Field and Bearer <your integration token> as the Authentication value, the integration token is the one you copied earlier in this guideUnfortunately, Okta doesn’t allow Token Inline Hooks with the Org Authorization Server, so you’ll need to create a new one. Okta’s steps to create an OAuth Authorization Server are on their Support Portal
https://auth.cloud.google and change to the Okta URL as the issuer (from Dynamic)Workforce Identity Federation is a relatively new capability in GCP, enabling users to access Google Cloud without persistent identities, and leverage claims to manage access within the platform.
oauth2/<some Okta Id, e.g. ausjnol9oaLuUuclw697>Code and the Assertion claims behavior as User Info and Id Token/claims/<some subject claim> – you’ll likely want to use that same claim value in the OIDC 1 section, prefixed with assertion, e.g. assertion.sgnlsubjectGoogle 2 (assuming only a subject claim exists), you’ll want to map the inbound claim to a Google Attribute, e.g. attribute.myClaim (assuming myClaim is the attribute you want to use)/claims/<some claim> – you’ll likely want to use that same claim value here, prefixed with assertion, e.g. attribute.sgnlaccessOIDC 2 section, you’ll likely want to keep things consistent and use assertion.sgnlAccess (note attribute and assertion)You’re now ready to start granting access depending on the inbound claims, you do this directly inside of GCP IAM.
Grant AccesssgnlAccess claim of value infra-admin, you might grant the principal:principalSet://iam.googleapis.com/locations/global/workforcePools/<Your Workforce Pool ID>/attribute.sgnlaccess/infra-admin
Once the GCP integration is created, you can start assigning versions of Policies - to get started, select Policies from the tabs in your newly created integration
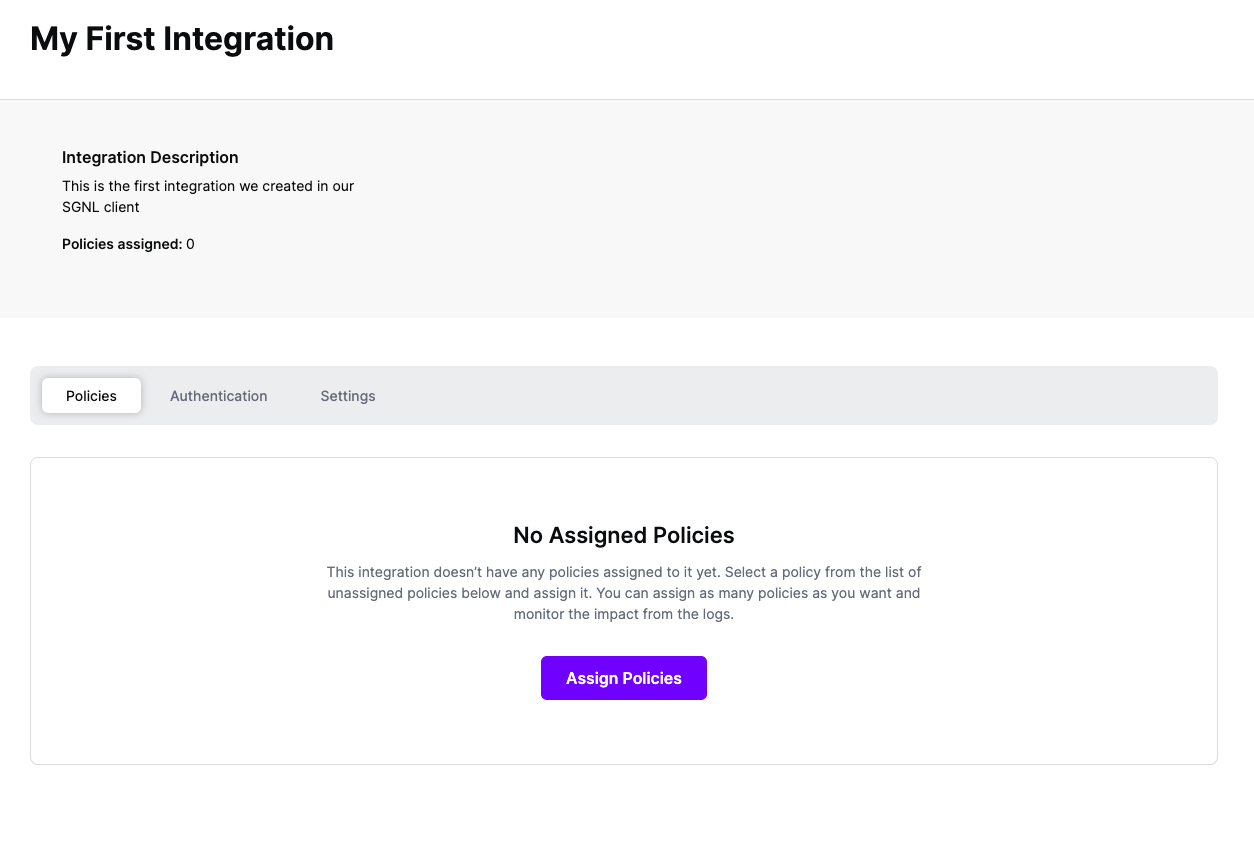
Select ‘Assign Policies’
Select:
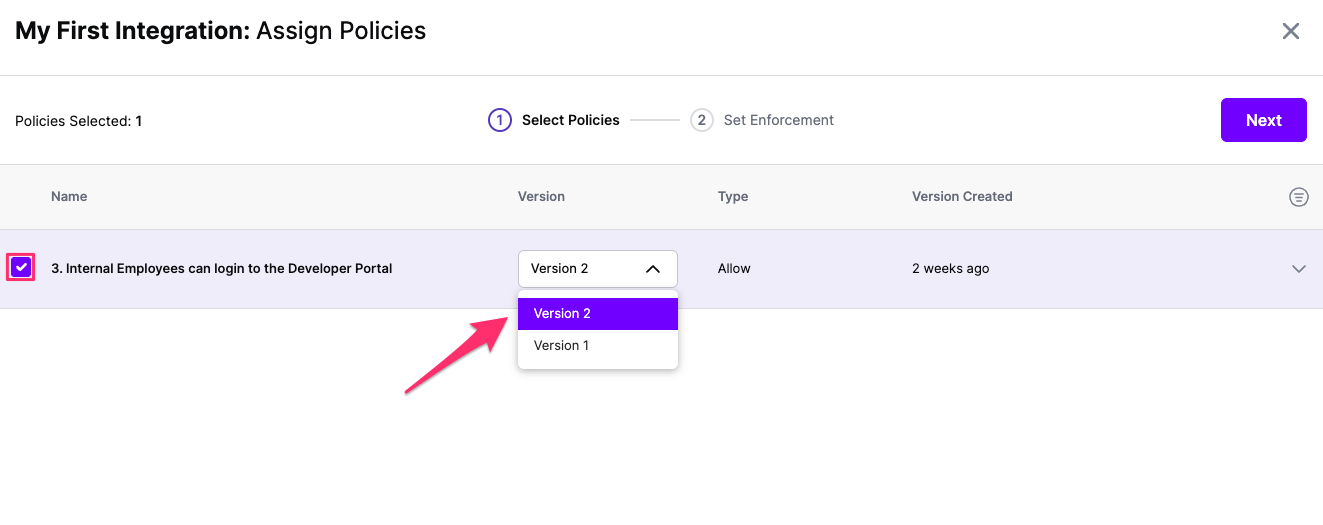
Click Next once you have the Policies and Versions configured as is appropriate
Select the Enforcement mode for the Policies you chose in the previous step
Simulated: Policy Versions that are being simulated will only log their access decision in the SGNL logs and will not impact the access decision that SGNL hands back to an integration. Simulated policies are useful for performing what-if analysis of new policy versions as well as debugging policy changes.
Note: It’s considered best practice to start with policies in Simulated mode, to verify that policies have been created an applied as expected
Enforced: Policy Versions that are being enforced will impact the access decisions that SGNL hands back to an integration. Enforced Policies will determine access for an integration
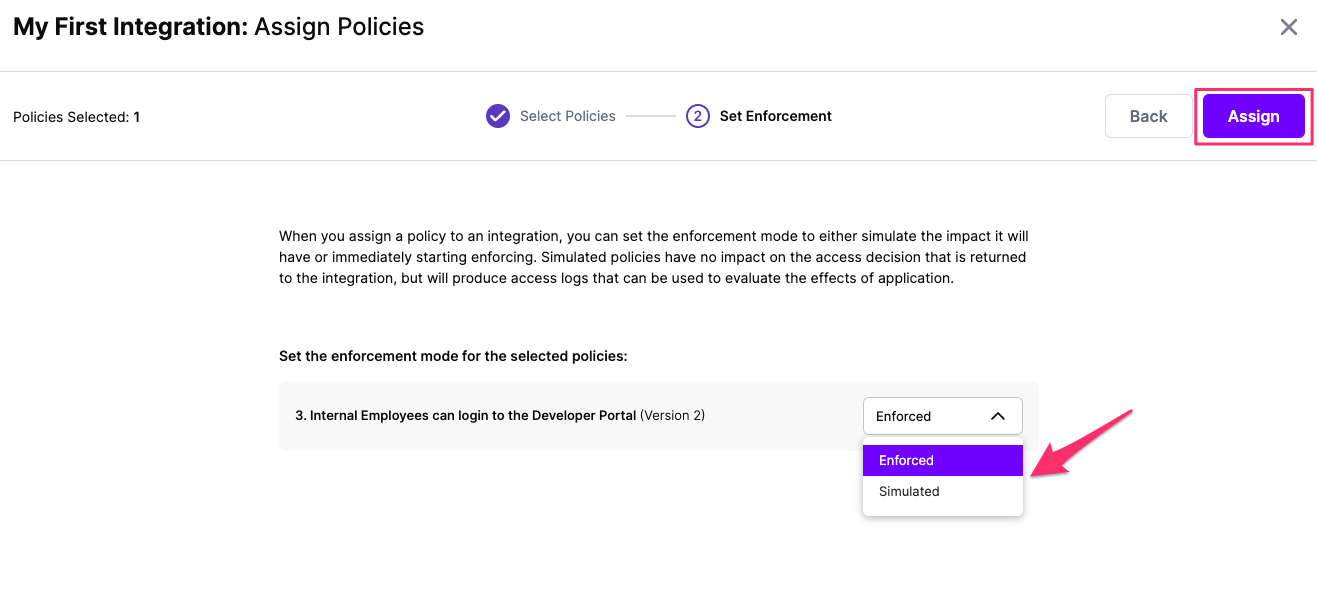
Select your desired Enforcement mode and select Assign
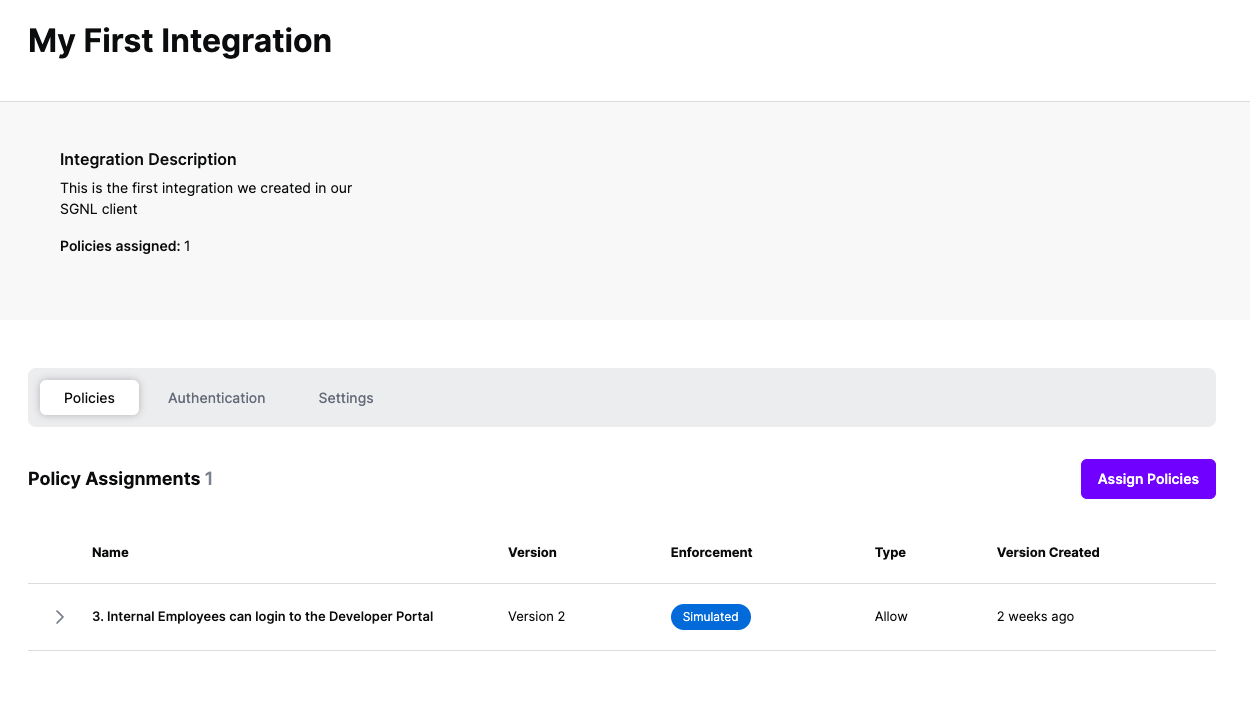
Versions of Policies will now be Assigned to your integration
As part of the SGNL CAEP Hub, GCP can be configured to receive session revokation events from SGNL. Follow the steps below to configure GCP to enable this integration.
sgnl.cloud./auth/userinfo.email, ./auth/userinfo.profile, openid.../auth/cloud-platformhttps://{clientname}.sgnl.cloud/auth/oidcCallbackSaveGoogle-1.0.0), select Actionshttps://iam.googleapis.comhttps://www.googleapis.com/auth/cloud-platformhttps://oauth2.googleapis.com/tokenhttps://accounts.google.com/o/oauth2/v2/auth?access_type=offline&prompt=consentAuthenticate and follow the consent screen. Once you seen the green check mark showing successful authentication, click Save.From within SGNL you can configure any change in the graph to trigger actions that are directed to downstream systems. For general documentation on how to configure Triggers and Rules that match your use-case, refer to our CAEP Hub documentation. In an example scenario, you may want to trigger an GCP Session Revocation event when an end-user ServiceNow Change Request is closed — as they should no longer have access to GCP since the request they were working on is no longer active. To complete this example integration, we assume someone has already configured ServiceNow ITSM as a System of Record in SGNL:
active is equal to “false”subjectId field, input the value for the Subject claim configured in your TransformworkforcePoolId field, input your Workforce Pool Id (e.g. sgnl-workforcepool-1)That’s it. Once you’ve finished configuring your rule, the next time a User’s change request is closed in ServiceNow, SGNL will revoke their session in GCP.