Protected Systems are applications, services, or infrastructure that you want to protect with SGNL. In this guide, we’ll describe how SGNL can add continuous and contextual access management to compliment the existing policies you have within ServiceNow.
With this integration, ServiceNow need not know about the policies, systems of record, or any of the data in SGNL - it simply needs to pass to SGNL:
Authentication ensures that only authorized systems can make requests into SGNL, as well as verifying the identity of an integration in order to effectively evaluate Policies - to access Authentication settings, open your ServiceNow protected system and select the Authentication tab
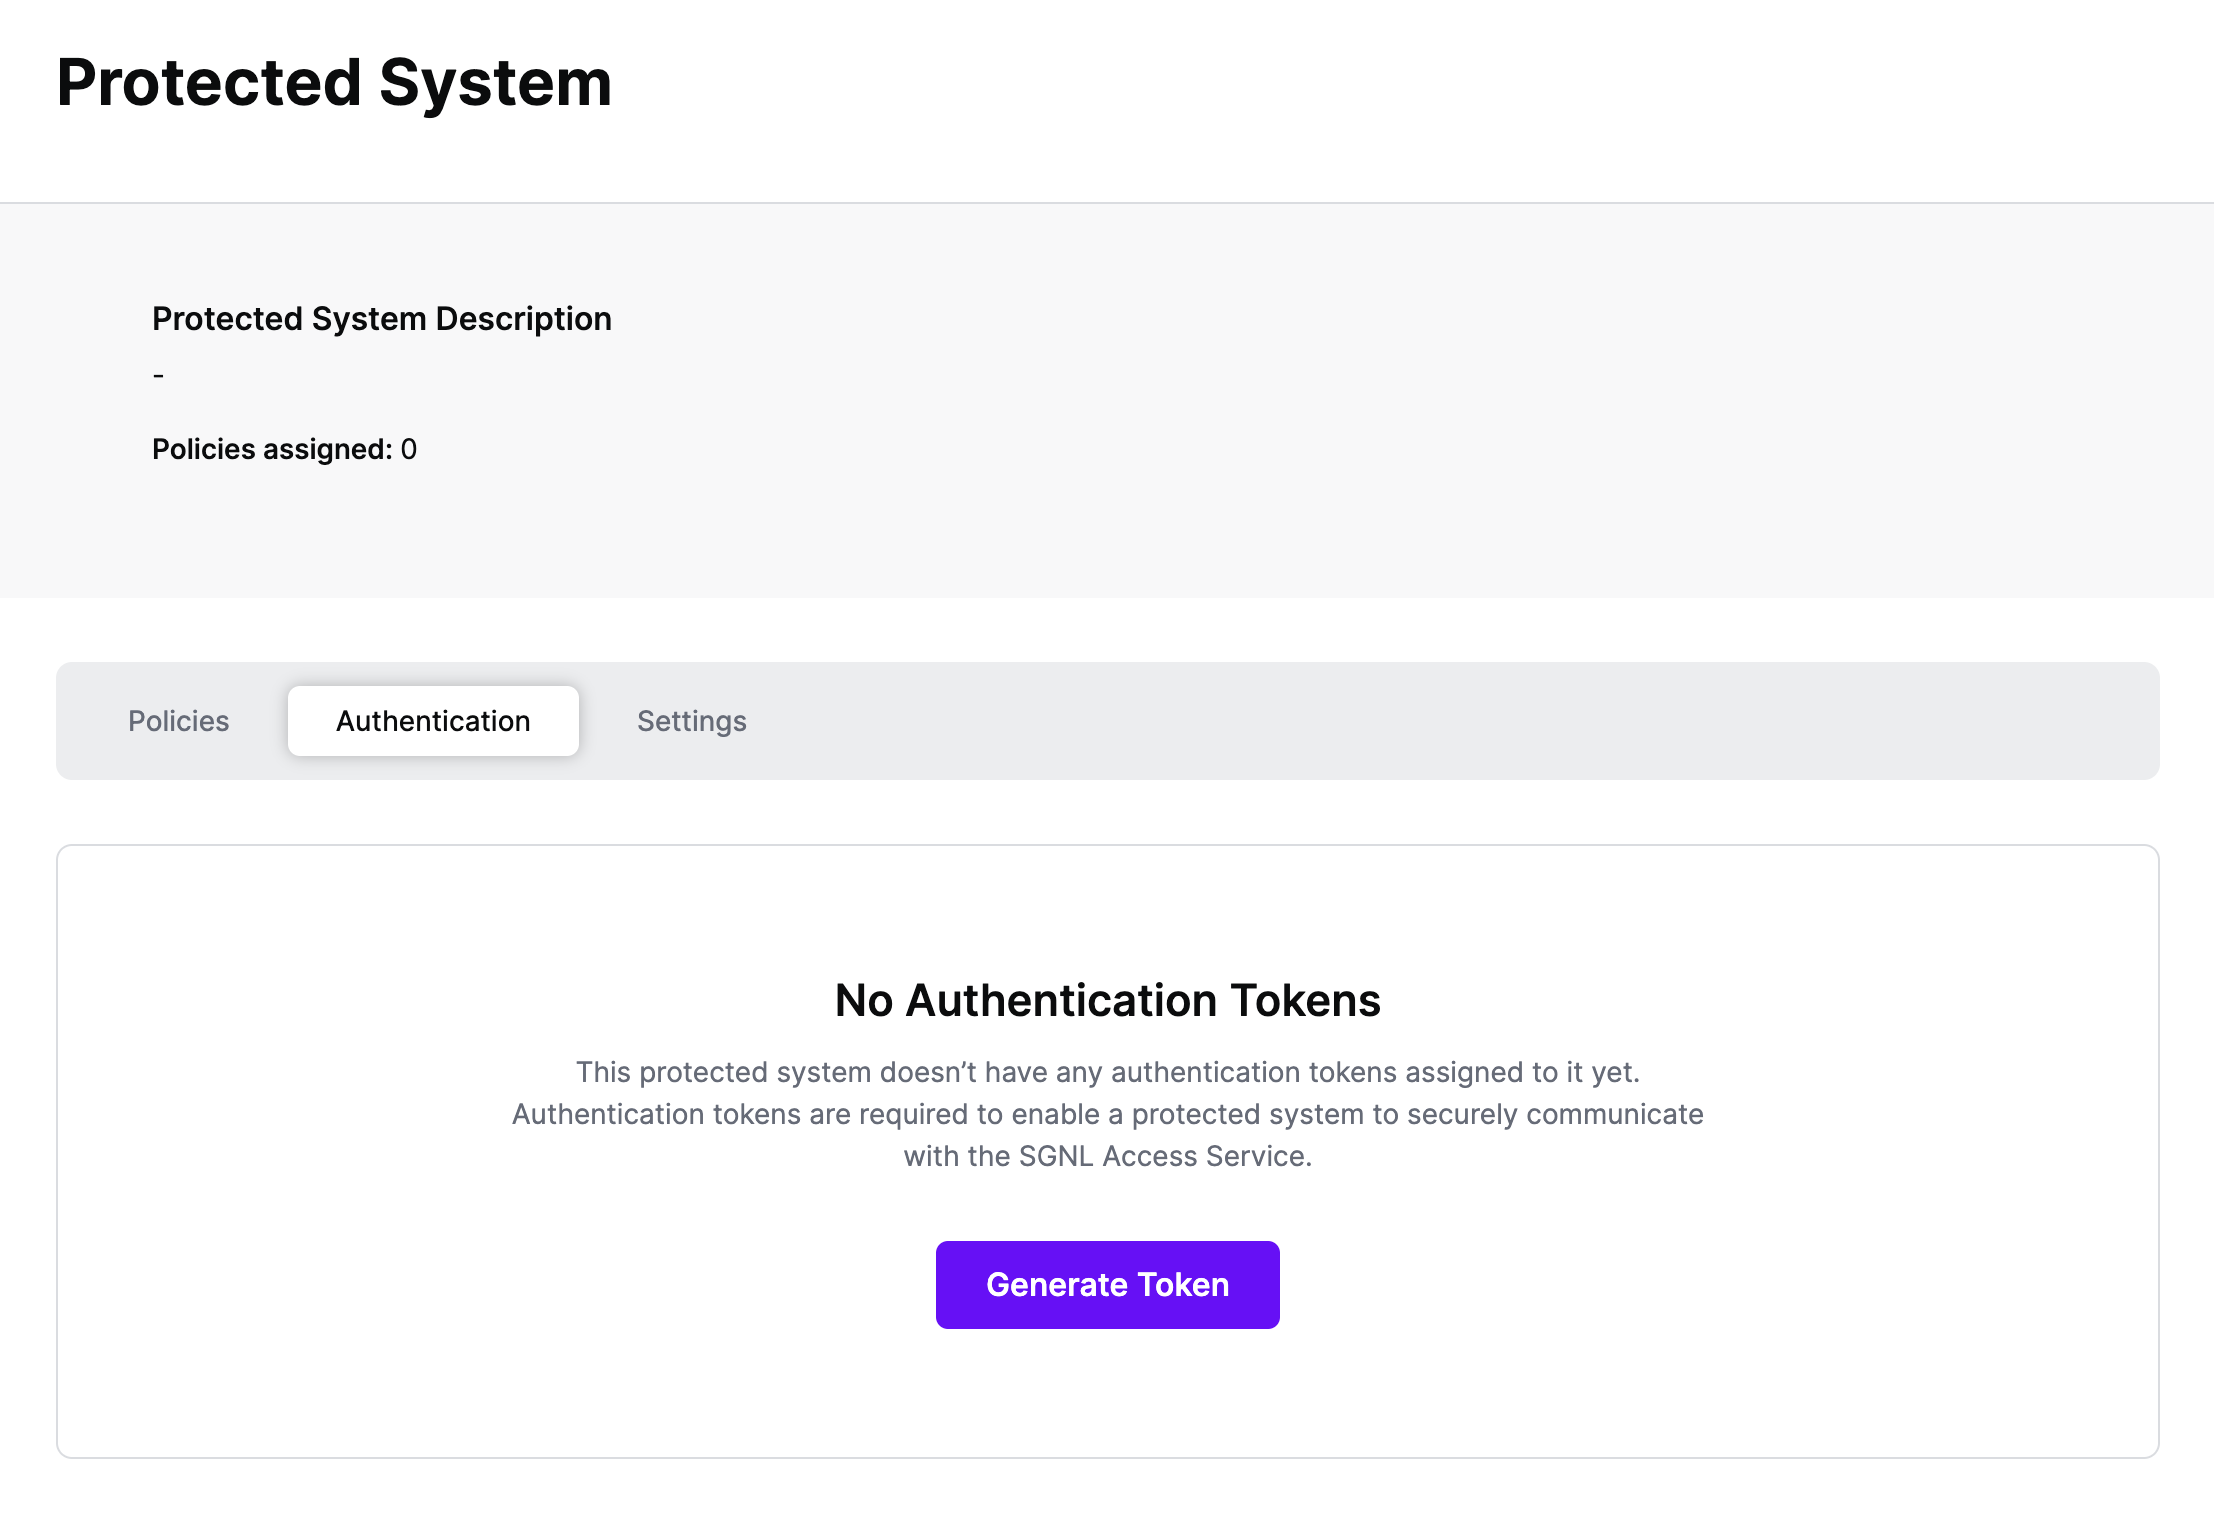
Click Generate Token
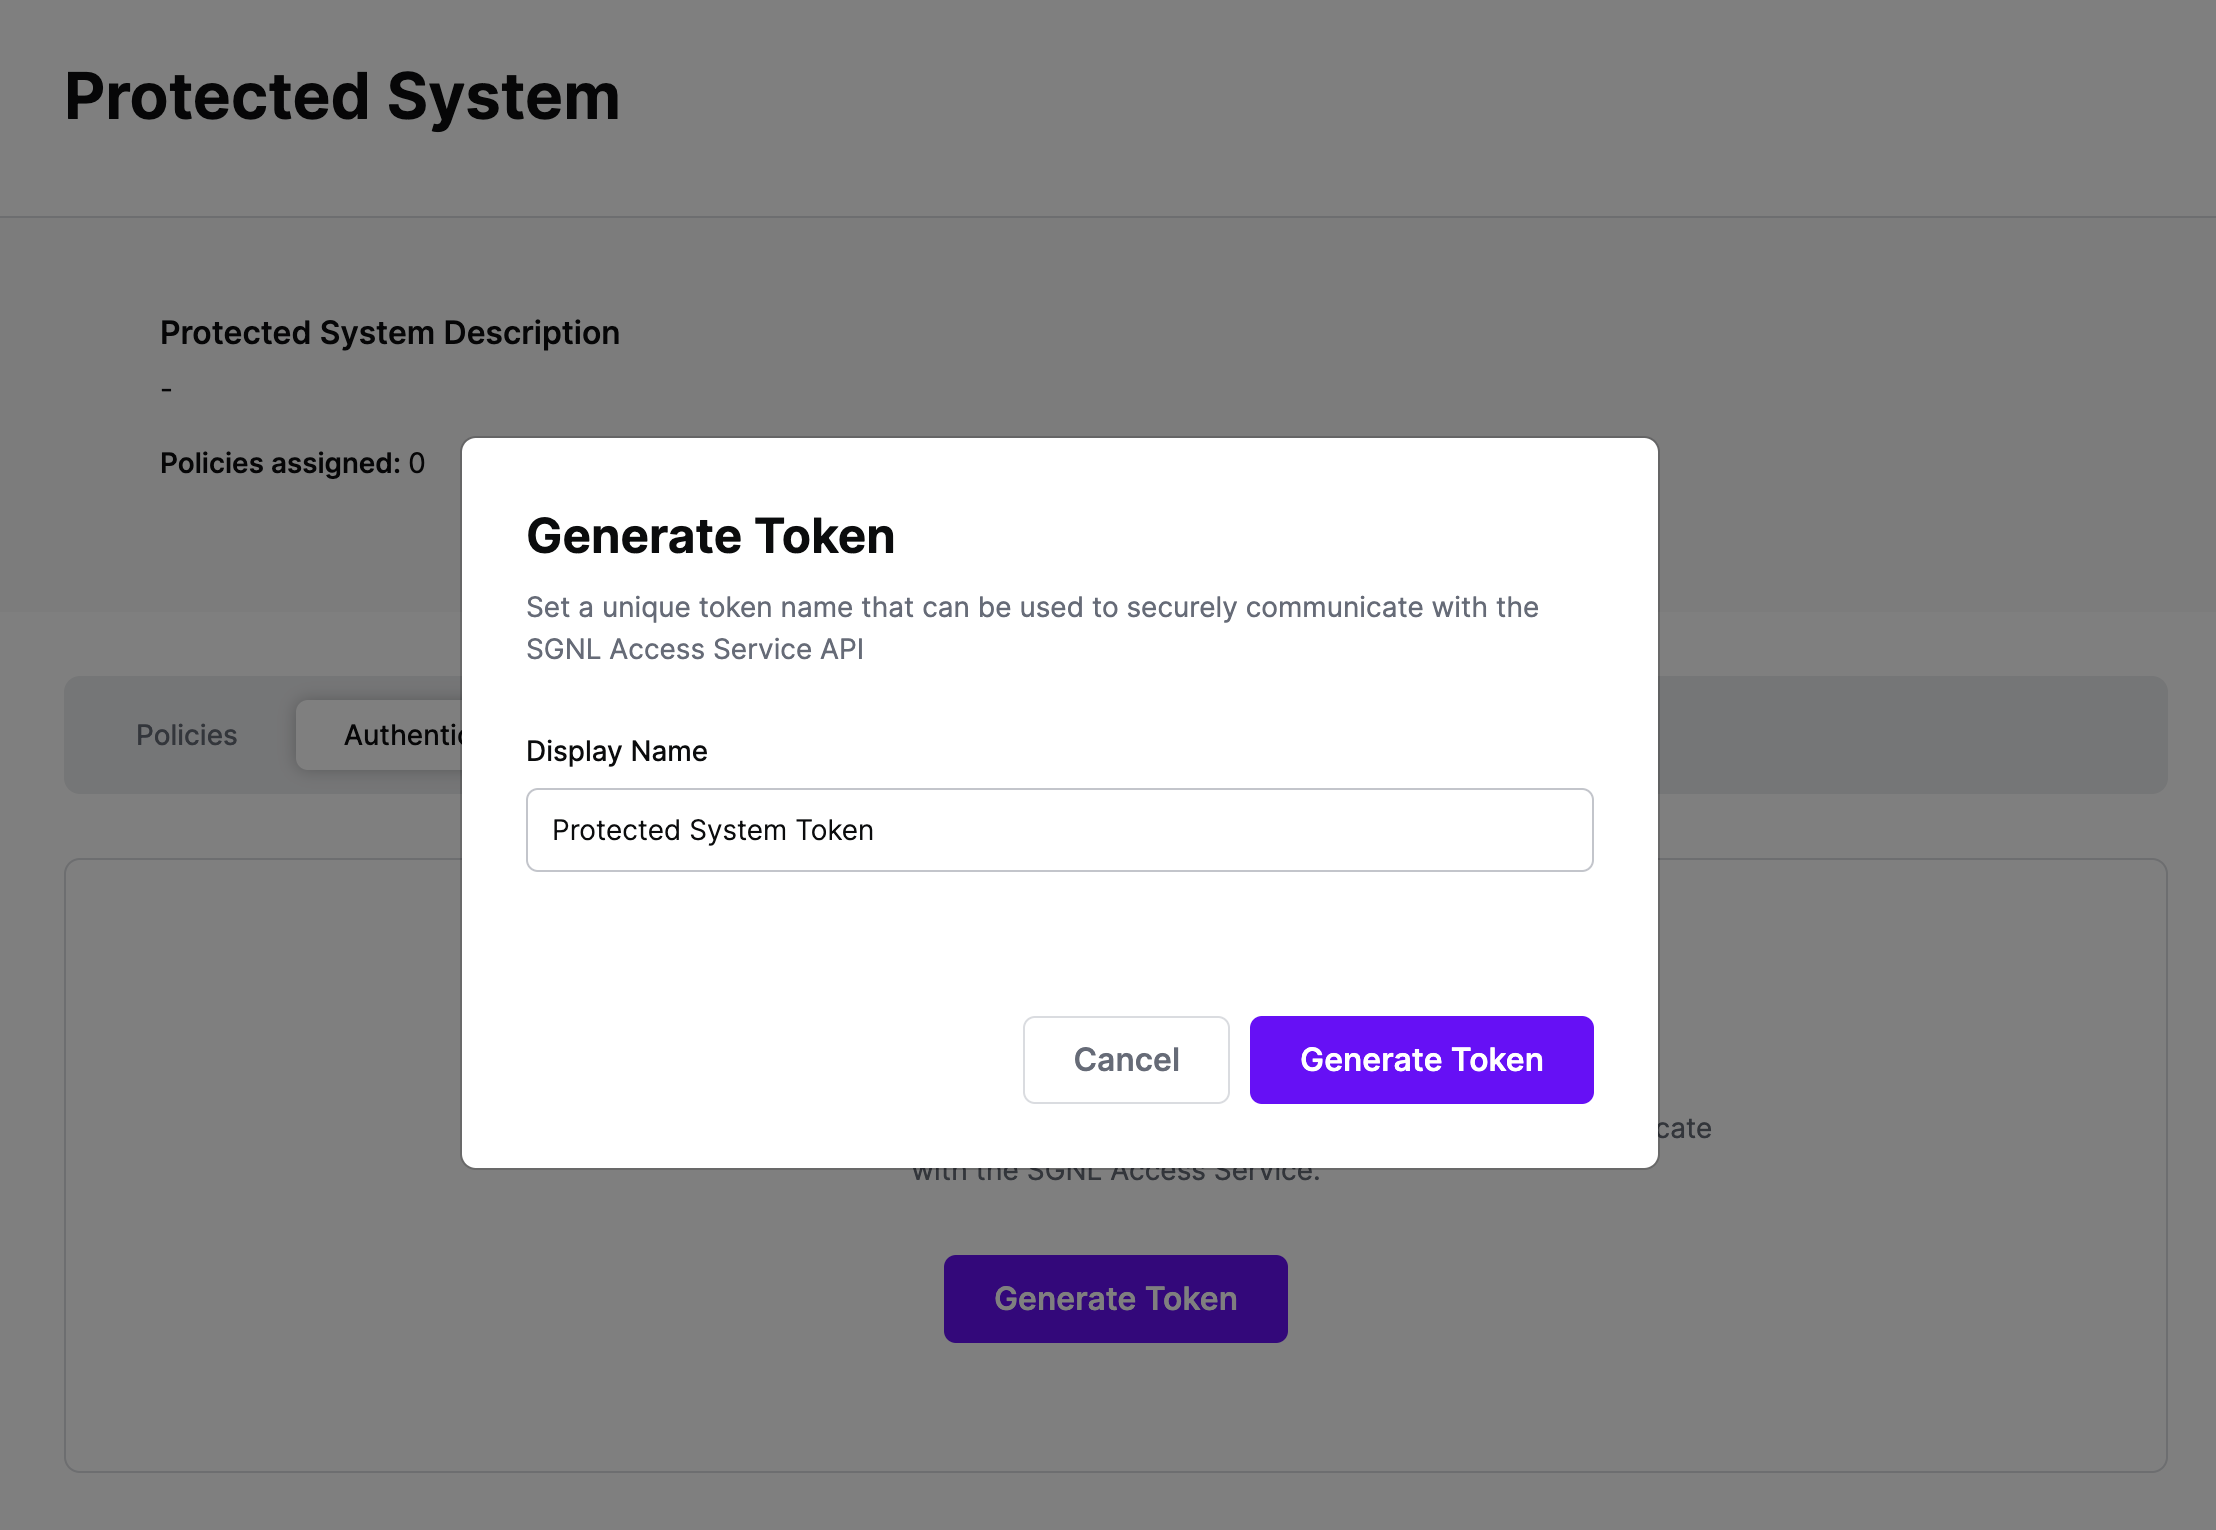
Give your token a descriptive name so that you know how it’s being used in the future and click to Generate Token
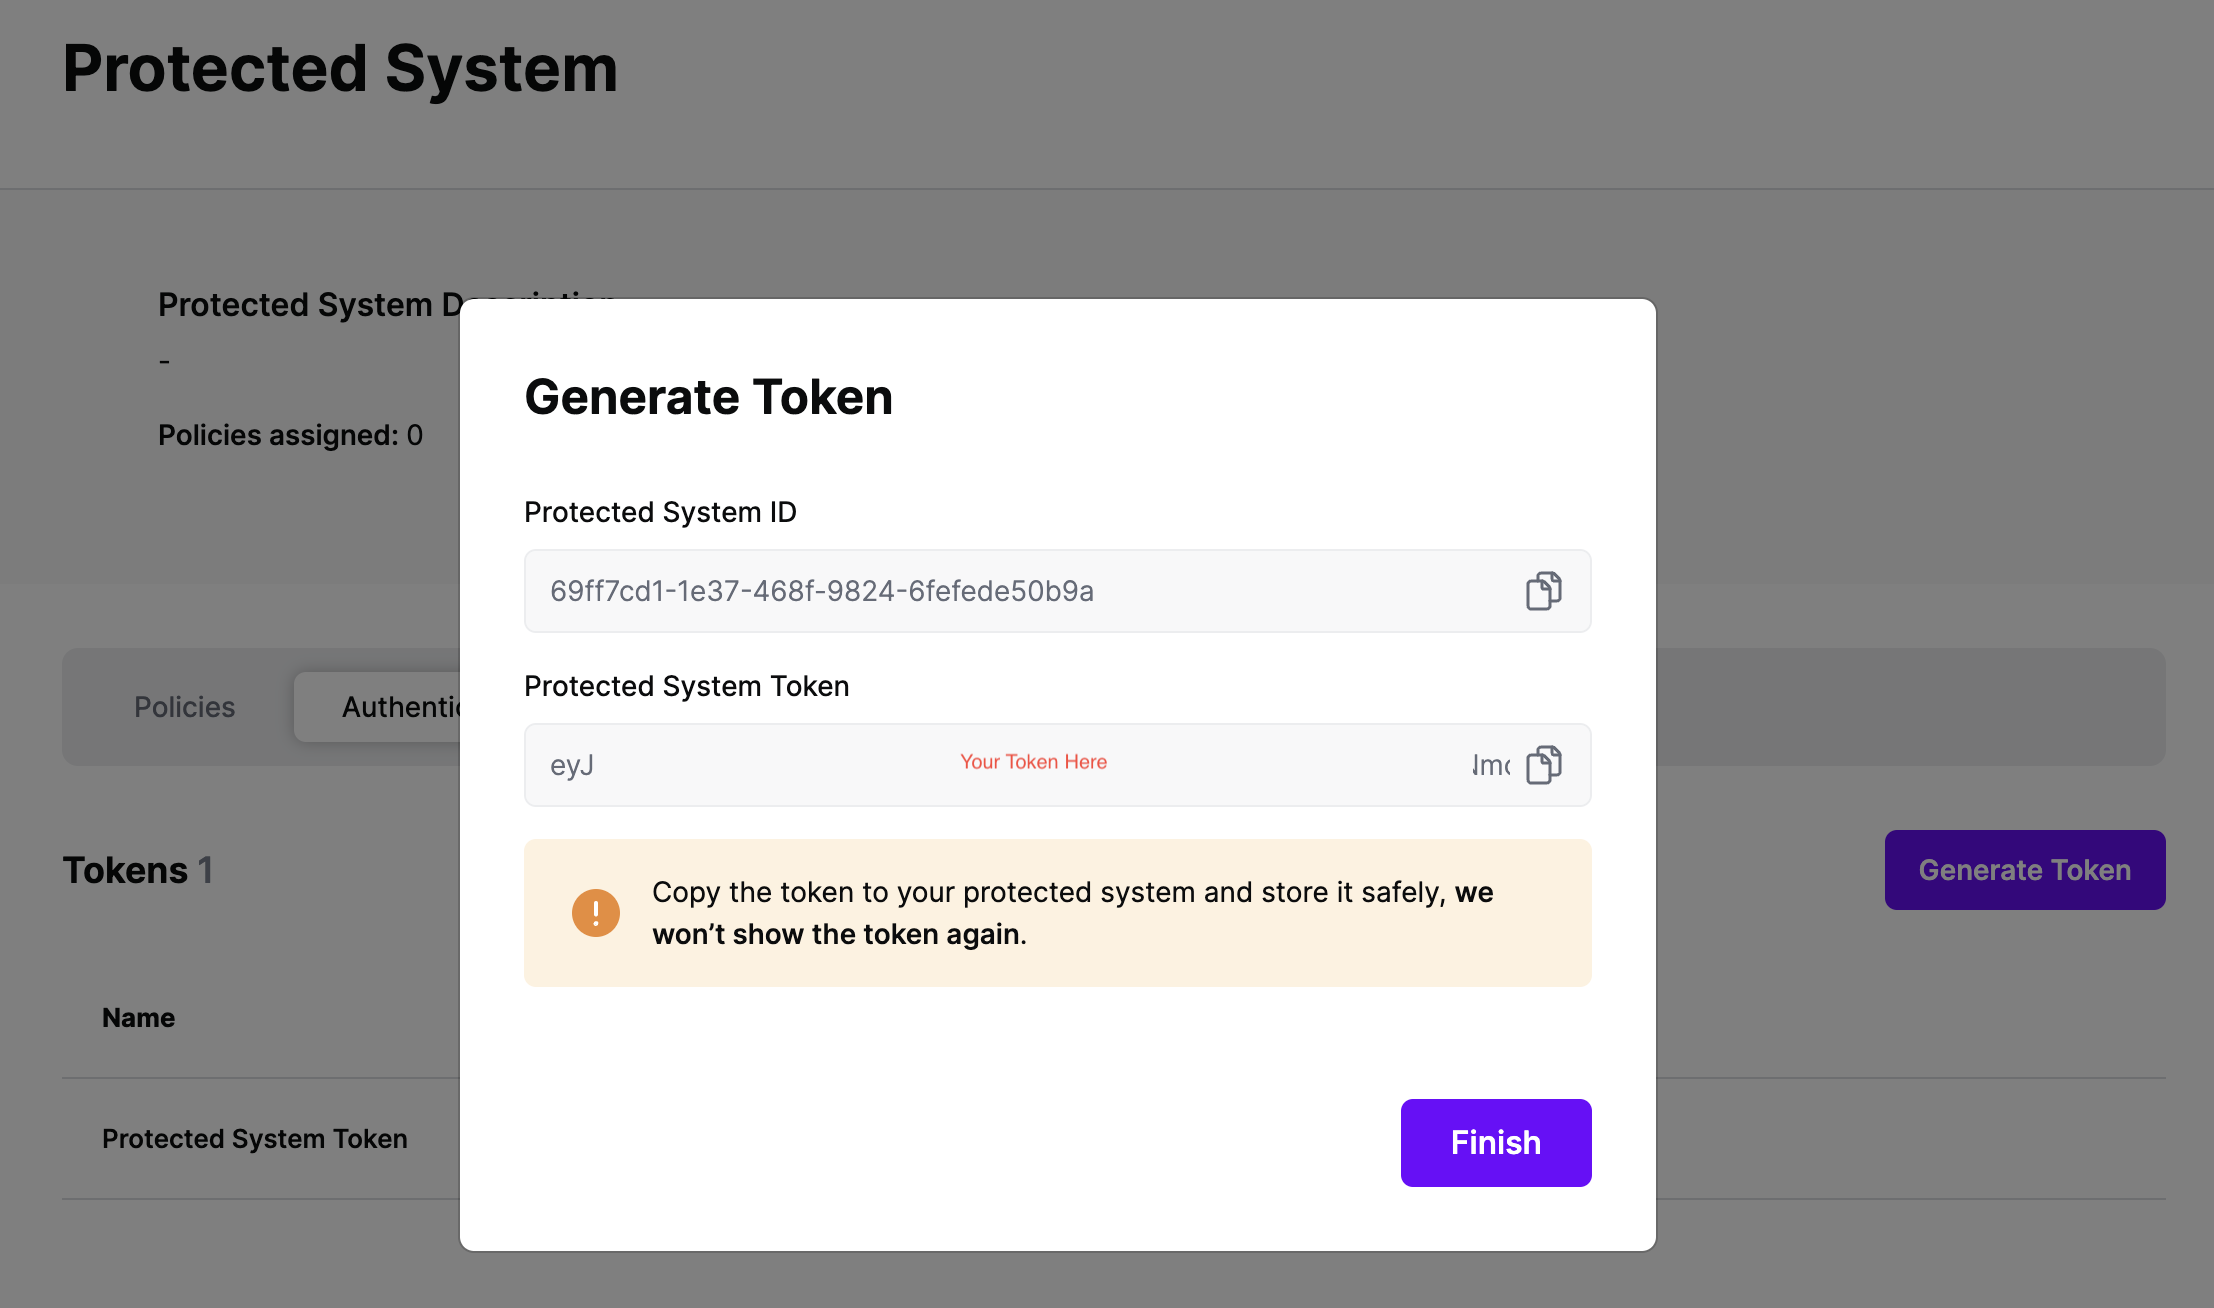
On the next screen, copy the token - this will be used by ServiceNow to make access requests to SGNL using the SGNL Access Service API
Note: The value of this token is not available again after this screen, so ensure you securely store it for steps later in this guide
ServiceNow is the backbone of internal and customer support for many enterprise companies. As such, in the modern enterprise ServiceNow is frequently heavily customized, has unique workflows, and is tailored to support very specific parts of the organization.
SGNL provides out-of-box experiences to enrich ServiceNow access control with continuous and contextual decision making during login, attempts to view objects, as well as in update and delete operations.
To fully understand how SGNL can help with providing continuous access management in your ServiceNow environment, we recommend getting in touch with us.
As a particularly straightforward example, you can integrate SGNL directly with Business Rules inside of ServiceNow, to trigger whenever a principal performs any operation on a particular object type/category. In the example below, we’ll add SGNL’s continuous access evaluation when users attempt to update a Customer Account Object.

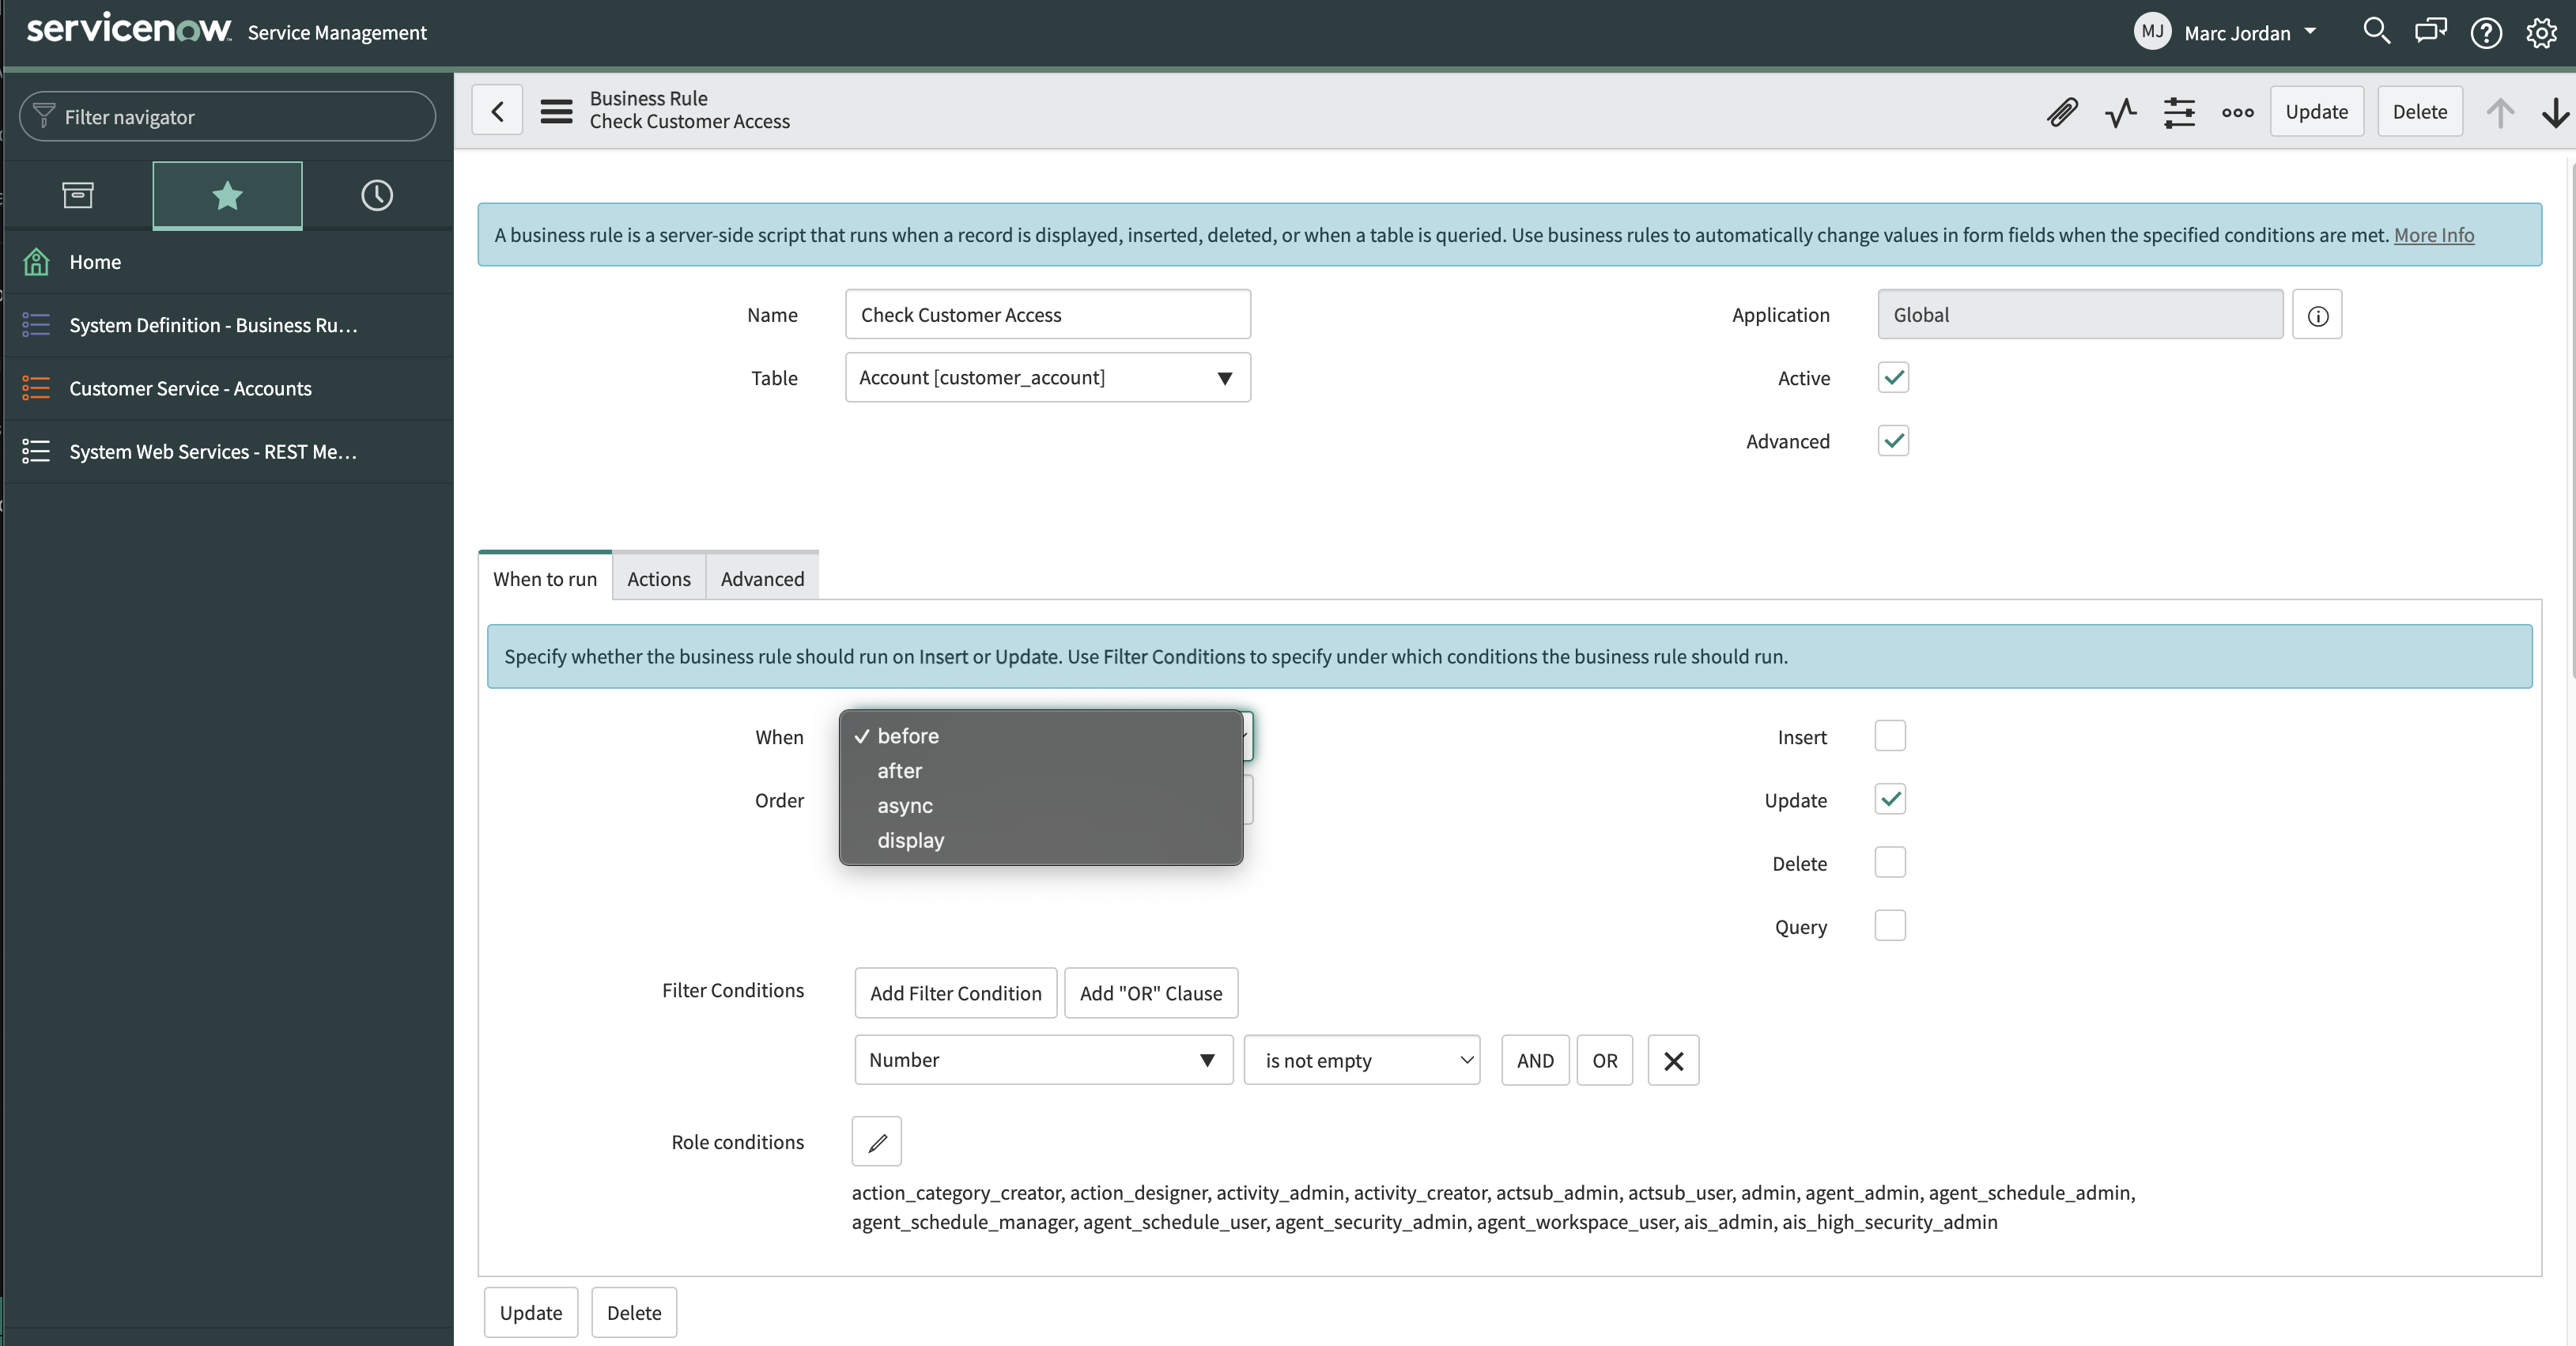
Condition: current.isValidRecord() && current.canWrite()(function executeRule(current, previous /*null when async*/) {
try {
// Retrieve the necessary details for the Access Request
var email = gs.getUser().getEmail();
var action = 'update';
var assetId = current.number;
// Select the appropriate REST Message and Method to call the Access Service
var r = new sn_ws.RESTMessageV2('SGNL Access Service', 'Send Access Evaluation');
r.setStringParameterNoEscape('principalId', email);
r.setStringParameterNoEscape('assetId', assetId);
r.setStringParameterNoEscape('action', action);
var response = r.execute();
// Evaluate the response to determine whether to allow the principal access
var responseBody = response.getBody();
var httpStatus = response.getStatusCode();
var result = JSON.parse(responseBody);
var resultString = JSON.stringify(result.decisions[0].decision);
gs.info(resultString);
if(resultString=='"Deny"') {
current.setAbortAction(true);
}
}
catch(ex) {
var message = ex.message;
}
})(current, previous);
Once you’ve successfully associated the Business Rule, you’ll be able to see requests coming from ServiceNow into SGNL through the SGNL Logs. It’s likely that all decisions will either be Allow or Deny, based on the Default Decision you’ve selected for the ServiceNow Integration - if that’s the case, you’re ready to start assigning policies to be applied to Saleforce
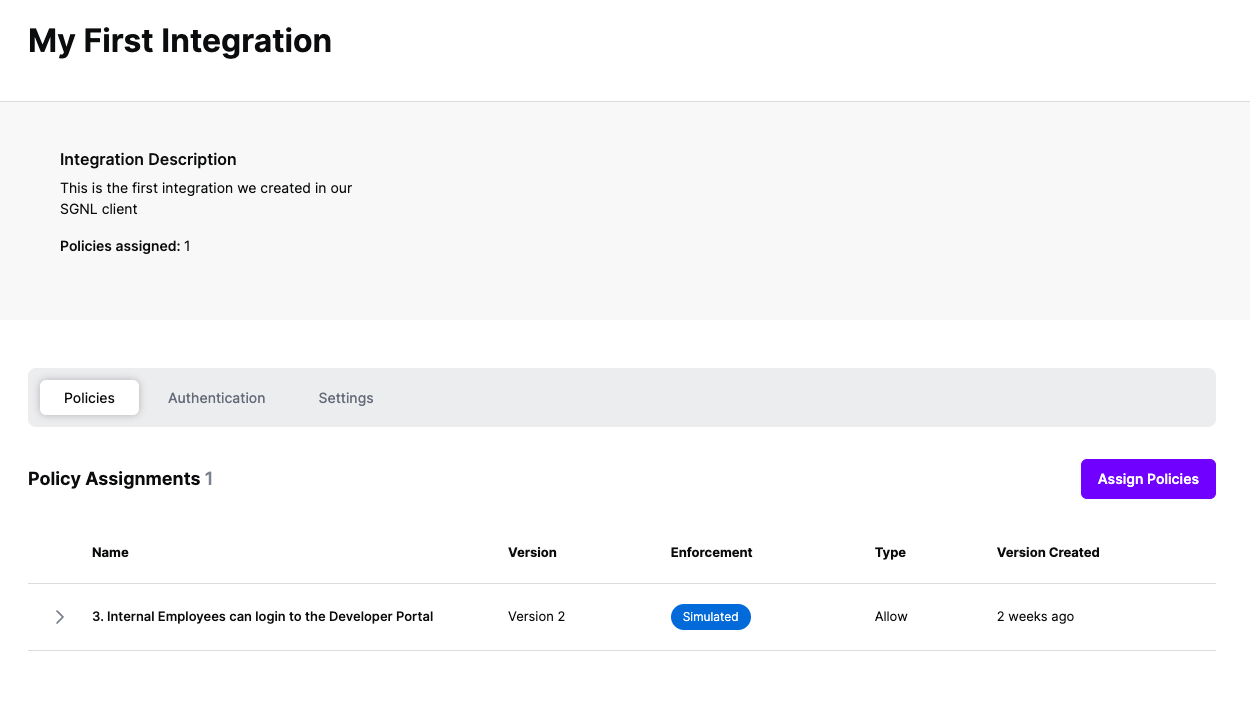
Once the Integration is created, you can start assigning versions of Policies to the integration - to get started, select Policies from the tabs in your newly created integration
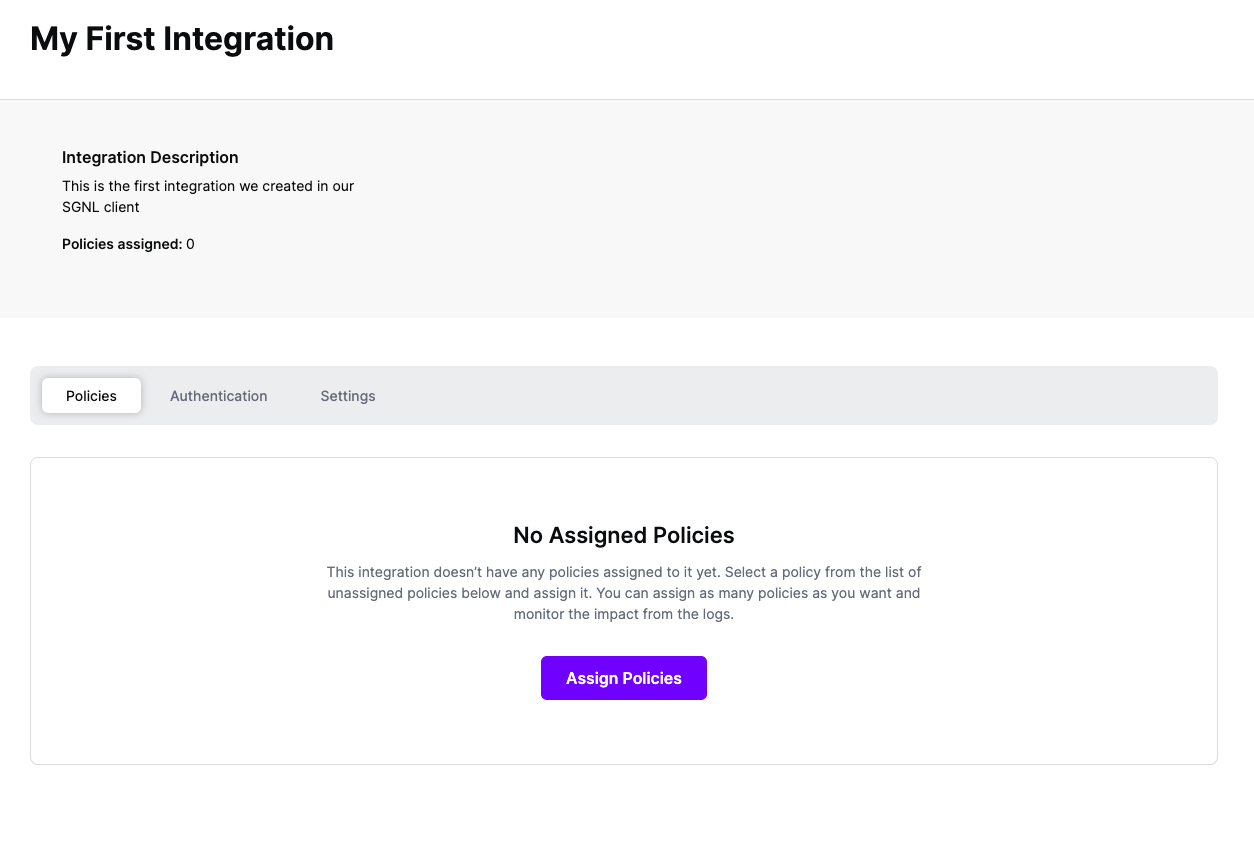
Select ‘Assign Policies’
Select:
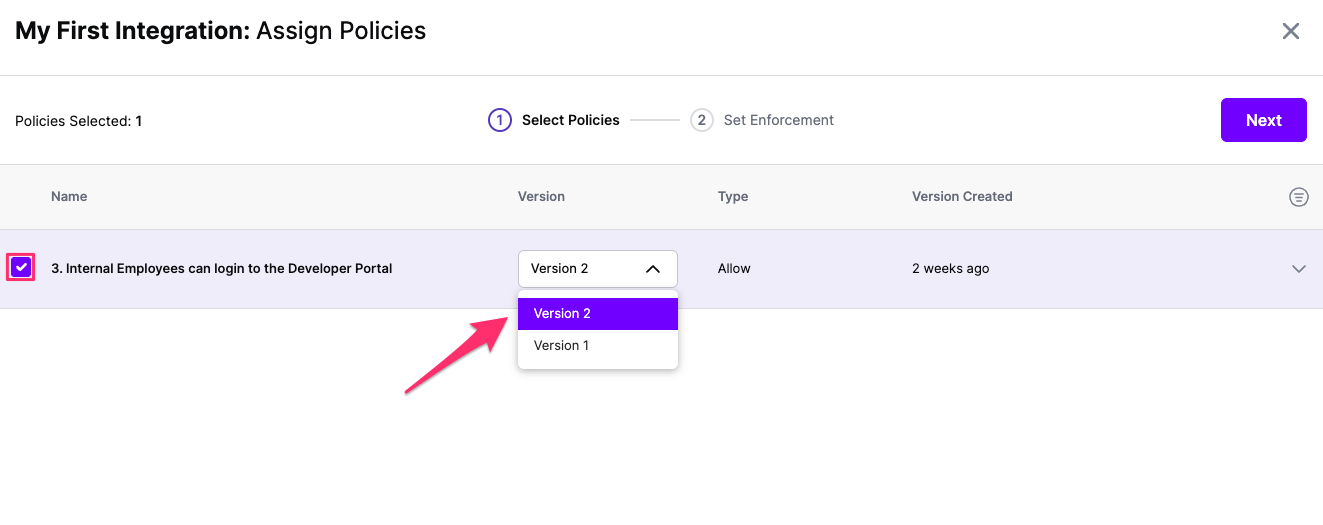
Click Next once you have the Policies and Versions configured as is appropriate
Select the Enforcement mode for the Policies you chose in the previous step
Simulated: Policy Versions that are being simulated will only log their access decision in the SGNL logs and will not impact the access decision that SGNL hands back to an integration. Simulated policies are useful for performing what-if analysis of new policy versions as well as debugging policy changes.
Note: It’s considered best practice to start with policies in Simulated mode, to verify that policies have been created an applied as expected
Enforced: Policy Versions that are being enforced will impact the access decisions that SGNL hands back to an integration. Enforced Policies will determine access for an integration
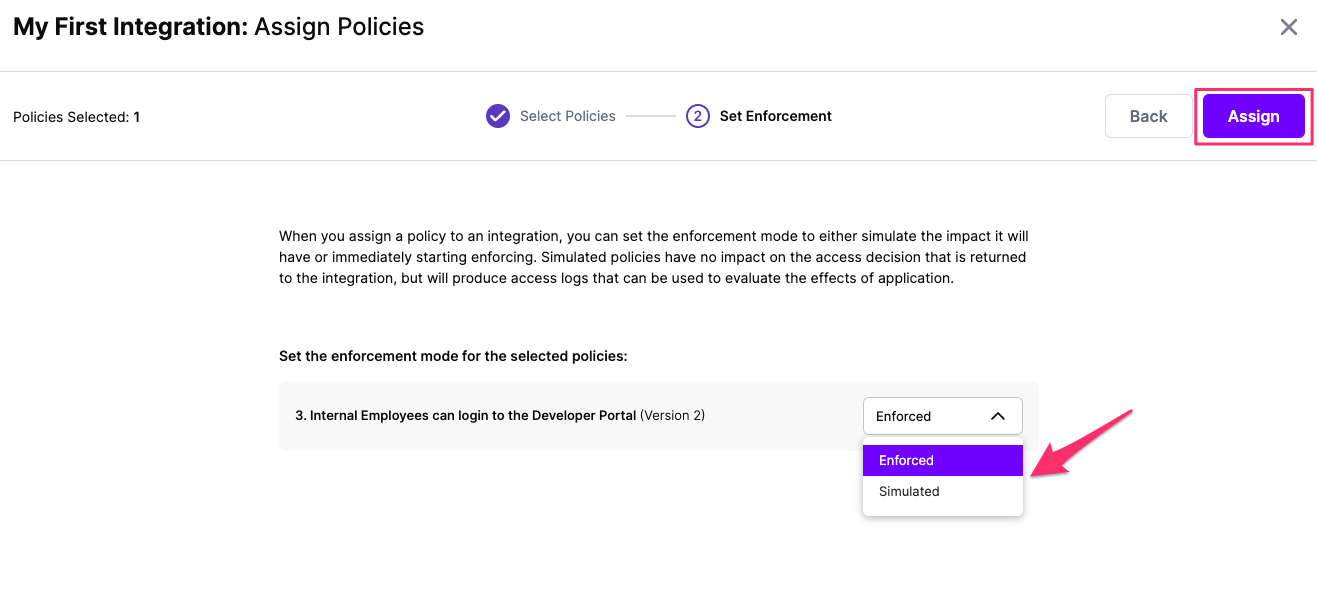
Select your desired Enforcement mode and select Assign
Versions of Policies will now be Assigned to your integration